
Japanese calligraphy for beginners begins with a very small act. You load a brush, touch it to paper, and draw one line. That line will wobble, and it will also teach you more than a week of reading about the art. This guide covers the four tools, how to sit and hold the brush, and the first strokes to write in your first month.
It stays practical on purpose. You will learn what to put on the desk first, which choices can wait, and why short daily sessions beat one long weekend. Along the way you will meet a handful of simple characters, such as 一, 二 and 三. They are the right place to start, because each one trains a single skill. By the end, you will have a plan for four weeks.
Gather a brush or brush pen, ink, paper and a felt pad. Sit upright and hold the brush vertical. Begin with single strokes and simple characters such as 一, 二 and 三 in block style, and practise briefly every day, because short sessions build a steady hand faster than long ones.
Japanese Calligraphy for Beginners Starts With One Stroke
Most people picture a finished scroll when they think of the art. A beginner needs a different picture: one stroke, made slowly, with the whole arm behind it. A single stroke holds everything that follows. It has a start, a middle and an end, and the brush shows each one on the paper. For that reason, the first weeks of Japanese calligraphy for beginners are spent on lines, not on characters.
This feels slow, yet it is the fastest route. A learner who can draw a steady horizontal line already controls pressure, speed and angle. Those are the three things that every later character asks for. So a plain line is the real work, repeated until it feels calm.
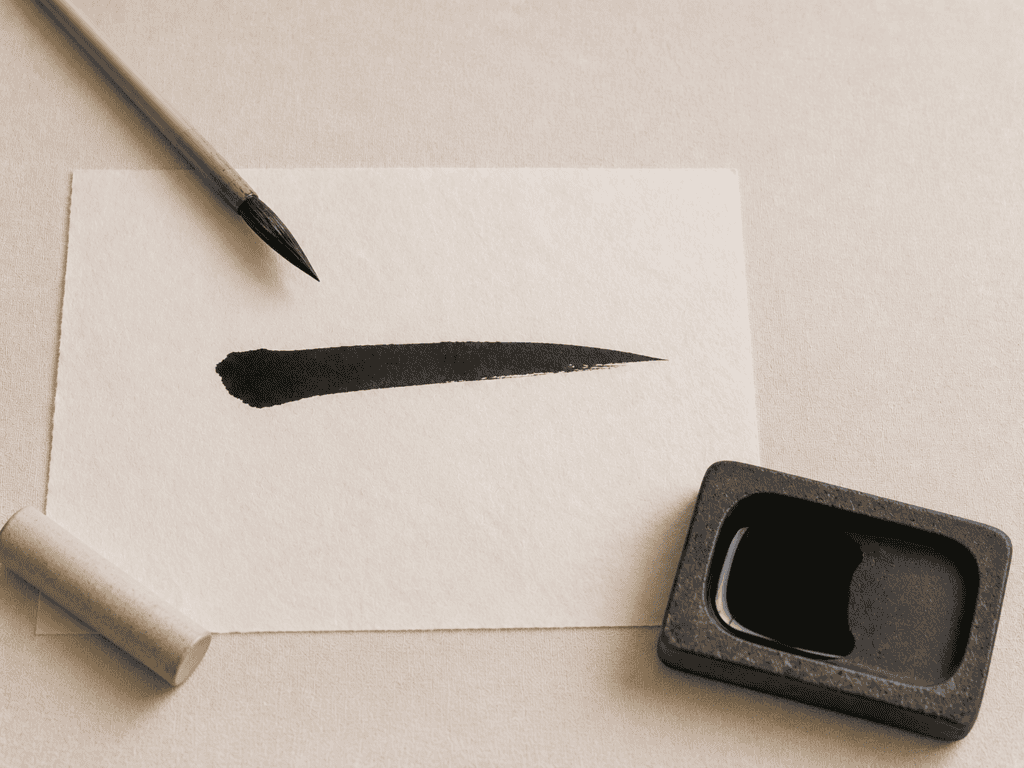
The Japanese name for the art is shodo, which means the way of writing. The word 道 in it matters. It describes a path you walk by repeating a small act, not a skill you finish. Hold that idea lightly and the first month becomes easier. If you are curious about the art at its highest level, our piece on shodo as a fine art tells that story. Nobody expects a beginner to produce a polished piece. You are here to learn how the brush behaves.
The Four Tools: Brush, Ink, Inkstone, Paper
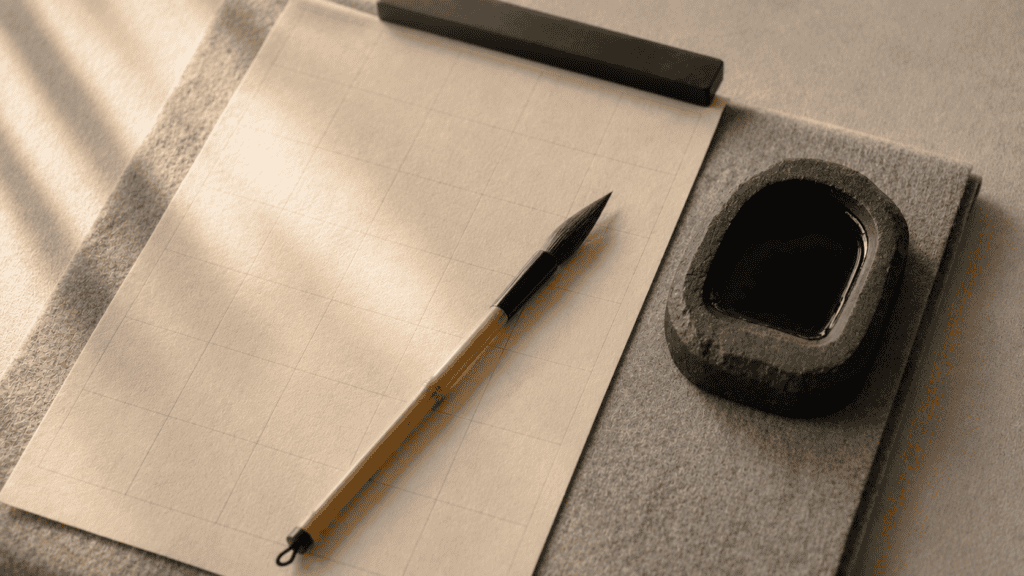
Traditional practice rests on four tools: a brush, ink, an inkstone and paper. Together they are often called the four treasures of the study. Each one changes how the line looks, so it helps to know what each does before you buy anything. The good news is that Japanese calligraphy for beginners needs only a small version of each.
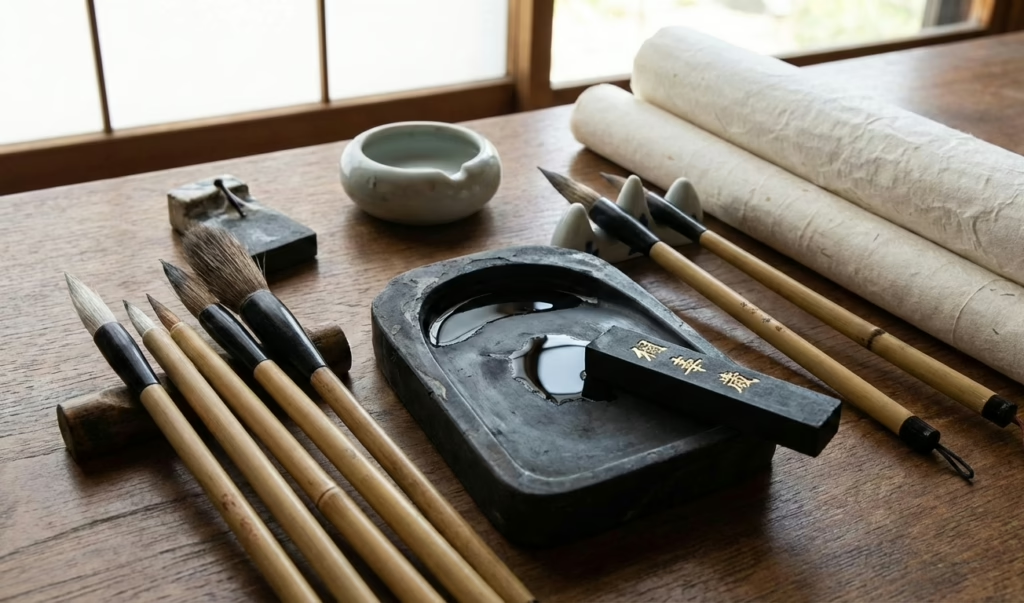
The brush is the heart of the set. A soft brush holds a lot of ink and responds to every change in pressure, which makes it expressive and a little unruly. A medium brush is the usual starting point, because it is large enough to show your stroke and small enough to control. Choose one with a tip that returns to a point when wet. That single feature tells you the hairs are sound.
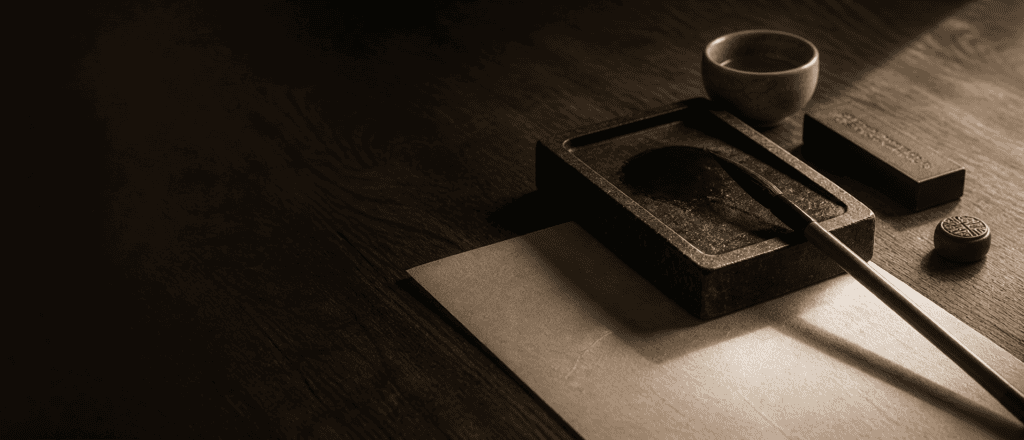
Ink comes two ways, as liquid in a bottle or as a solid stick that you grind with water. The inkstone is the shallow dish where the stick is ground, and it also holds the ink while you work. Paper is the last piece. Practice paper, called hanshi, is thin and made for daily use. It takes ink well and costs little to fill, so you can write without worrying about waste.
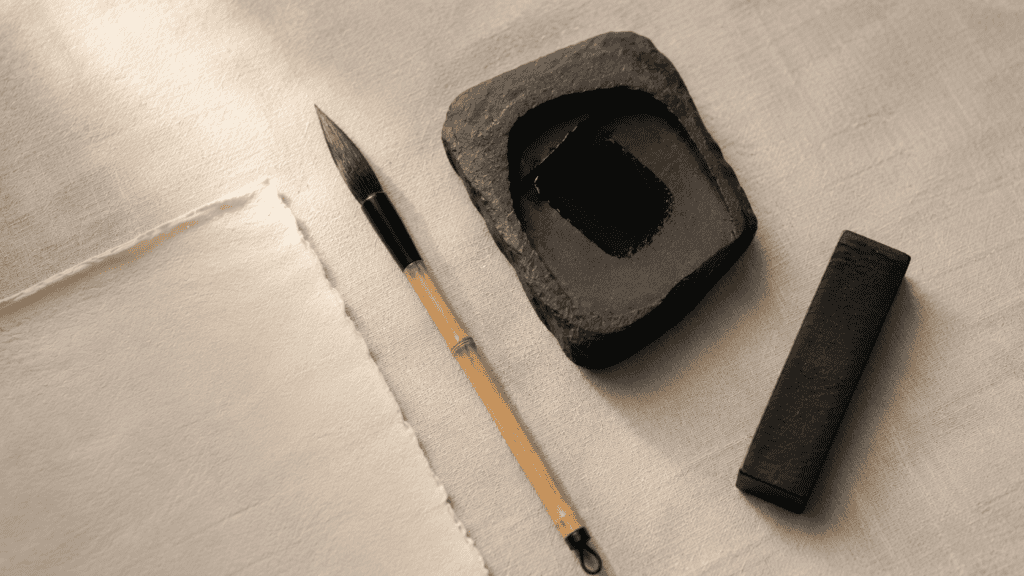
Place a felt pad under the paper as well. The felt soaks up the ink that passes through and gives the brush a slight cushion. That cushion changes how the stroke ends, and it protects the desk. Together with a pair of weights to hold the sheet flat, the pad completes a first desk. Everything else can wait.
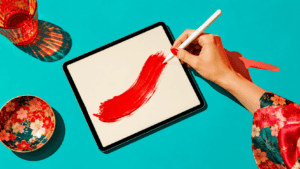
Brush Pen or Brush: Which Comes First
In Japanese calligraphy for beginners, a common question is whether to start with a brush pen or a real brush. Both are good answers, and the right one depends on how you want to spend the first month. A brush pen holds its own ink, so you can write the moment you sit down. A real brush asks for more setup, yet it teaches control in a way a pen cannot.
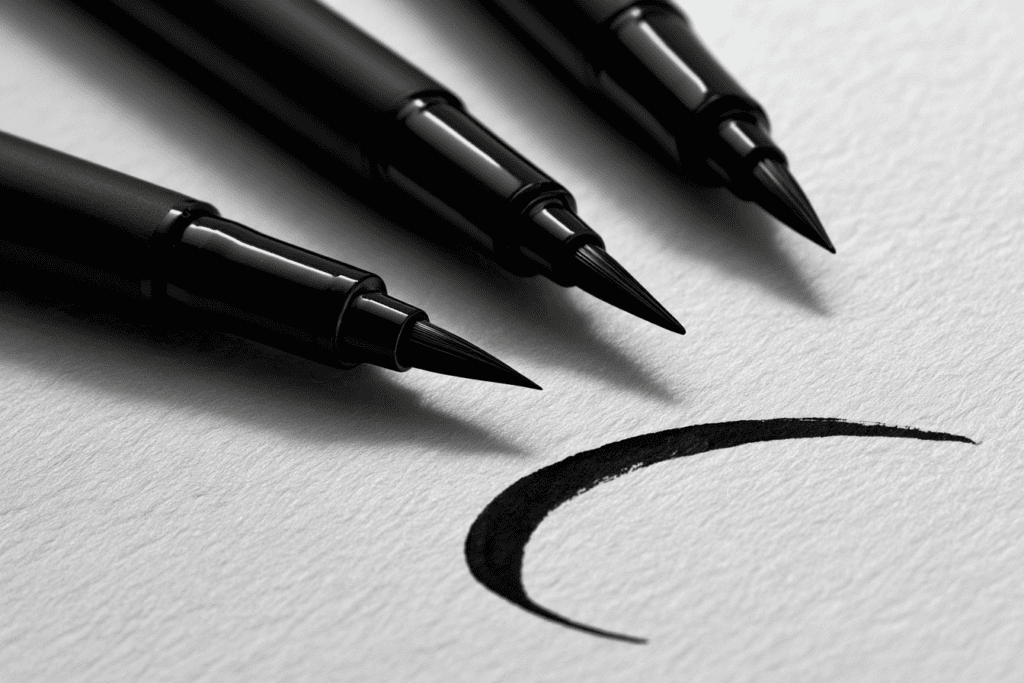
Think of the brush pen as a gentle entry. Its tip is firmer, so the line is easier to steer, and there is no ink to grind or spill. That makes it ideal for a ten-minute session on a busy morning. However, the firmer tip also hides some of the pressure changes that make a stroke beautiful. You will feel less of the brush.
A real brush gives all of that back. Its tip swells when you press and thins when you lift, so every movement shows on the paper. The cost is a little more care. You wet the brush, load the ink, and rinse and dry the hairs afterward. Many learners find the ritual part of the pleasure.
A sensible plan is to begin with a brush pen for the first week, then move to a real brush once the grip feels natural. That way you meet the shapes first and the ink second. Still, if you already have a brush and a bottle of ink, simply start with them. Either route reaches the same place.
Ten Proverbs to Carry With You
A printable folio of ten Japanese proverbs, each set in kanji with its reading and a line on where you will hear it.
How to Sit, and How to Hold the Brush
Posture comes before technique. Sit upright, with both feet on the floor and the paper centred in front of you. Keep the felt pad flat and the inkstone just to the side, so you never have to lean across the sheet. A calm, stable seat lets the arm move freely, and the arm does most of the work in this art.
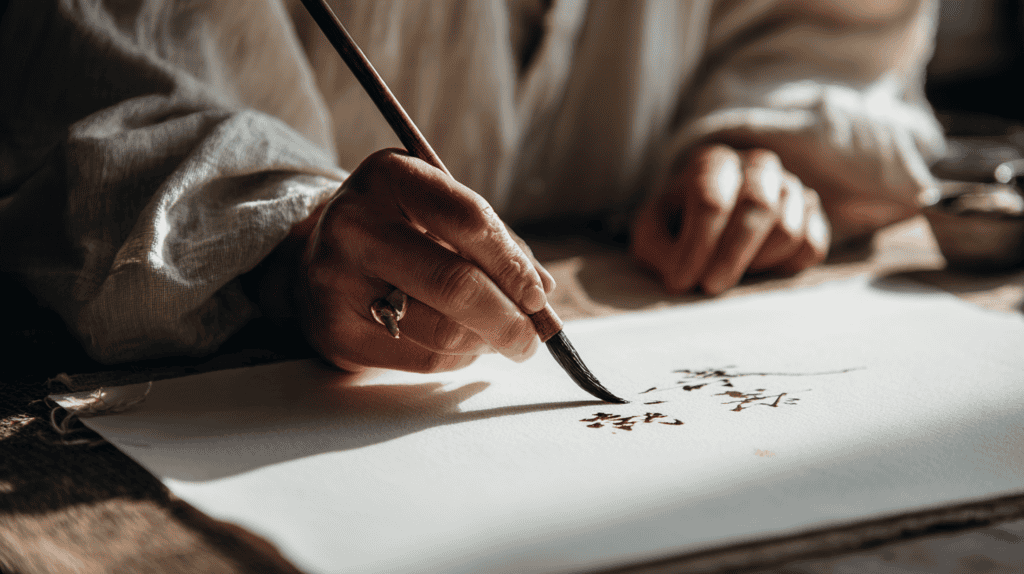
Now the grip. Hold the brush vertical, with the handle pointing at the ceiling, not tilted like a pencil. Pinch it between the thumb and the first two fingers, about midway up the handle. The grip should feel firm yet loose, as if you were holding a small bird. A tight fist locks the wrist and flattens every stroke.
Next, lift the elbow and the wrist so that they float just above the table. The movement then comes from the shoulder and forearm, not the fingers. This feels odd for a few minutes, and then it feels right. A line drawn with the whole arm is smoother than one drawn with the fingertips. It is also steadier over a long stroke.
Finally, breathe. Exhale as the brush moves and keep the pace even. Rushing is the most common beginner habit, and slowing down fixes more problems than any new tool. If a stroke goes wrong, lift the brush, breathe once, and begin again on a fresh line.
Ink and Water: Liquid Ink or the Stick
Liquid ink is the simplest choice for a first desk. It arrives ready to use, so a session begins within a minute. Pour a small amount into the inkstone, dip the brush, and write. Because the ink is already mixed, every sheet looks the same, and that consistency helps you judge your own progress.
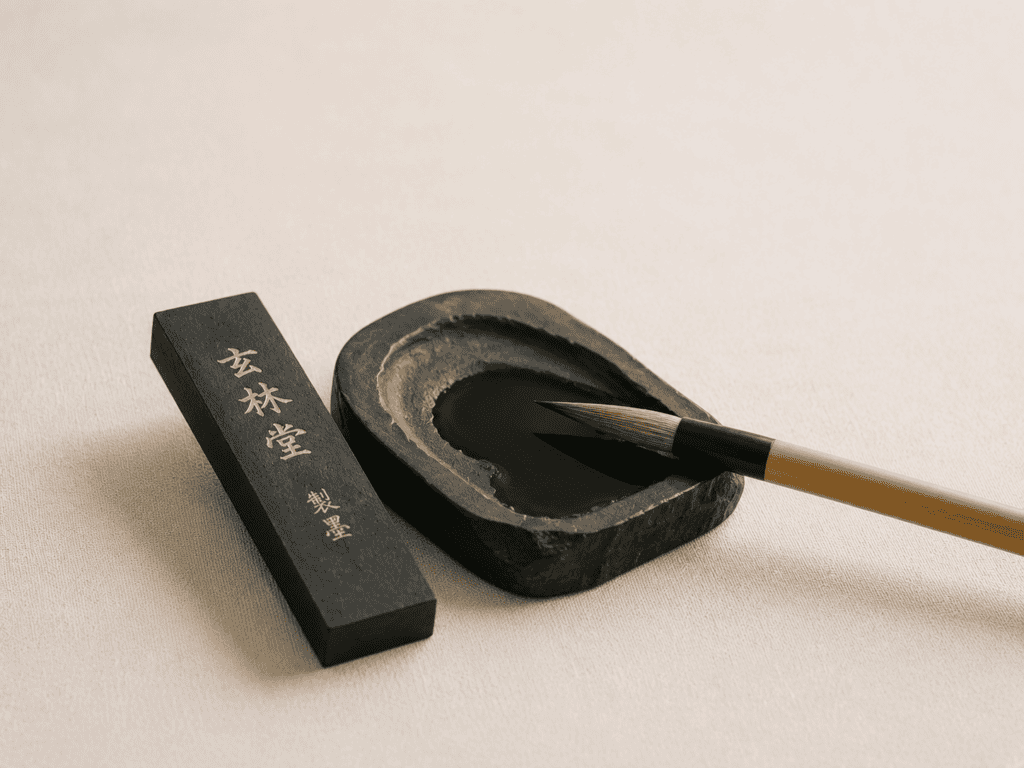
The solid stick is the traditional route. You add a few drops of water to the stone and grind the stick in slow circles until the ink turns dark and glossy. This takes several minutes, and many people treasure it as a calm start to the day. The ink also changes in tone as you work.
So which should you pick? Begin with liquid ink and add a stick later, when you want the ritual. Both reach the same black. The difference lies in how you arrive at the desk. One is quick and the other is slow, and a good practice has room for each at different times.
Yasutomo Bokuju Liquid Ink — a Ready-to-Use Black Sumi
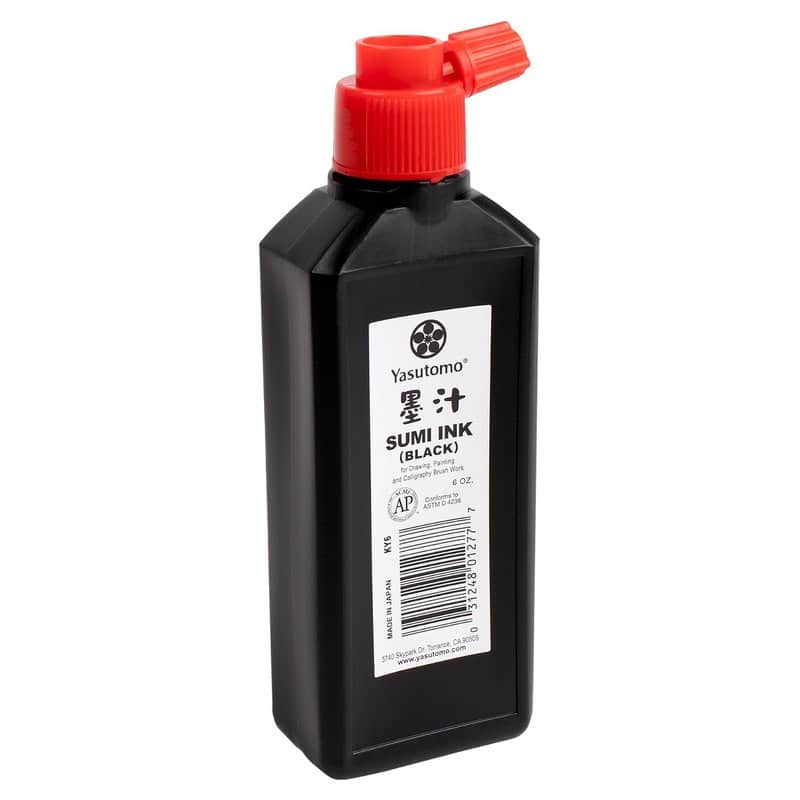
The Yasutomo Bokuju liquid ink comes in a six-ounce bottle with a red cap, enough for many weeks of short sessions. It is black sumi ink made for brush work, so you can pour it straight into the inkstone with no grinding. Because it is already mixed, every sheet starts from the same tone. That makes it a steady companion while the hand is still learning. Keep the cap tight after each session, and wipe the neck of the bottle so the ink does not dry in the threads. A clean neck means a clean pour, and a clean pour means you actually reach for the bottle on a busy morning.
Water is the other half of ink work. A few drops thin the ink to a softer grey, and too many make the line bleed into the paper. Experiment on a spare sheet before each session. You will soon learn how much water your brush carries. That small skill is worth as much as any single character.
The First Strokes: 一, 二, 三
Now the part you came for. The best first characters are 一, 二 and 三. They have one, two and three strokes, and each is a straight horizontal line. In other words, they are the same stroke repeated, which makes them a perfect drill. You can focus on the brush and forget the shape.
Write 一 first. Place the tip on the left, press gently, glide to the right, then ease the pressure and lift. That sequence of press, glide and lift is the pattern behind nearly every stroke in the art. Do it twenty times in a row. The first few will be rough, and by the twentieth you will feel a rhythm.
Then move to 二 and 三. Here you learn spacing. Write the strokes from top to bottom, and keep the gaps even. In 二 the upper stroke is shorter, and in 三 the middle stroke is the shortest. Those small differences give the character balance. If one line wanders, do not fix it. Move on and write the next one better.
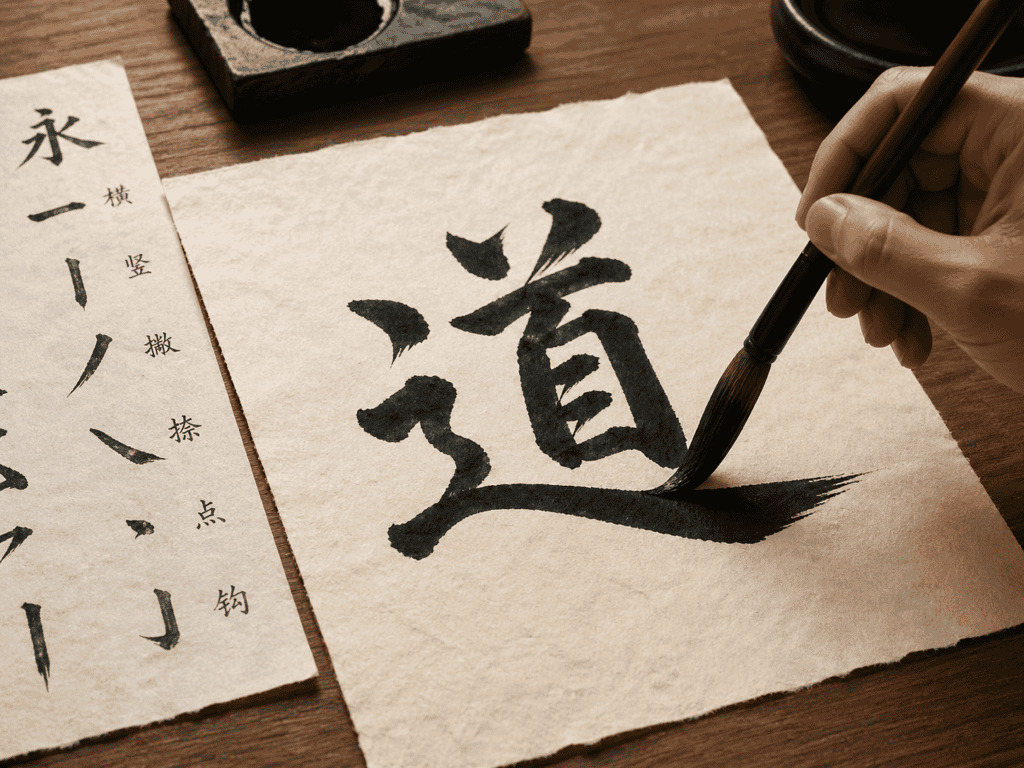
Later in the month you can try a character with more strokes. The character 道, read michi and meaning road or way, has twelve strokes. It is also the first character in the word 書道, the word for calligraphy itself. Do not rush toward it. Treat it as a goal for week four, once the horizontal line feels easy.
A Simple Drill
A simple drill helps in the meantime. Fill a sheet with rows of 一, and give each row one aim. In the first row, watch the start of the stroke. In the second, watch the middle, and in the third, watch the lift. Naming one aim per row keeps your attention on a single skill. Then compare the rows side by side, and keep the one you like best.
If you want a surface that needs no ink, a water writing cloth works well for the first week. You write with plain water, and the marks fade as it dries. There is no record of a bad line, so you try more freely. Many learners then move to paper once the grip feels steady. That order keeps the early sessions light and saves the paper for the stage when it counts.
You may also like

Block Style First: Why Kaisho Comes Before Flow
Japanese writing has three broad styles. Block style, called kaisho, writes each stroke separately and clearly. Semi-cursive style joins some strokes, and full cursive flows so fast that the characters can look like loops of ink. A beginner should start with block style, and the reason is simple. You cannot join strokes well until you know where each one begins and ends.
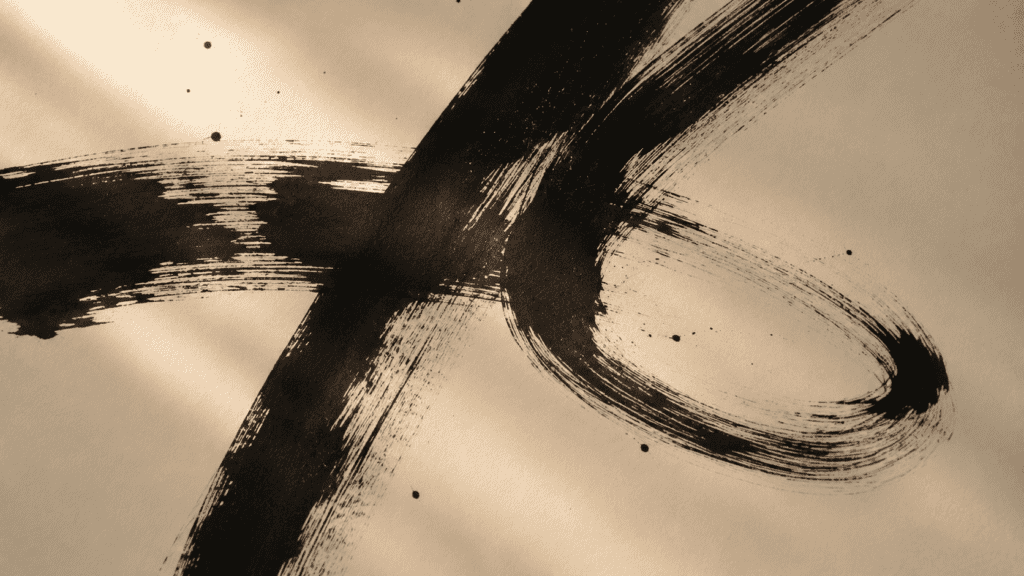
Block style also teaches stroke order. Each character has a fixed sequence, and the sequence shapes the balance of the whole. Writing slowly in block style lets the order settle into the hand. Later, when you try a faster style, that memory does the hard work. Skipping it means guessing, and guesses show.
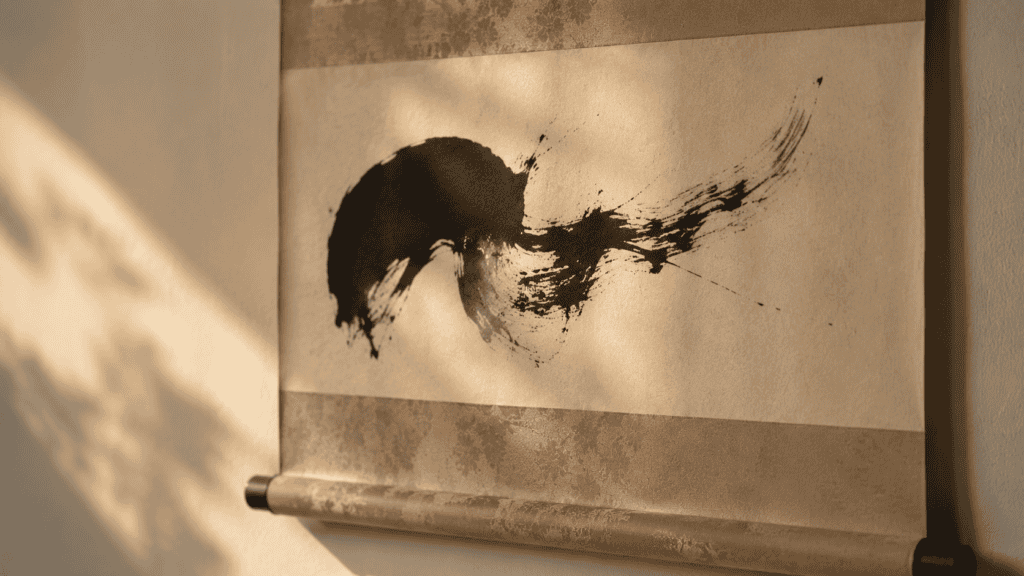
If you wonder why order matters so much, our guide to whether stroke order is important explains what changes when you get it right. For brush work, the answer is practical. The right order keeps the ink flowing, the weight balanced and the character readable.
Think of block style as learning to walk before you dance. It is not a lesser art. Many calligraphers return to it throughout their lives, because every flowing style still rests on it. When you can write a clean 三, you have already stepped onto that ground.
Practising on Screen Between Sessions
You will not always have the desk set up. On those days, a short session on screen keeps the habit alive. The hundred-character practice tool shows the stroke order as an animation, then lets you trace it on a brush canvas. You can then write the character from memory. The loop of watch, trace and write takes under a minute.
In all, it holds 100 characters, drawn from kana, workbook kanji and name kanji, with one new character each day. The stroke data comes from the KanjiVG project, which records the shape and order of each stroke. There is no account to create. You open the page, watch the stroke order, and trace it with a finger or a mouse. It does not replace the brush, since paper feels different. It does keep the order fresh in your mind. If you prefer a tablet and stylus, our guide to practising kanji on an iPad covers that setup.
A good rhythm pairs the two. Use the brush at the desk three or four times a week, and use the screen on the days between. Each screen session reminds the eye of the stroke order, so the next brush session starts with less guesswork.
Small Pieces for the First Desk
A first desk needs very little, and a few well-chosen pieces make the habit easier to keep. None of these items teach you a stroke. They simply keep the paper flat, the brush safe and the water close, so a session starts without fuss. When everything waits in one place, sitting down costs no effort at all.
A learner who starts in thirty seconds practises far more often than one who spends ten minutes searching for a dish and a lid. A tidy desk also protects the table, the paper and the brush, so each session ends as cleanly as it began. Nothing here is costly or hard to find, and none of it needs to be bought on the first day.
MEGREZ Calligraphy Felt Mat — the Pad Beneath the Paper
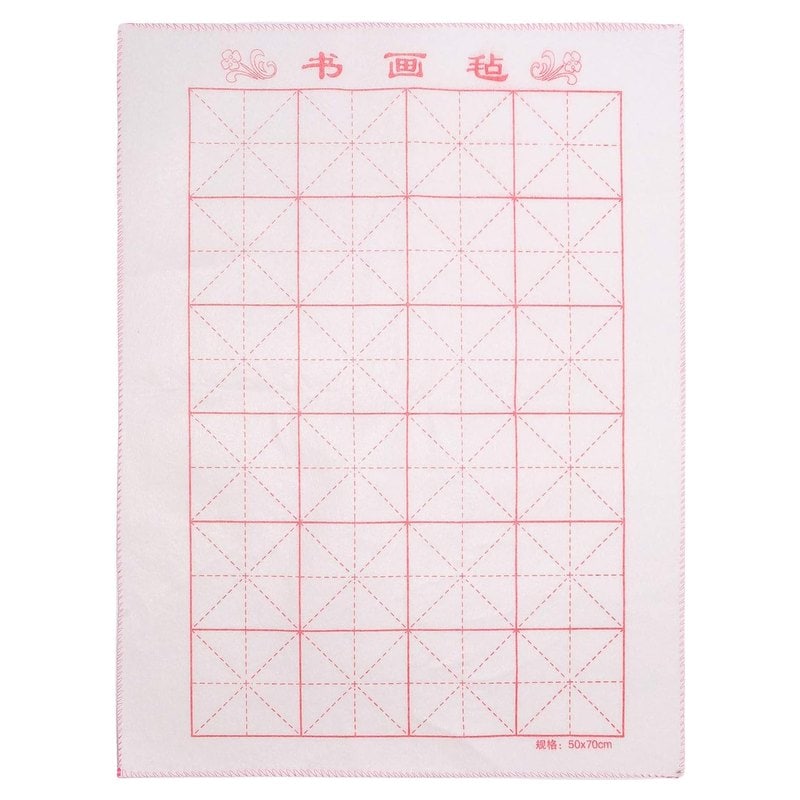
The MEGREZ felt mat sits under the paper and soaks up any ink that passes through. Its surface is printed with a faint red guide grid, which helps you centre a character on the sheet. The felt also gives the brush a soft cushion, so the end of each stroke lands gently. It rolls up when the session is over, and it protects the table from stains. Lay it flat, smooth out any creases, and place the paper on top. A level pad matters, because a bump under the sheet bends the line. Replace the felt when it turns stiff with old ink, and the pad will serve for a long time.
Once the pad is down, the paper still needs to stay still. A sheet that slides in the middle of a stroke ruins a line you cannot repeat. A sheet that slides mid-stroke ruins a line you cannot repeat. Small weights and a rest for the brush solve that, and a water dropper keeps the amount of water under control. The three below belong together, and each is useful from the first session. Weights keep the paper from creeping as the brush moves. A rest holds the wet brush off the page between strokes. A dropper adds water a drop at a time, so your ink keeps the same strength from the first line to the last.
Three Pieces for the First Desk
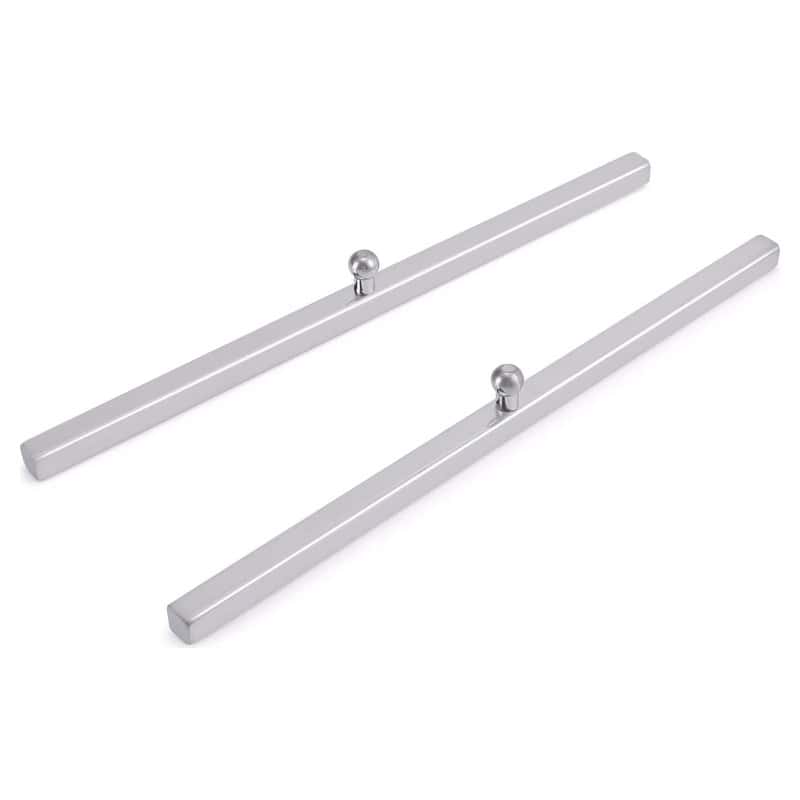
Two slim bars that hold the sheet flat while you write.
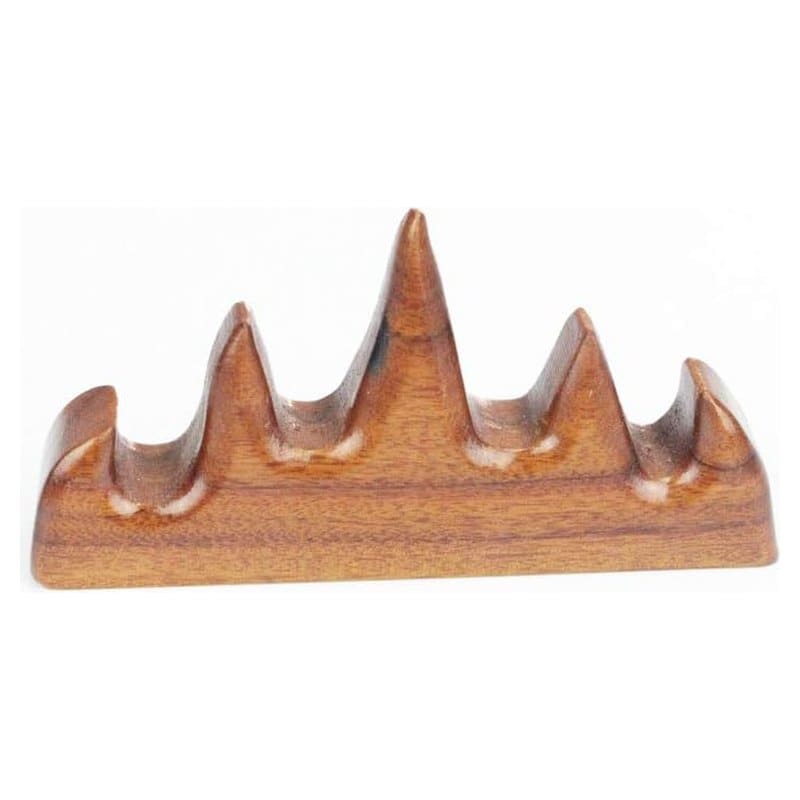
A carved mountain rest that keeps the wet brush off the page.
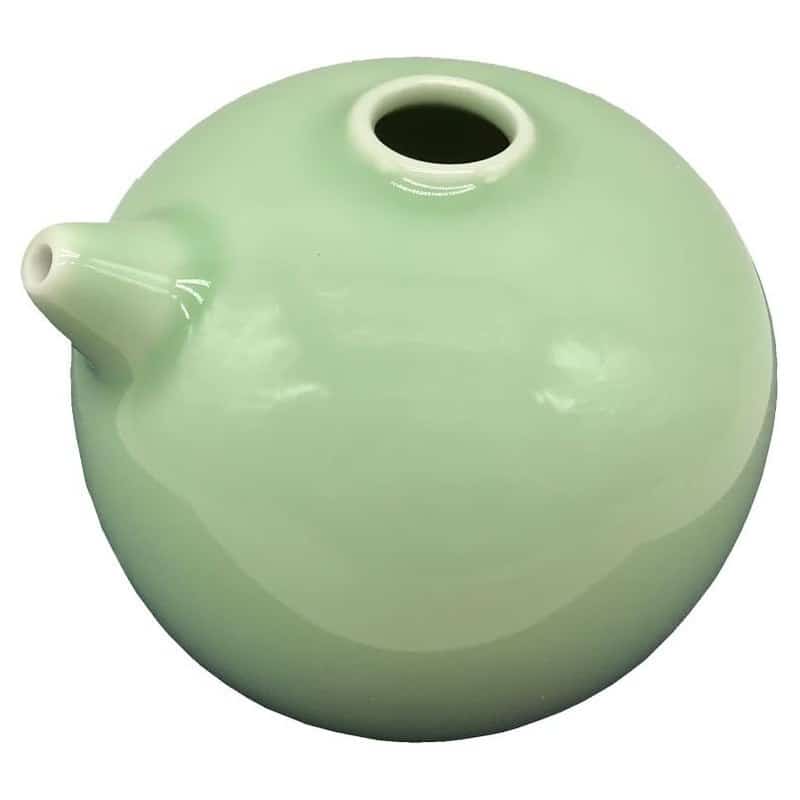
A small spouted pot that adds ink-thinning water a drop at a time.
Remember the purpose behind these pieces. The goal is not to own tools. It is to reach the desk each day with nothing in the way. If an item becomes a distraction, put it away and let the brush do the work.
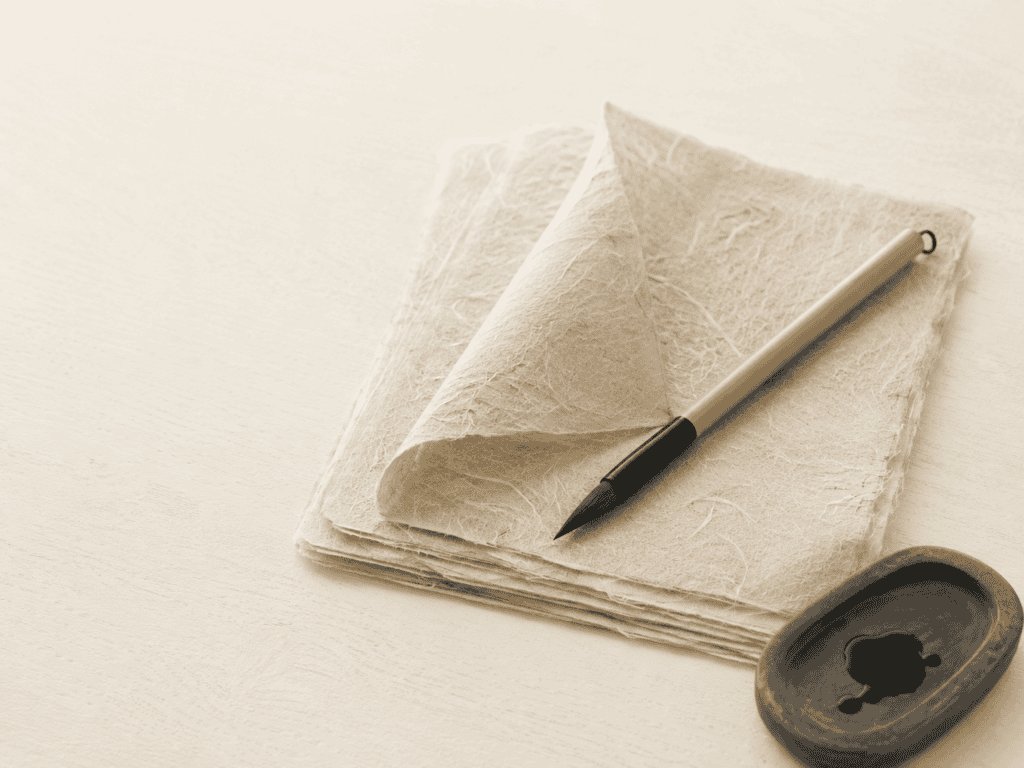
A Sweet for a Slow Afternoon: Kuzumochi
After a session, a small sweet helps the afternoon settle. Kuzumochi fits well. It is a chilled sweet made from kudzu starch, water and sugar, stirred patiently until it turns clear. It has few ingredients and asks for a steady hand, much like a first session with ink. Served cool with roasted soybean flour and dark syrup, it tastes soft, nutty and lightly sweet.
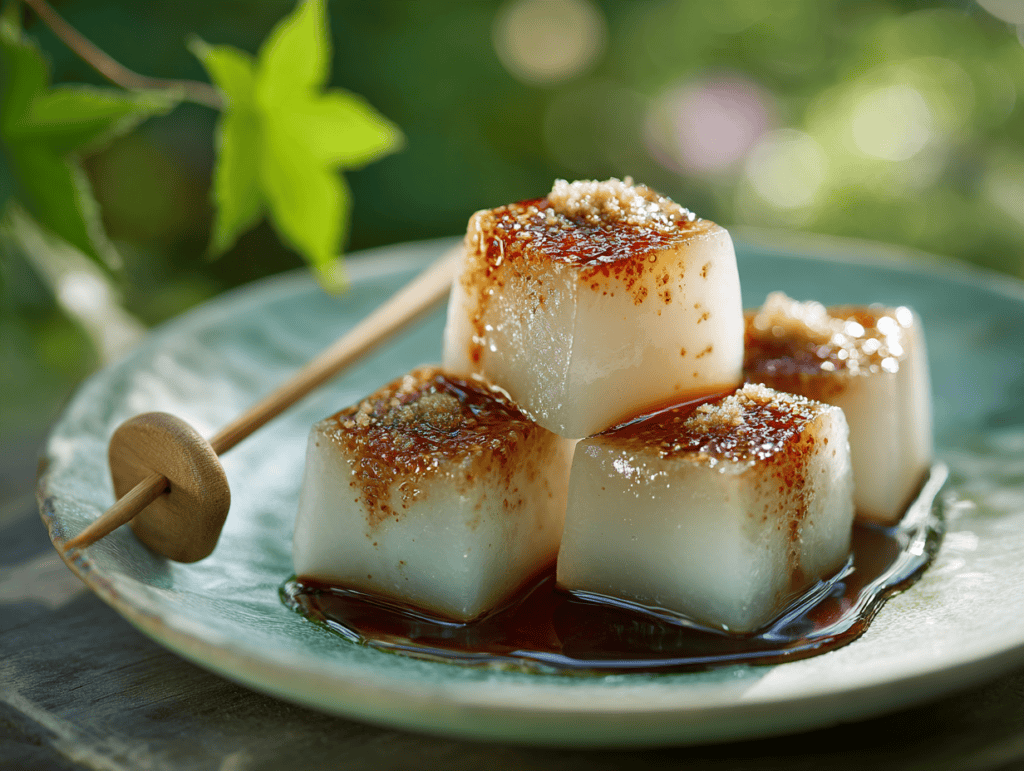
Kuzumochi — clear kudzu cubes with roasted soybean flour and dark syrup
Whisk three tablespoons of kudzu starch with one tablespoon of sugar and half a cup of cold water until smooth. Cook over low heat, stirring constantly, until the mixture turns thick and clear. Pour into a wet dish, cool, then chill for an hour. Cut into cubes, dust with roasted soybean flour (kinako) and drizzle with dark sugar syrup (kuromitsu).
The stirring is the whole lesson. Kudzu starch clumps if it is rushed and sets smoothly when the heat stays low. That patience carries over to the desk. Eat a few cubes, then look at the last stroke you drew. You will often see at once what to change, because a rested eye reads a line more honestly.

The First Month, Week by Week
A plan keeps the first month of Japanese calligraphy for beginners from drifting. Five to fifteen minutes a day is enough, and a day off now and then does no harm. What matters is that the brush meets the paper often. Here is a simple path, one focus per week.
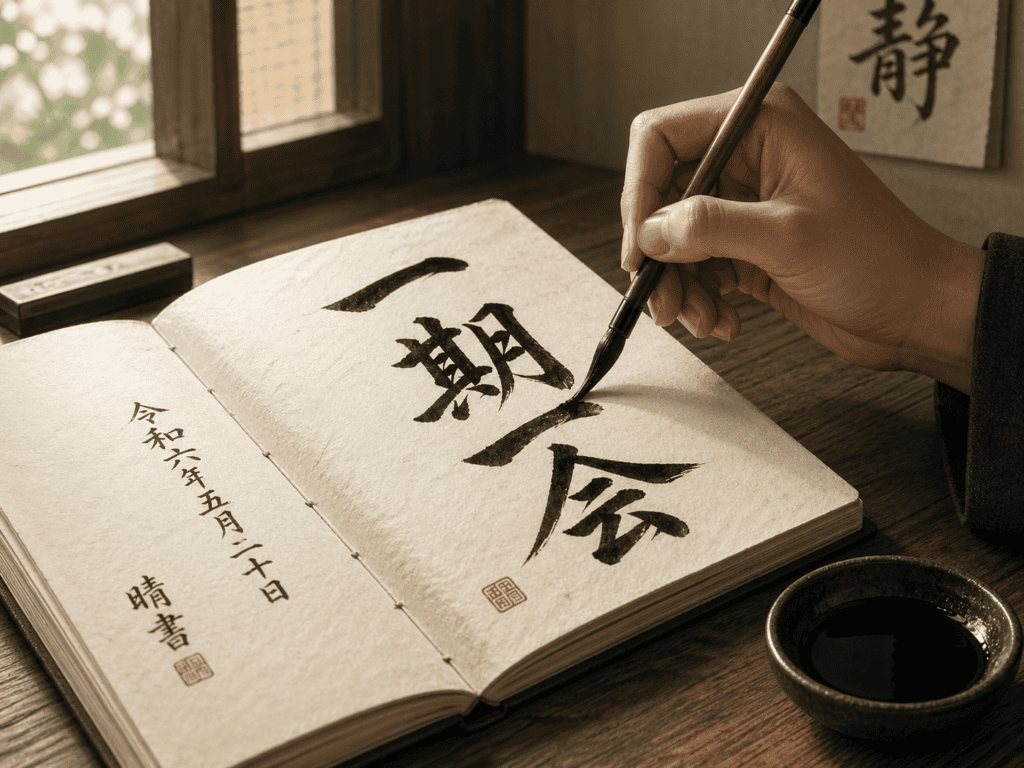
In week one, learn the setup and the grip. Sit, hold the brush upright, and draw 一 again and again. Do not worry about the shape. Watch only the pressure, the speed and the lift. By the end of the week your line should look calmer, even if it is not yet straight.
In week two, add 二 and 三, and pay attention to spacing. Write each in strokes from top to bottom, and compare the gaps. Then add 十, which has two strokes that cross. Crossing strokes teach you to finish one line cleanly before starting the next.
Weeks Three and Four
In week three, move to characters with more shape, such as 日 and 山. They bring corners and vertical strokes. A vertical line asks for the same press, glide and lift, only turned ninety degrees. Take your time at the corners, where the brush must pause and turn. Those pauses are where a beginner’s lines gain character.
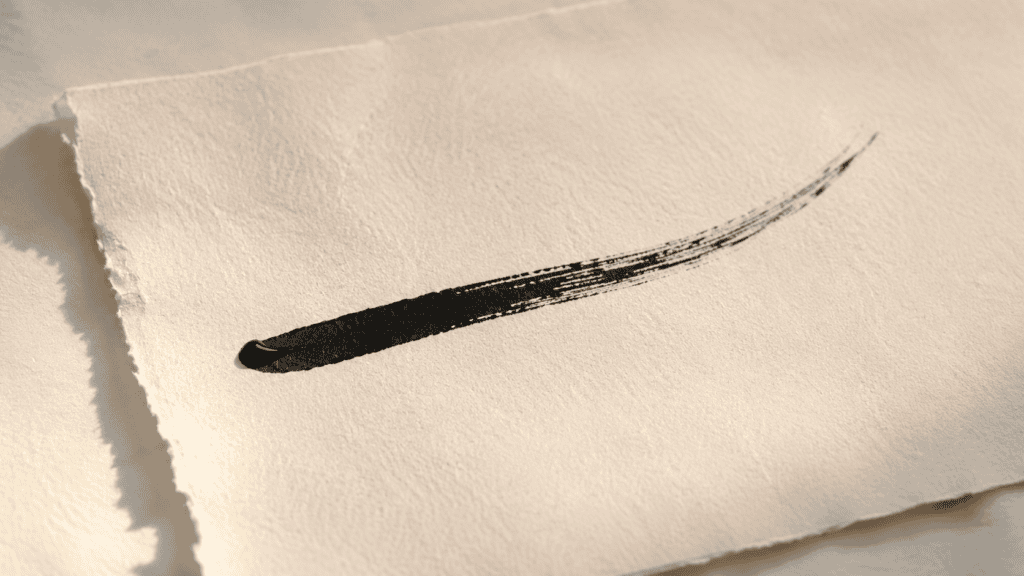
In week four, try 道, the character from the word 書道. It has twelve strokes, so it asks for everything you have practised: spacing, corners, pace and balance. Write it slowly, a few times a day, and expect it to look rough. Then set your first week of sheets beside your last. The difference is the best proof that the method works.
Some learners like to record the month in a notebook, noting the date, the tool and one thing the session taught them. A short note is enough. Over a few weeks the notes show patterns, such as the time of day your hand is steadiest. They also remind you why you began, which helps on the weeks when progress feels slow.
When You Want Structure on Paper
After a month, some learners want a guided path on paper. Our calligraphy workbooks are made for that stage, with stroke order and room to practise. They do not replace the habits above. They build on them, and they pair naturally with the brush and the felt pad you already own.
Recommended
Carry It to Japan
Many learners find that a small trip changes how brushwork feels. A sign painted by hand becomes a sign you can read for its strokes. The month at your desk pays off in small moments like these. Keep a notebook with you, and let the street add to what the brush has taught.
Every character you learn to write starts with a stroke on a desk. That is worth remembering on the days when the minute feels small. A trip is built from many such minutes, each adding a little to what you can read and make. Keep the habit short, keep the tools simple, and let the brush set the pace. The effort is small, and the reward is a line that finally goes where you meant it to.
Brushwork on the Road
We can build days around that pleasure. Picture a morning in a studio where you write alongside a teacher, an afternoon in a district known for paper and ink, and an evening at a table where you read the menu by its characters. Each step turns practice into something lived. Nothing about it needs to be rushed. A good itinerary leaves room to stop at a sign and study the strokes, or to linger in a shop where paper is sold by the sheet. Tell us what you want to see, and we will plan the days around it, from the first studio to the last table. The pace, the places and the pauses are all yours to choose.
A Journey Built Around the Brush
We can plan days around the pleasure of calligraphy: studios where you write beside a teacher, districts known for paper and ink, and tables where you read the menu by its characters. Every itinerary is built around your pace and your interests.
Plan Your Custom Japan ItineraryQuestions Worth Asking
Can a complete beginner learn Japanese calligraphy?
Yes. Japanese calligraphy for beginners starts with single strokes, so no earlier skill is needed. You need a brush or brush pen, ink, paper and a few minutes a day. A first month of short sessions is enough to see a calmer, more even line.
Do I need to speak Japanese to start?
No. The first lessons are about the brush, the grip and the strokes, not the language. You can write 一, 二 and 三 without knowing any Japanese. Meaning and reading can come later, when you choose characters to write, and many learners pick up a few words along the way.
Should I start with a brush pen or a real brush?
Either works. A brush pen is ready at once and is easier to steer, so it suits the first week. A real brush shows every change in pressure and teaches more control. Many learners begin with a pen, then move to a brush.
What paper should a beginner use?
Use thin practice paper, called hanshi, on top of a felt pad. It takes ink well and is made for daily use, so you can write freely without worrying about waste. For the very first strokes, a water writing cloth needs no ink at all.
How long does it take to learn Japanese calligraphy?
There is no fixed time, because the art is a lifelong practice. Short daily sessions often bring a steadier basic line within a few weeks. Flowing, confident characters take much longer. Treat the first month as learning how the brush behaves.
Which characters should a beginner write first?
Start with 一, 二 and 三 in block style. They have one, two and three strokes, and each is a plain horizontal line, so you can focus on pressure and speed. After a few weeks, add 日 and 山, then try 道.