Learning how to practice kanji on iPad begins with a simple idea: the screen is a page, and the stylus is a pen. Many learners already carry a tablet everywhere. So the real question is not whether to use it, but how to use it well. A good routine turns ten spare minutes into steady, visible progress.
This piece walks through that routine step by step. You will set up a page, choose a stylus and learn a four-stage sequence. Each stage moves a character from your eye into your hand. We also look at the research and try two real characters together. For the wider picture, start with the Magnificent Japan kanji workbook series.
The method here is the one behind Kanji Workbook, Volume 1, whose Digital Letter edition was designed for a tablet from its first page. You do not need the book to follow along. However, if you want pages that already do the setup for you, it is the natural next step.
How to practice kanji on iPad, in brief
Open a write-on PDF in a markup tool and write with a stylus. Work each kanji from tracing to half-tracing to freehand, then inside a word. Keep the page layout fixed, follow stroke order and practice for ten minutes a day. A paper-feel screen surface and a steady stand bring the experience closer to paper.
Why an iPad Works for Kanji Practice
An iPad works for kanji practice because it combines three things a learner needs: a pen-like tool, an endless supply of clean pages and instant correction. You can write a character, erase it without a trace and write it again in seconds. That speed keeps a session moving, and movement keeps attention.
Kanji reward repetition. Each character is a small structure of strokes, and the hand must learn where each one starts, travels and stops. Paper teaches this well, yet it runs out and piles up. As a result, many learners practice more often on a tablet, simply because the page is always there.
The page never runs out
With a write-on PDF, the same practice page can be used again and again. Write a row, check it against the model, clear it and start over. That matters most in the early weeks, when you want to repeat one character many times before moving on.
There is a second benefit that is easy to miss. A tablet lets you zoom. When a character looks crowded, you can enlarge the box and see exactly where a stroke went wrong. Then you shrink it back and write at normal size, which is where the hand has to perform in daily life.
Correction is instant
On paper, a wrong stroke becomes a permanent record of the mistake. On a screen, you can undo it and rewrite it correctly while the error is still fresh. The trick is to notice what went wrong before you tap undo, so that every correction teaches something.
That is also why stroke order deserves attention from the very first session. If the order is wrong, speed and balance suffer later, however neat the shape looks today. Our companion piece on why stroke order shapes balance and speed explains the reasoning in full.
What You Need Before You Start
The good news is that the kit is small. You need an iPad, a stylus, a surface that grips the nib a little and a page designed for writing.
A stylus that feels like a pencil
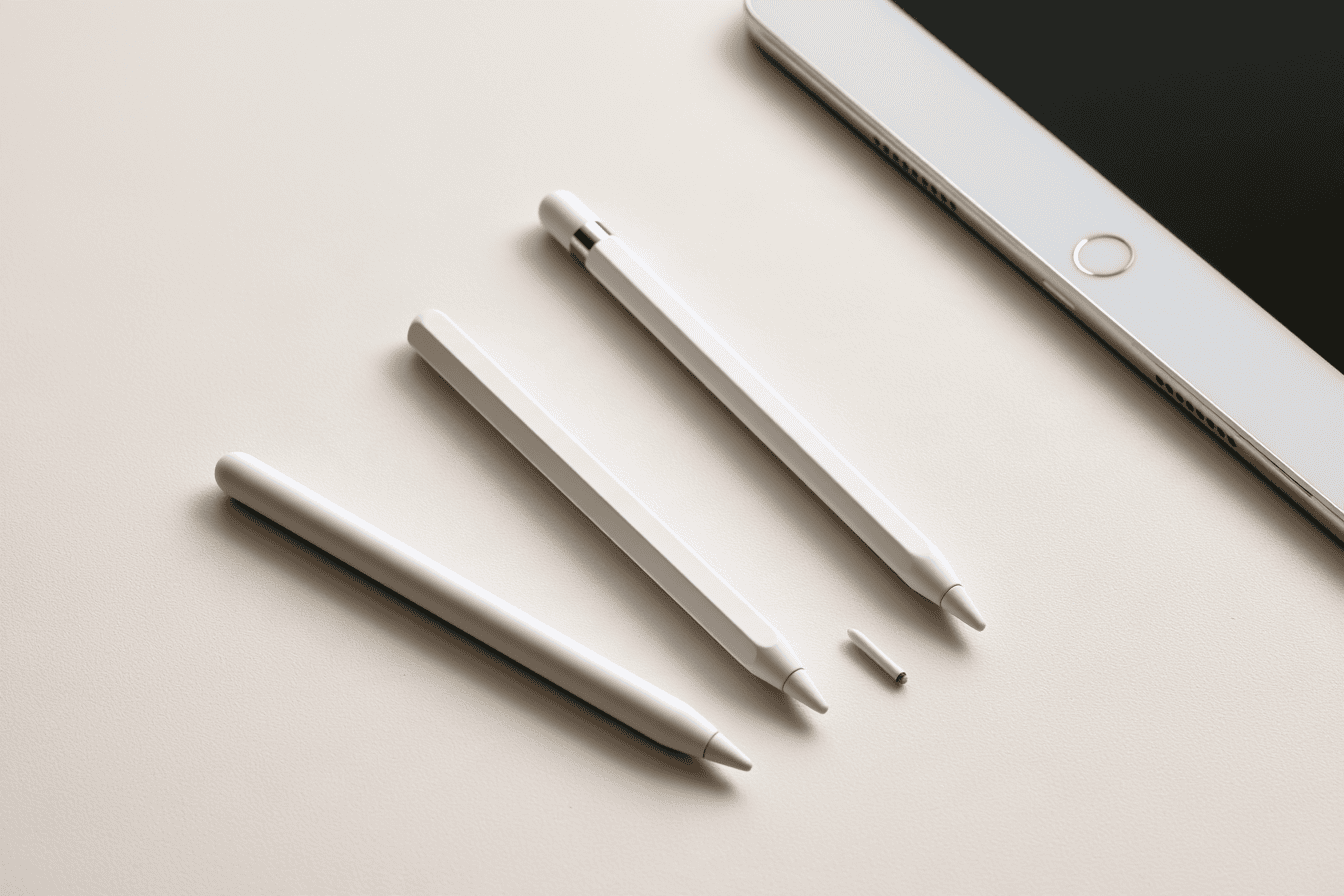
The first decision in how to practice kanji on iPad is the stylus, and it matters more than any app. A fine, firm tip places the start of each stroke precisely. That is where kanji are won or lost. Palm rejection matters too. If the screen reads your hand as a second touch, you will fight stray marks all session. So look for a pen you can hold as you would hold a pencil, at the same angle and with the same light grip.
If you write for long sessions, keep a spare nib nearby. Tips wear down with daily use, and a worn tip drifts across glass instead of stopping cleanly. These three pieces, all from the Japanese maker Elecom, cover the pen side of the setup.
A page built for writing
Next comes the page itself. A write-on PDF is a document laid out like a printed worksheet, with boxes, guides and models. You write on it directly with a stylus. On iPad, you can do this with Markup, the drawing tool built into the Files app and other Apple apps. Apple’s guide to Markup on iPad covers the basic drawing tools in a few short steps.
Whatever tool you use, keep it simple. Choose one pen color and one thickness for practice, and leave them alone. Changing tools mid-session breaks concentration. Save a clean master copy of each page, then practice on a duplicate, so the original stays untouched for the next round.
Paper for the words a screen cannot hold: a market morning, a street sign, a kanji you finally recognized.
Unlined pages · From the Travel Journal Collection
Shop This Journal →A Ten-Minute Routine for Kanji Practice on iPad
Here is the heart of it: how to practice kanji on iPad in a way that sticks. The routine takes about ten minutes and follows four stages. Each stage asks a little more of your memory and a little less of the model. Think of it as a ladder, where every rung removes one support.
Work on one or two characters per session, not ten. Depth beats breadth in the first weeks, because the hand needs repeated, correct movements before a shape becomes automatic. If you are still choosing where to begin, our guide to starting kanji without feeling lost maps out a sensible first path.
Stage one: trace
Start by tracing over a printed model, following the stroke order exactly. Go slowly. The aim is not a beautiful character but a correct path: where each stroke begins, which direction it moves and how it ends. Say the meaning under your breath as you write, so the shape and the idea arrive together.
Stage two: half-trace
Next, write over a model that shows only part of the character, such as a faint outline or the first few strokes. Now your memory has to supply what the page leaves out. The effort of recall is what makes a character stay.
Stage three: freehand
Then write the character in an empty box, from memory, with no model at all. Compare it with the reference afterwards, not during. Check the proportions, the spacing and the finishing strokes. If something is off, write it again two or three times, then move on rather than drilling it into frustration.
Stage four: in a word
Finally, write the character inside a short word. A kanji rarely lives alone, and writing it beside kana teaches size and balance in context. It also connects the shape to a sound and a meaning, which is how you will meet it when reading.
For a deeper look at why this ladder works, read about how the hand remembers what the eye forgets.
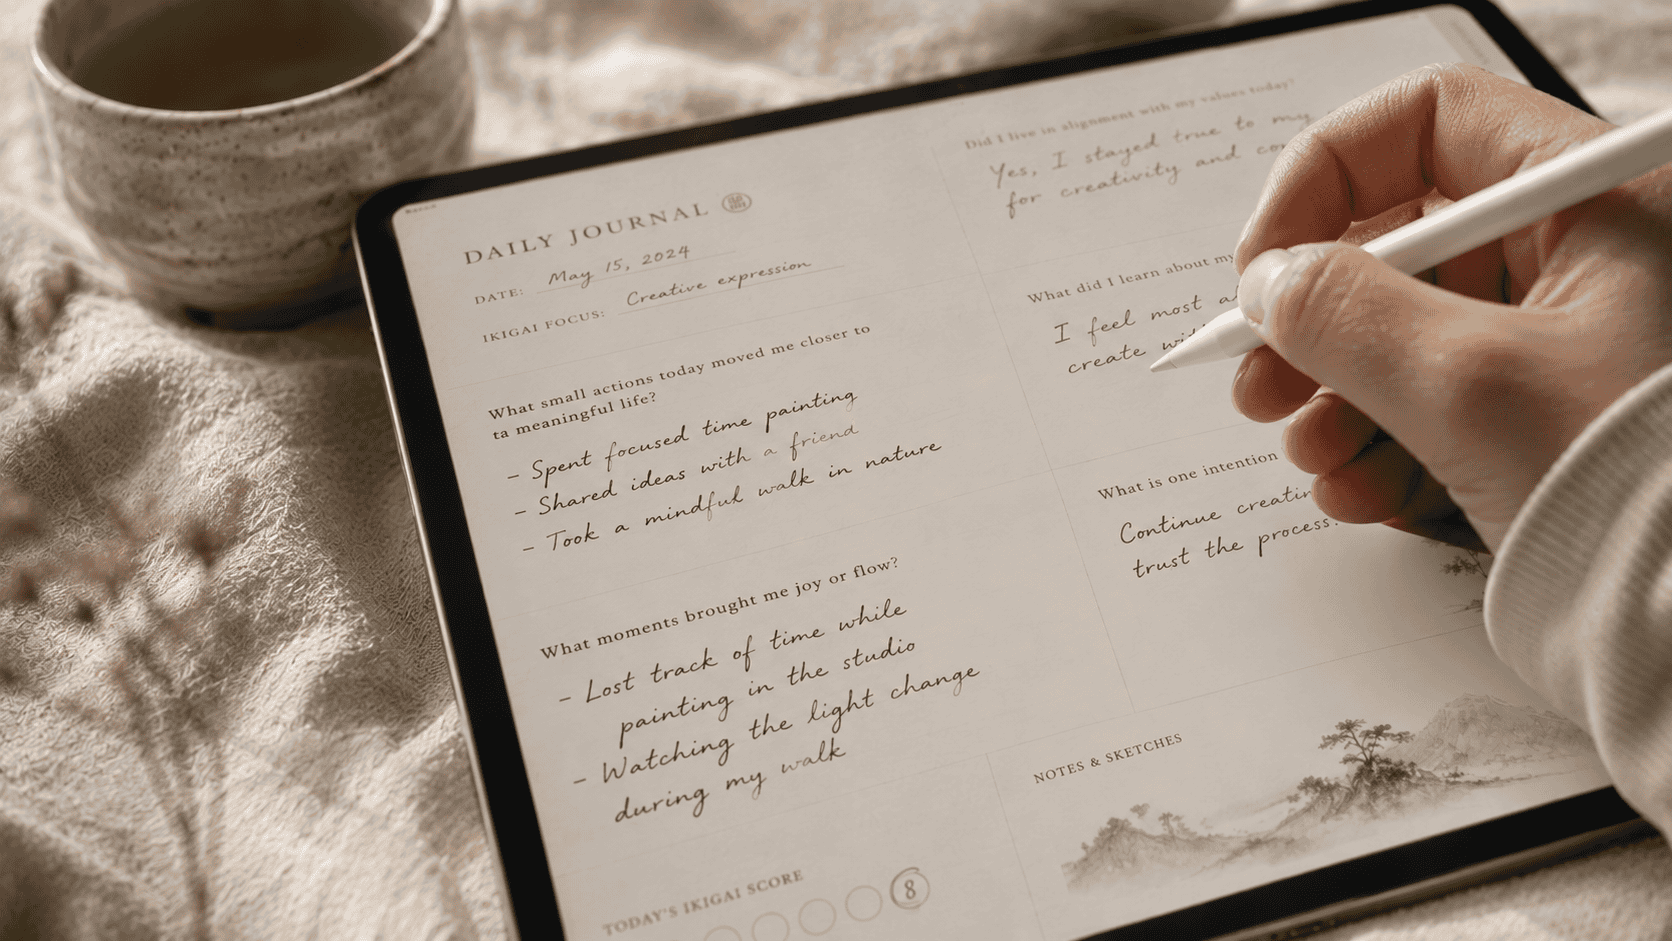
A ten-minute session might look like this. Spend two minutes tracing, two on half-tracing, three on freehand and three writing words. Then stop, even if you feel like continuing. If ten minutes feels long at first, start with five and let the session grow as the routine settles. Keep any timer out of sight, so the clock does not pull at your attention. Ending while the session still feels good makes it easier to start again tomorrow. Consistency matters far more than any single long sitting, and a small daily habit compounds quickly. The table below sums up the four stages and how each one behaves on a tablet.
Each stage removes one support, so memory does more of the work.
| Box type | What you do | What it trains | Tablet tip |
|---|---|---|---|
| Traced | Write over a full model | The path of each stroke | Zoom in and go slowly |
| Half-traced | Complete a partial model | Recall of the missing strokes | Keep one pen color |
| Freehand | Write from memory in an empty box | Independent recall and balance | Compare only after writing |
| Word | Write the kanji inside a word | Size and balance beside kana | Try it once at note size |
Two Kanji to Try Tonight: 新 and 左
The first is 新, meaning new. It has 13 strokes and sits at the N4 level (unofficial). The second is 左, meaning left, with 5 strokes at the N5 level (unofficial). One is dense and one is light, which makes them a useful pair for a first session.
The levels carry that label for a reason. The organizers of the Japanese-Language Proficiency Test stopped publishing official vocabulary and kanji lists after the 2010 revision, as the JLPT’s own FAQ explains.
新: thirteen strokes, two halves
新 divides into a left half and a right half. The left side carries nine strokes, and the right side carries four. Notice how the left half stays narrow so the right half has room. In freehand, check that balance before anything else.
In a word, 新 appears in あたらしい (atarashii), the everyday adjective for new. Write the kanji followed by the kana ending しい, keeping the kanji slightly larger than the kana beside it.
左: five strokes, one sweep
左 is shorter but less forgiving. It opens with a horizontal stroke, then a long sweep down to the left, followed by a small structure underneath. Trace it three times, half-trace it twice, then write it freehand until the sweep lands in the same place each time.
Its everyday word is ひだり (hidari), which simply means left. You will see the kanji on signs across Japan.
If your practice is building toward a trip, we can plan a custom Japan itinerary that turns screen practice into real reading, from rail signs to shop fronts.
Occasional letters on learning kanji by hand: practice ideas, new tools from Magnificent Japan and short notes on the Japanese behind them. Useful whether you practice on paper or on an iPad.
Occasional letters. Unsubscribe anytime.
Paper or Screen: What the Research Says
It is fair to ask whether writing on glass is as good as writing on paper. Handwriting helps, whether the tool is a pen or a stylus. Paper, however, still holds a small edge for memory. Knowing why helps you decide how to practice kanji on iPad in a way that closes the gap.
A 2024 study in Frontiers in Psychology, from researchers in Norway, recorded brain activity in 36 university students. When they wrote by hand with a digital pen on a touchscreen, brain connectivity was far more elaborate than when they typed. In other words, a stylus is not a keyboard.
Paper still has a lead, though. In 2021, researchers at the University of Tokyo compared paper notebooks, tablets with a stylus and smartphones among 48 volunteers. The paper group finished the note-taking task faster, in about 11 minutes against 14 for tablet users. Paper users also showed stronger brain activity when they later recalled the information. The team credited the one-of-a-kind details that a physical page holds.
For kanji learners, the lesson is practical rather than discouraging. Write by hand on the tablet instead of tapping characters on a keyboard. Then borrow the features that make paper memorable. Our sister piece asking whether writing kanji helps you remember them goes further into the research on the hand and recall.
The Tokyo study also offers a clue about how to borrow those features. Its lead researcher, Professor Kuniyoshi Sakai, suggested personalizing digital documents. Highlight, underline, circle, draw arrows and add handwritten notes in different colors. Each of those marks gives a page its own character. The next section applies that advice directly to kanji practice.
Making the iPad Feel Like Paper
Three habits bring a tablet page closer to paper. The goal is a page your memory can find again: fixed places, stable marks and a surface that pushes back slightly against the pen.
Keep the layout fixed
Use the same page design every session, with the same boxes in the same positions. Memory is partly spatial, so a character learned in the top left corner of a familiar page has an address. Avoid layouts that reflow as you scroll. A PDF with a fixed page, viewed one page at a time, behaves most like a printed worksheet.
Mark your pages
Follow the Tokyo team’s advice and leave traces. Circle a stroke you keep getting wrong. Draw a small arrow where a sweep should end. Add a short note in a second color beside a tricky character. These marks turn a generic page into your own, and they give your memory more to hold on to when you return.
Add a little friction
Glass is slippery, and that affects control. A paper-feel screen protector adds gentle friction, so the nib stops where you intend. Set the iPad on a stand as well, at a slight angle, so your wrist rests naturally and the page stays put.
Recommended
What a Digital Kanji Workbook Should Do
A blank PDF works, yet a page designed for the tablet does more. The Digital Letter edition of Volume 1 was built for exactly this routine. It covers 100 kanji at the N5 and N4 levels (unofficial): 63 at N5 and 37 at N4. Every kanji gets 19 practice boxes, 1,900 in all, across traced, half-traced, freehand and word boxes.
Each stroke panel shows one frame per stroke. The new stroke appears in red, with earlier strokes in soft champagne behind it. An arrow shows direction, and a number shows order. On a tablet, you can zoom into any frame and study it before you write.
The edition has tappable contents and bookmarks, so you can jump straight to any character. Checkpoints and a progress tracker show how far you have come. Every example sentence uses only kanji already taught, and later kanji appear in kana. So you never meet a character before you have written it.
Volume 1 opens an eight-volume series covering all 2,136 jōyō kanji. That is the standard table of everyday characters described by Japan’s Agency for Cultural Affairs. Each kanji appears once across the series. The Digital Letter edition is available now, while two print editions, 6×9 and 8.5×11, are in production for learners who prefer paper.
Keeping the Habit
Knowing how to practice kanji on iPad is only half the work. The other half is returning to it every day. Short sessions work best when they are tied to something you already do, like a morning drink or the first minutes after work. The cue does the remembering, so willpower does not have to.
A warm drink makes a good cue. It marks the start of the session and makes ten minutes feel like a small ritual rather than a chore. A home-made matcha latte suits this well. It takes about five minutes, and the whisking itself is a steadying warm-up for the wrist.

A matcha latte before you begin
Matcha is powdered green tea, whisked rather than steeped, and a matcha latte simply adds warm milk. Tea houses in Kyoto publish their own versions, and the ratio below follows a common one: a little matcha, water just off the boil, a brisk whisk and an equal measure of milk. Sift the powder first, because clumps are the usual problem. Let the kettle rest for a minute or two, since the recipe calls for water a little below boiling. Whisk until a fine foam covers the surface, then add the milk. The whole process takes about as long as opening your page.
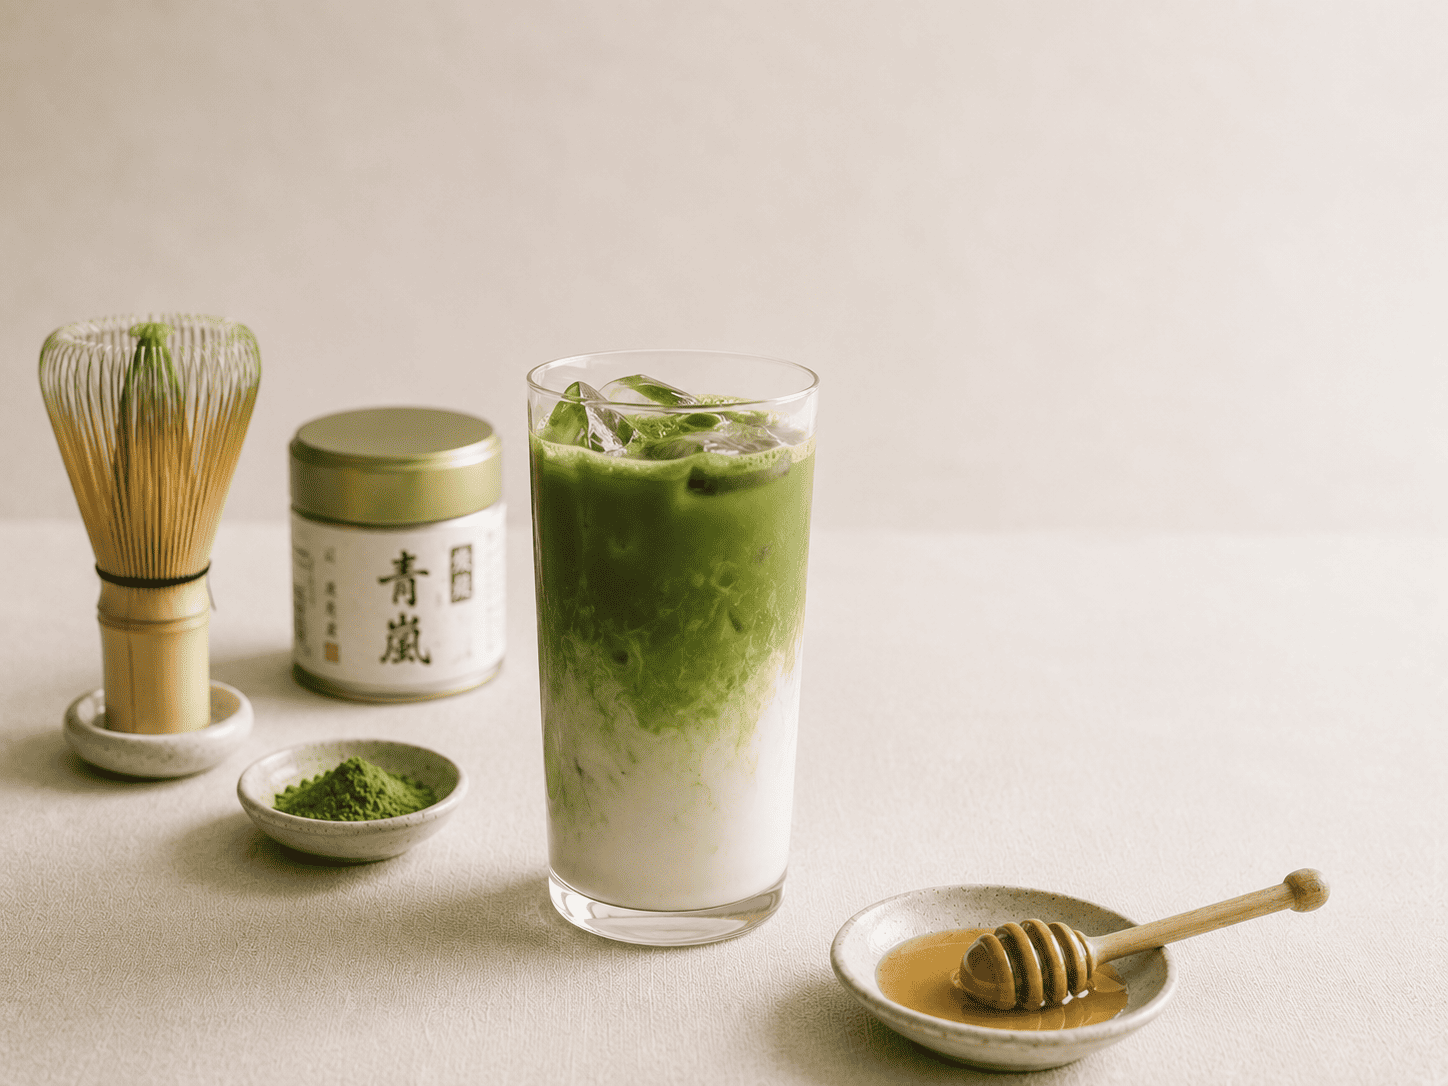
- 1½ level teaspoons (3 g) matcha
- 3.4 fl oz (100 ml) hot water, about 176°F (80°C)
- 3.4 fl oz (100 ml) milk, warmed or frothed
- Honey or sugar to taste (optional)
- Bring water to a boil, then let it cool for a minute or two, to about 176°F.
- Sift the matcha into a wide cup or bowl.
- Add the hot water and whisk briskly in a zigzag for about 15 seconds, until smooth and foamy.
- Warm the milk gently, frothing it if you like.
- Pour the milk over the matcha, sweeten to taste and serve at once.
Once the latte is ready, set it well away from the iPad, open your page and begin with a trace. By the time the cup is half finished, you should be writing freehand. That natural timer is part of the appeal. When the cup is empty, the session ends, and tomorrow’s cup starts the next one.
Set up the desk once
A settled desk removes small decisions from every session. Keep the stylus in the same place, the iPad on the same stand and the screen surface clean. When the tools wait for you, starting takes seconds. These three pieces complete the setup: a paper-feel protector that fits the 10.9-inch iPad, a stand for the pen and a stand for the tablet.

Track progress, then add characters
Progress in kanji is easy to underestimate, so make it visible. Keep a simple list of the characters you can write freehand without checking. Review older characters once a week by writing them from memory. If one has slipped, send it back to the tracing stage for a session. Nothing is lost; it simply needs another climb up the ladder. Seeing the list grow is its own reward.
Between sessions, the kanji flashcards on Magnificent Japan keep characters in rotation, so recognition stays fresh while your hand catches up. The 100 Kanji Challenge adds a steady rhythm if you like working to a plan. Use both as support for writing, never as a substitute for it.
When to switch to paper
A tablet does not have to replace paper completely. One good pattern is to use the iPad daily and write on paper once a week as a check. Paper shows whether your control holds without the grip of a screen protector or the safety of undo. If a character looks the same on both, you truly own it.
It also helps to write the occasional note by hand in Japanese, even a single word. Kanji learned only in practice boxes can feel stiff outside them. For the science of why the hand matters so much in learning characters, our essay on the neuroscience behind kanji mastery is a good companion read.
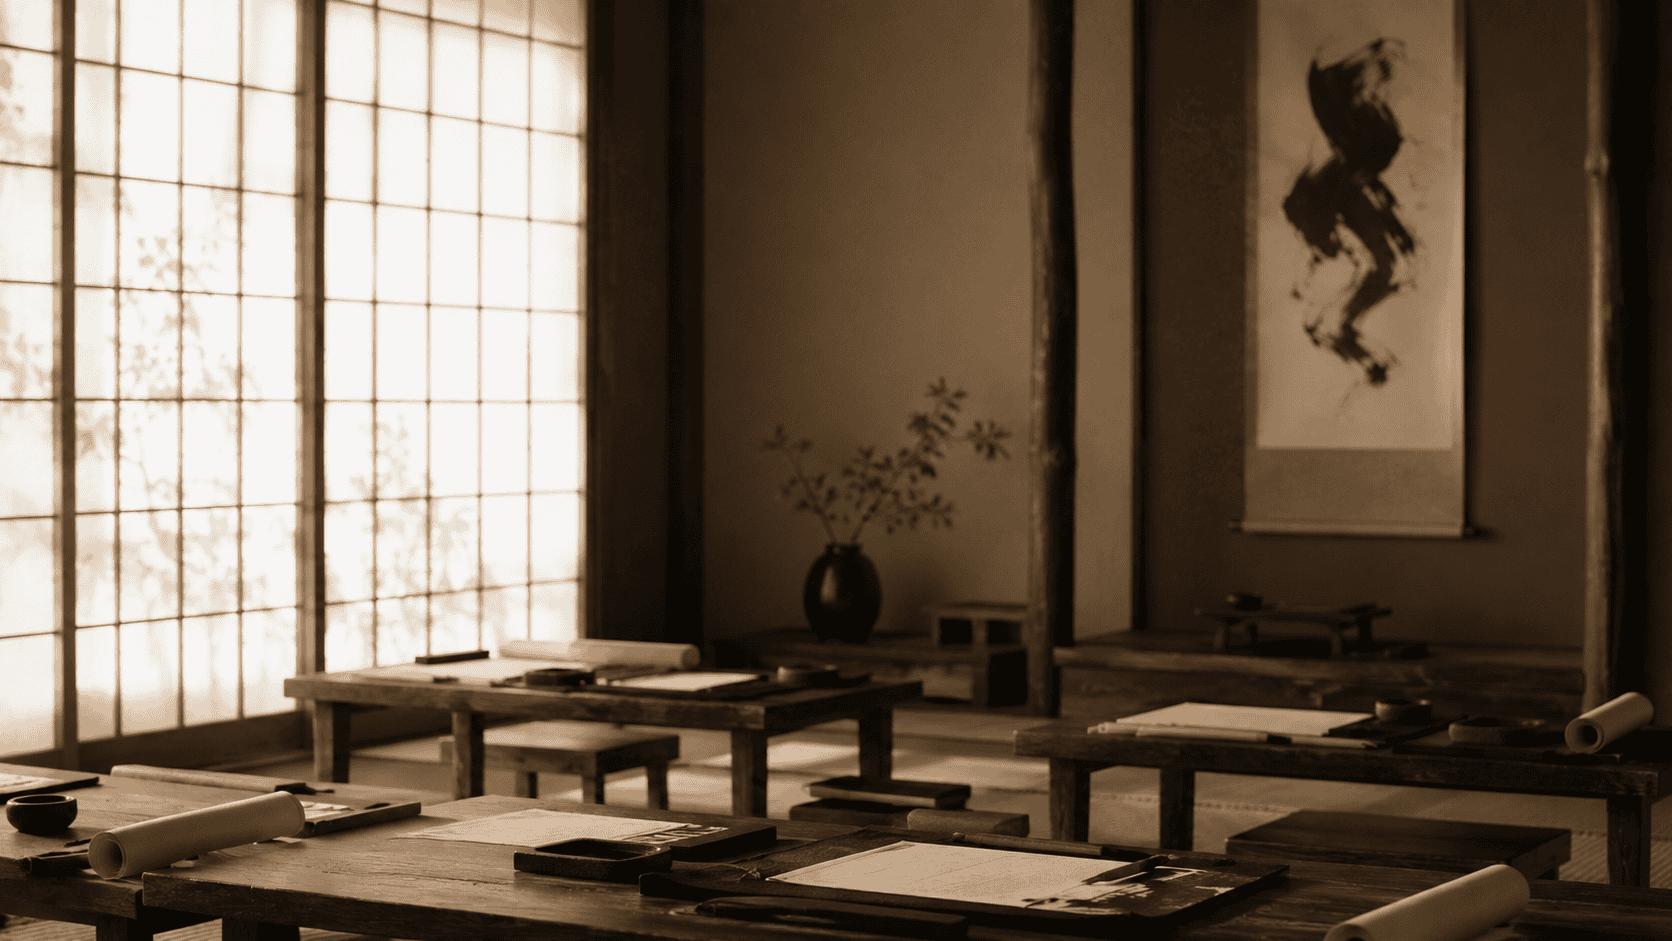
That tradition is worth remembering whenever a screen feels like a shortcut. Japanese children still learn characters stroke by stroke, over years, with patient repetition. Your iPad does not change that process; it simply makes the materials lighter and the pages endless. Treat it as a very good notebook, and it will serve you well. Treat it as a way to skip the work, and the characters will not stay. So keep the routine small, steady and honest. Ten careful minutes will always teach more than an hour of rushed tracing. With that in mind, here are the questions learners ask most often.
Questions Worth Asking
Is writing kanji on an iPad as good as writing on paper?
Do I need an Apple Pencil to practice kanji on an iPad?
Which app should I use for kanji writing practice on iPad?
How long should I practice kanji each day?
Does stroke order still matter when writing on a screen?
Is there a print edition of the kanji workbook?
Your First Page
You now have everything you need to begin: a stylus, a page, a ten-minute routine and two characters to try. The method is simple enough to start tonight and deep enough to carry you through the first hundred kanji. What matters now is the next session, and the one after that. Kanji reward patience, and a tablet makes patience easier to practice.
Understanding how to practice kanji on iPad is a small step, yet it changes how learning feels. Each box you fill is a record of attention. Over weeks, those records add up to reading signs, menus and names with growing confidence.
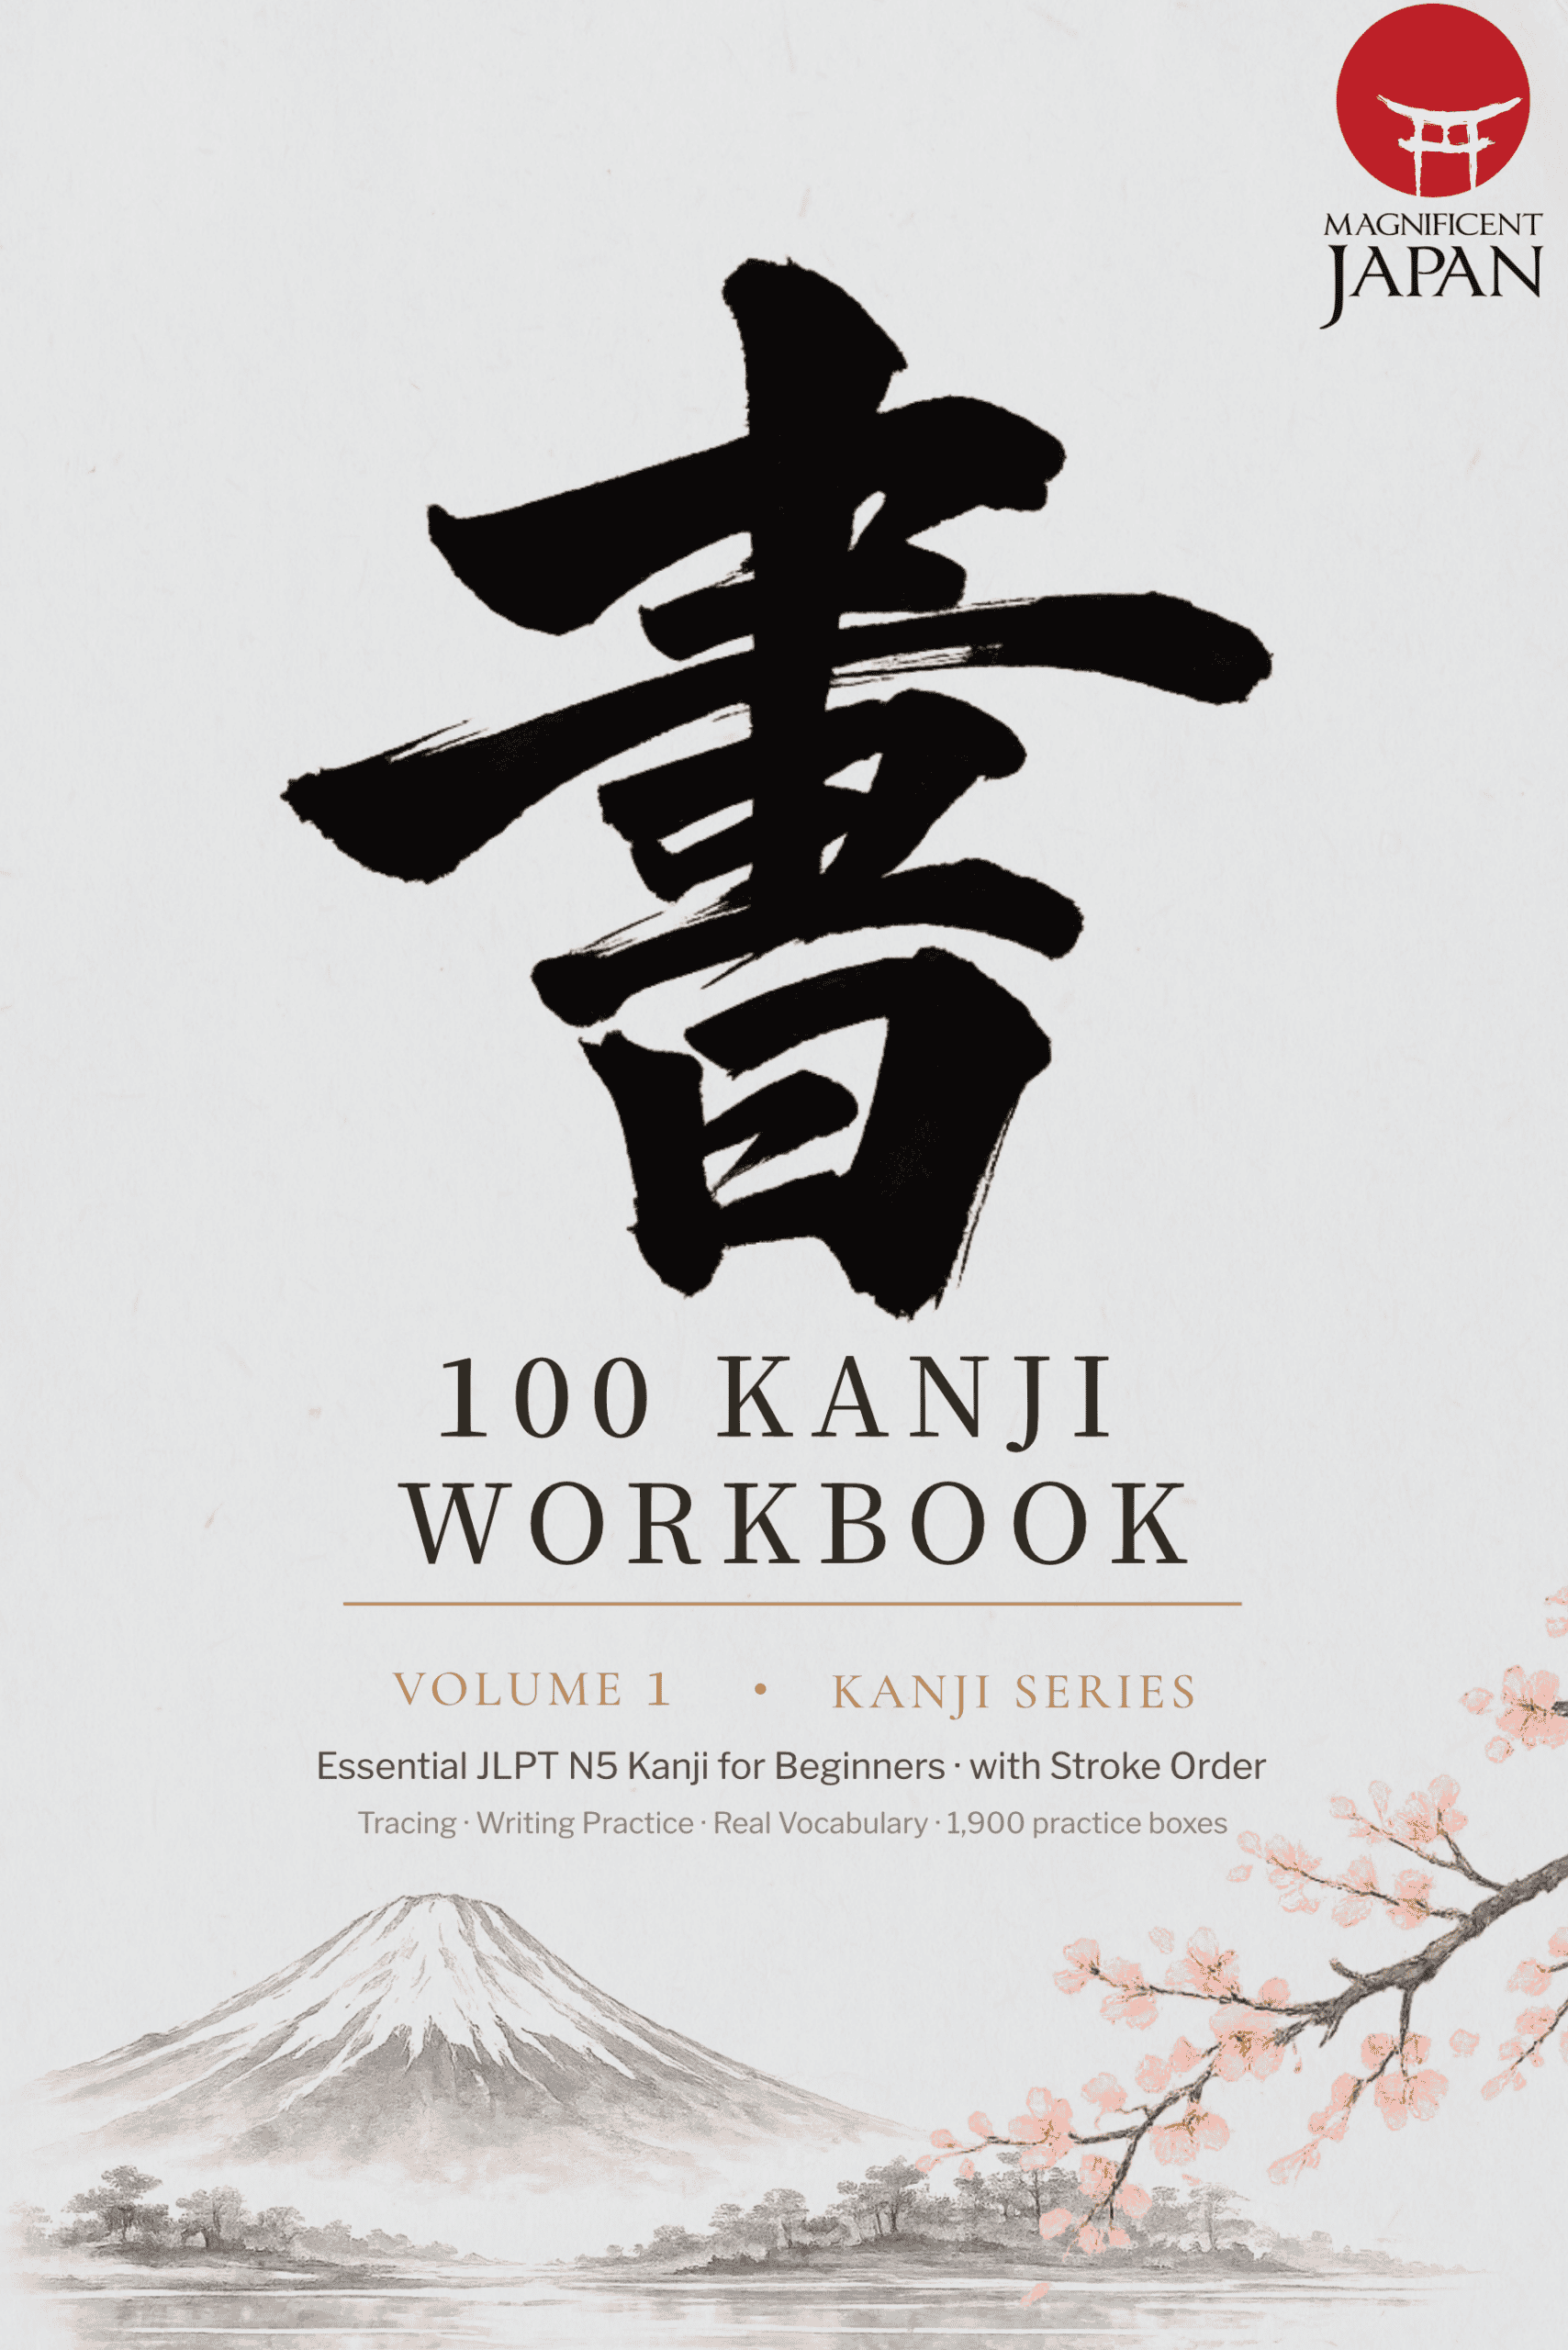
If you would like pages that already follow this routine, explore Volume 1 of the kanji workbook series. Its Digital Letter edition brings the stroke panels, the four box types and the progress tracker to your iPad, ready for the first trace. The pages follow the same ladder described here, so you can open the file and begin without building anything yourself. Start with one character tonight. Write it slowly, check it honestly and let the hand do the learning. Then close the cover and leave it for tomorrow. Tomorrow, the page will be waiting, and so will the next character.
Like a kanji routine, it asks for a few focused minutes a day and rewards the return.
View the Journal →Kanji practice and reflective journaling share a rhythm: a few focused minutes, a pen and a page. Whichever you choose tonight, keep the session small and come back tomorrow.
We plan routes where your reading gets real use: rail journeys with kanji station names, food streets with handwritten menus, and a calligraphy lesson to try the strokes with a real brush.
Plan Your Custom Japan Itinerary