Japanese writing practice sheets work best when each one starts from a single character. Here is how that works with our practice tool. It holds 100 characters, and every one can be written on a canvas, checked against its stroke order and saved as an image. Print that image, and you have a sheet made for the character you are learning today.
This guide explains the set, the page and the routine. It covers the hiragana, the katakana, the kanji from our workbooks and the name kanji. Then it shows how to move from screen to paper and back again. It ends with a desk set for printing day and a warm cup to keep beside it.
The tool holds 100 characters: 15 hiragana, 15 katakana, 15 kanji from the MJ workbooks, five from each of Volumes 1 to 3, and 55 kanji used in Japanese names. You write each one on a canvas with its stroke order shown, then save the page as an image to print.
Japanese Writing Practice Sheets for a Hundred Characters
A page needs a plain definition, so here is ours. In this guide, japanese writing practice sheets are pages built around one character. Each carries a square, a pale guide and room for your own strokes. In the tool, you make that page yourself. You choose a character, write it, and save the result. Printing the saved image gives you a sheet you can keep, repeat or write beside.
Making your own japanese writing practice sheets has a real advantage. The page records what your hand actually did. Your own page shows where a stroke drifted, where a corner closed too early and where the shape finally settled. That record turns a practice session into something you can read afterwards.
What the hundred are made of
The 100 characters fall into four groups. There are 15 hiragana and 15 katakana, which together make the 30 kana. There are 15 kanji taken from the MJ workbooks, five from each of the first three volumes. The last group holds 55 kanji used in Japanese names. Each group has its own section below, with a few sample characters.

Fifteen Hiragana, Fifteen Katakana: The Sounds First
Kana come first in most learners’ minds, and for good reason. Every Japanese sentence uses them. The tool gives you 15 hiragana and 15 katakana, 30 characters in all. They are the soft, curved hiragana and the sharp, angular katakana, each pair sharing a set of sounds. Japanese writing practice sheets for kana show the difference better than any chart.
Take あ, the first hiragana in the tool. It has three strokes, and it reads as a. The curves are the hard part. A beginner often draws the loop too tight, so the shape collapses into a knot. On a printed page, that mistake is easy to spot, because the loop and the stem run into each other.
Now look at ア, its katakana partner. It has only two strokes, and it reads as a as well. The shape is angular, with a short bar and a bent line. Writing あ and ア side by side shows the two scripts clearly. The first flows, and the second turns corners.
Why two sheets for one sound
A sound that lives in two scripts deserves two pages. Write あ on one and ア on the other, and keep them together. Then you can compare strokes, direction and balance in one glance. Katakana show up on menus, signs and loanwords, so you will meet ア almost as often as あ in a real street.
You may also like

Fifteen Kanji From the Workbooks, Five per Volume
Next come 15 kanji from the MJ workbooks. They are five from Volume 1, five from Volume 2 and five from Volume 3. Think of them as a sample from the whole series. They show how the shapes grow, from a few strokes to many, as you move from one volume to the next. If you want the full Volume 1 path later, the Volume 1 page lays it out.
Three samples show the range. 花 means flower, and it has seven strokes. 夜 means night, and it has eight. 和 means harmony, and it also has eight, with the reading wa. Each one is a good test of balance. In 和, the left and right halves must sit in step, and a narrow gap between them makes the whole shape look tight.
The tool also gives a short memory cue for each of these kanji. A cue works because it links shape to meaning. For 和, the cue describes a mouth beside a stalk of grain, and the picture is of people sharing a meal. A cue like that is not a rule. It is a hook, and your own hook will always stick better.
Reading a kanji before writing it
Before you write, read the card. It shows the meaning, the readings and the stroke count. Say the meaning aloud. Then count the strokes with your finger on the screen. This takes ten seconds, and it changes how you write, because you know the number you are aiming for. A kanji with eight strokes cannot be finished in six.
Fifty-Five Name Kanji: Characters With a Story
The largest group in the set is the name kanji. There are 55 of them, and they come from real Japanese given names. Many are rare in ordinary text, yet they appear on name cards, greetings and signatures. For a learner, they are the most personal characters in the tool. Writing a name feels different from writing a word in a list.
Three samples show the flavour. 椿 means camellia, reads tsubaki and has 13 strokes. 蓮 means lotus, reads hasu or ren and also has 13 strokes. 翔 means soar or fly, reads kakeru or sho and has 12. Each one is a real name, and each one is a pleasure to write once the strokes are in order.
The tool has a name mode for these characters. Pick a name kanji, and the tool offers names that use it. A name such as Rento joins two kanji, one for lotus and one for soar. You practise the first, then the second, and the pair becomes a name you can sign.
From the set to your own name
If you want to write your own name, our Japanese name generator suggests kanji, readings and meanings. Some of its choices will match characters in the tool, and then you can practise them there. Others will not, and that is fine. The name kanji in the set are a place to begin, not a limit.
What One Page Holds
Open the tool, and one character fills the screen. Above the canvas, you see the character, its meaning, its reading and its stroke count. A drop-down lets you pick any of the 100 by number. Below the canvas, a row of buttons holds the controls. Each has one job, and none is hard to learn.

For japanese writing practice sheets, the buttons are Clear, Undo, Stroke order, Hide guide and Save. Clear wipes the canvas. Undo takes back the last stroke, which is handy when a line wobbles. Stroke order shows numbered strokes with arrows. Hide guide removes the pale model, so you write from memory. Save is the button that makes the sheet, and the next section explains it.
What the saved image contains
The Save button saves the canvas as an image file. The image holds a white square, faint centre lines and a dashed frame. It carries your strokes in the ink you picked. If the guide was showing, the pale model character is there too. A small line at the corner names our site. Nothing else is added, and nothing needs to be installed.
The image is one character on one page, which is how these japanese writing practice sheets work. That is the whole idea. It is not a pack and not a long worksheet. You make a page, you save it, and you print it if you want paper. Because each character gets its own page, you can print only what you need on a given day. A short session needs one page, and a long one needs a few.
You may also like

Using a Page: Watch, Trace, Then Write Alone
The routine has three steps, and the page supports each of them. First you watch. Then you trace. Finally you write alone. The sequence is short, and our practice page says the whole loop takes under a minute. That is why you can repeat one character a dozen times before your tea goes cold.
Watch the strokes arrive
Press Stroke order, and the strokes appear in sequence. Each one is numbered, and an arrow shows its direction. Watch the full sequence once without writing. Notice which stroke comes first, which crosses another and which comes last. The stroke data comes from the KanjiVG project, and the order follows the one taught in Japanese classrooms.
Trace the guide
Next, trace over the pale guide. Go slowly, and keep your eyes on the shape, not the screen edge. Tracing builds the path your hand will follow later. If a stroke goes wrong, press Undo and start that stroke again. Two or three traces are usually enough. More than that, and tracing becomes copying without thinking.
Write it alone
Now press Hide guide and write the character from memory. This is the step that matters. The canvas is empty, and the shape has to come from you. Do not worry if it looks poor. A poor first attempt shows exactly what to practise. When the page looks right, press Save, and keep the image.
From Screen to Paper and Back
Paper teaches something a screen cannot. It teaches pressure, drag and the small friction of a pencil on a page. So after the screen work, move to paper. Print the saved image, and your japanese writing practice sheets are ready: set one on the desk and write beside it. You are copying your own best attempt, which is a gentler model than a printed font.
There are three ways to use a printed page. You can write beside it, using it as a model. You can write over it with a pencil, to feel the path. Or you can keep it as a record, and print a new one next week. Each way has a place. Beginners usually start with the first, and move to the second when a shape will not settle.
Then return to the screen. Open the same character again, and write it a second time. Compare the new page with the printed one. The difference between the two is your progress, and it is visible at a glance. That cycle, screen to paper and back, is the heart of the routine. It uses each medium for what it does best.
Printing the page well
Open the saved image in any viewer and choose the print option. Pick Actual Size or 100 percent if you can, so the square prints at the size you wrote it. Choose black and white, because colour adds nothing to a practice page. Standard quality is enough, since the lines are bold. If the pale guide prints too faint, raise the contrast a little, or trace it on screen before you save.
Two pages can share one sheet if you use the pages-per-sheet setting in the print window. That helps with kana, where あ and ア sit well side by side. Name kanji with many strokes deserve a full page each, because the details need room. Write the date in pencil in the margin, so the folder sorts itself and the weeks stay in order.
Ten Proverbs to Carry With You
A printable folio of ten Japanese proverbs, each set in kanji with its reading and a line on where you will hear it.
Where the tool lives
The practice tool sits on our Japanese calligraphy practice page, which also explains the hundred-day plan and the weekly letter. Nothing needs an account, and the stroke data is credited to KanjiVG. The kanji data comes from the KANJIDIC project, and both are open, non-commercial sources.
If you write on a tablet, our guide to kanji practice on an iPad covers the stylus side in more detail. The two guides fit together. One covers the screen and the pen, and this one covers the page you take off the screen. Between them, you can work wherever you sit.
When you are ready, open the 100 characters in the practice tool and pick the first one. Choose a character you like, not the one you think you should learn. Liking a shape is the best reason to write it twenty times.
Paper, Pencil and Brush Pen for Printing Day
Printing day for japanese writing practice sheets needs very little. A printer, some good paper and a pen or pencil are enough. A few small objects make the hour pleasant, though. They give the page a place on the desk and the hand a steady surface. Each of the objects below does one job, and none of them is a learning tool. They are the plain furniture of a habit. Choose them once, set them out, and the desk will invite you back each day.
The printer and the order of work
The printer matters less than the habit. Any home printer will do, and a basic inkjet is plenty. Print the next day’s page the evening before, so the desk is ready when you sit down. If you travel, print a few spare pages and keep them in a folder. A printed page needs no battery and no signal, and it works on a train, in a cafe or on a hotel desk. That makes paper the most dependable part of the routine.
Plan the order of work as well. Print the page, trace it once with a pencil, and then write beside it with a pen. The pencil forgives a slip, and the pen shows how steady you have become. If a page goes badly, set it aside and print another. Most people print two or three pages at a time, which keeps a session moving. A clean start is worth more than a page you rescue. Keep a small tray for finished pages, so the desk stays clear for the next one.
Choosing the paper
Start with the paper for your japanese writing practice sheets. A matte, heavier sheet takes pencil and brush pen better than thin office paper. Ink sits on the surface, and strokes stay crisp at the edges. That matters for a printed character, because the guide is pale and the sheet has to show it clearly. Look for a sheet that is matte rather than glossy, since gloss throws back the light of a desk lamp. Check that your printer takes the weight, too. Most home inkjets handle a heavier sheet without trouble, and a single test page will tell you at once. Letter size suits most printers, and it fits the mat below without any trimming at all.
Epson Premium Presentation Paper Matte — a heavier sheet for the printed page
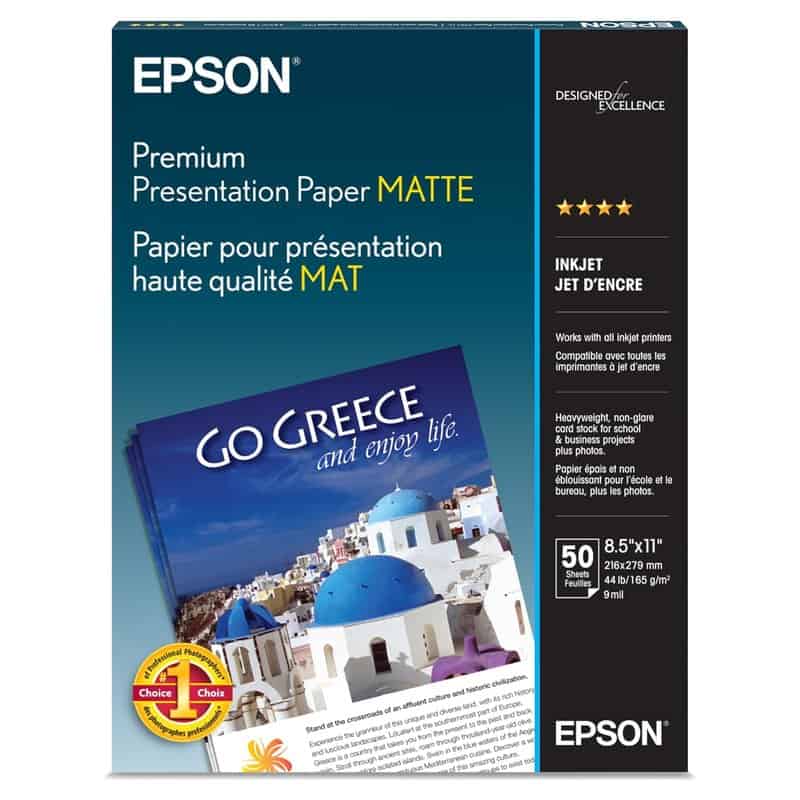
Matte presentation paper is a good fit for printed practice pages. The Epson Premium Presentation Paper Matte comes in the standard letter size, 8.5 by 11 inches, with 50 sheets in a pack. It is made for inkjet printers, and its surface is non-glare, so a pencil line is easy to read under a desk lamp. At 44 pounds, it is heavier than everyday copy paper, which helps a page lie flat when you write on it. Because it is made for ink, it also takes a pencil line well. A box lasts through many weeks of daily pages, so one purchase covers the whole routine.
A mat under the page is the second object. Japanese learners call it a shitajiki, a thin board that goes under the paper. It gives the pen a smooth, slightly yielding surface and stops the desk grain from showing through. It also keeps the paper from sliding. A good mat is flat, light and a little firm, and it costs the desk no space at all. You will notice the difference on the first page.
Choose a mat a little larger than your japanese writing practice sheets. That way the sheet sits fully on the surface, and the edges do not curl over the desk. A black mat also shows the white page clearly, which helps when the printed guide is pale. Keep the mat in the same spot each day. Soon the mat itself becomes the cue to begin.
Kyoei Writing Mat Shitajiki — a smooth underlay for the page
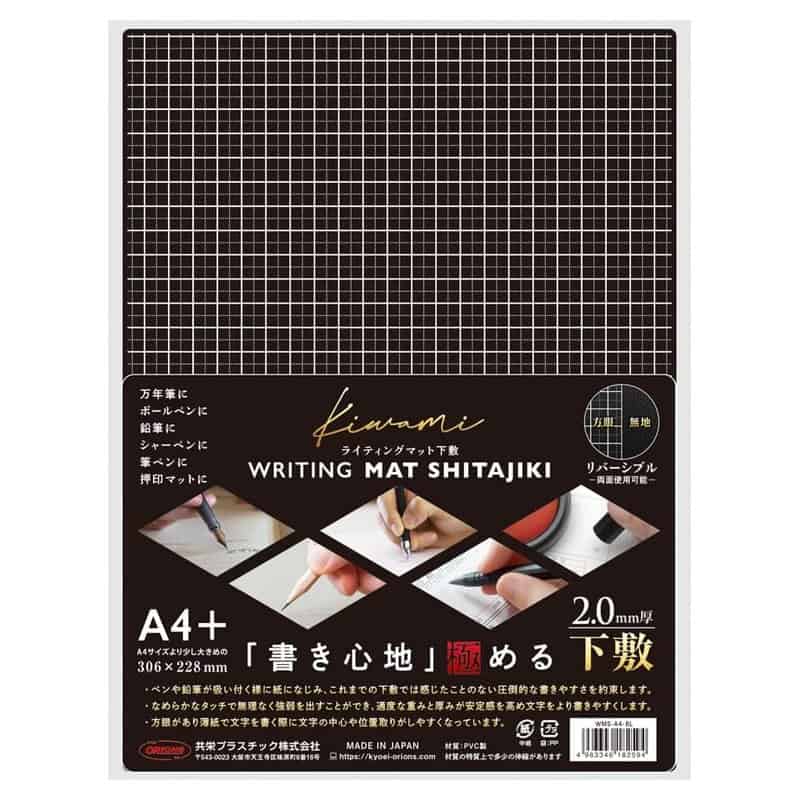
The Kyoei writing mat is a Japanese shitajiki in the A4 plus size, which fits a letter-size page with room to spare. It is 2 millimetres thick and made in Japan. One side carries a grid and the other is plain, so you can choose between a guide and a clean surface. The grid side is useful when a character needs help with proportion. The plain side suits a pencil written beside a printed page. Slide a printed sheet on top, and the whole setup feels ready. Because the mat is thin, it also slips into a bag beside a clipboard and a few printed pages.
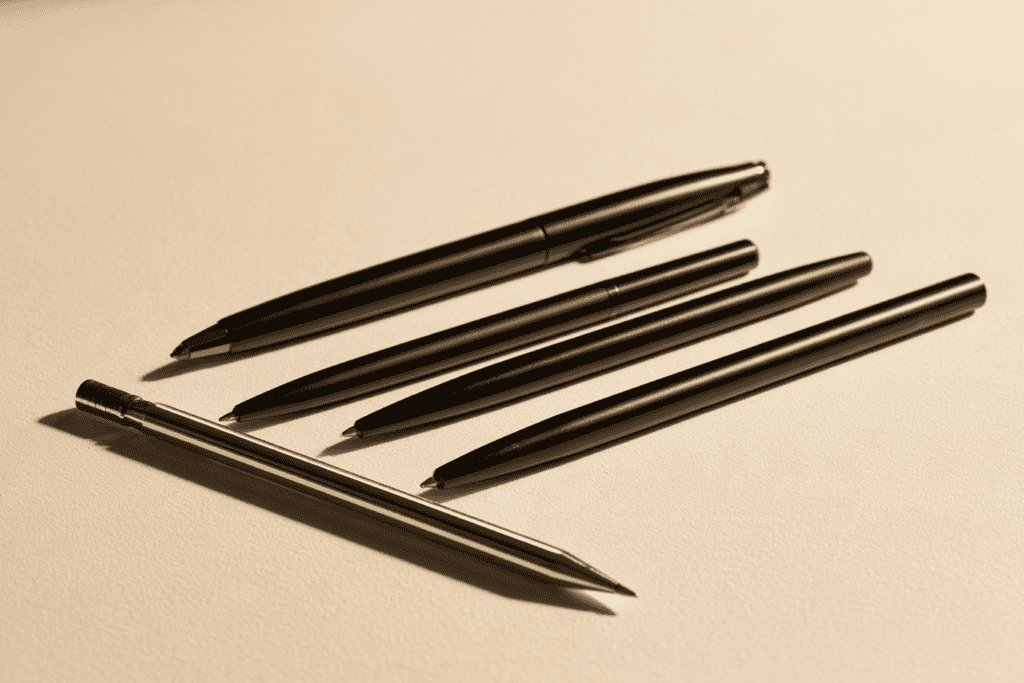
The last group is small, and each piece earns its place. A brush pen for bold strokes, a pencil for fine ones and a clipboard to hold a page when you are away from the desk. Together they let you work in three ways. You can trace with the pencil, write alone with the pen and carry the page to the sofa, the train or the kitchen table.
Each piece below answers a different need. A brush pen gives thick and thin lines from one tip, which is how a brush behaves, without the ink and the mess. Next, a pencil keeps a steady line, so tracing stays tidy. Finally, a board gives a page a flat base when there is no desk.
Three Pieces for the Practice Table
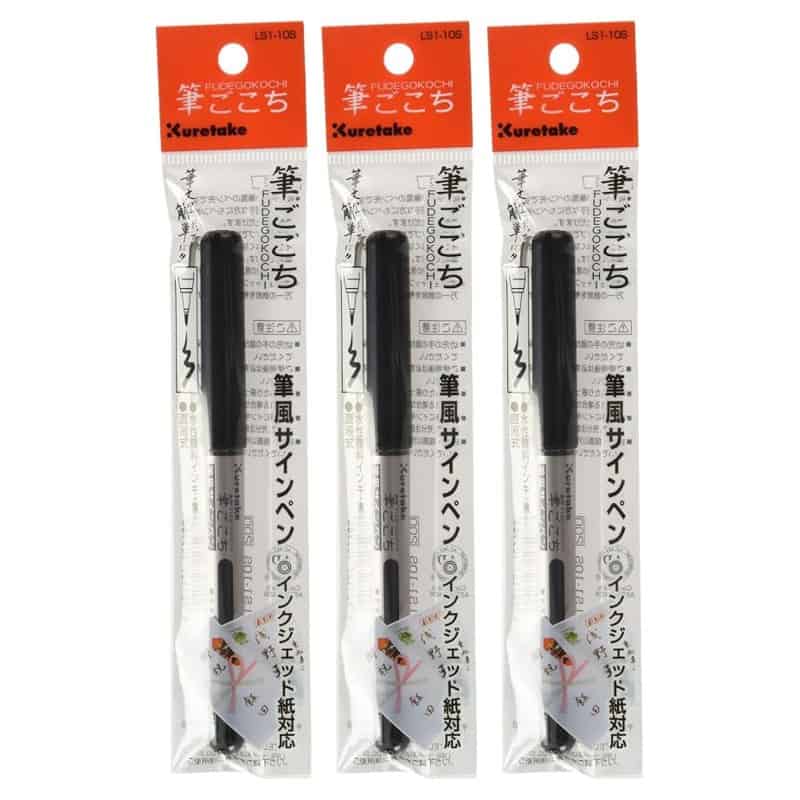
A flexible brush tip that gives thick and thin lines in one stroke.
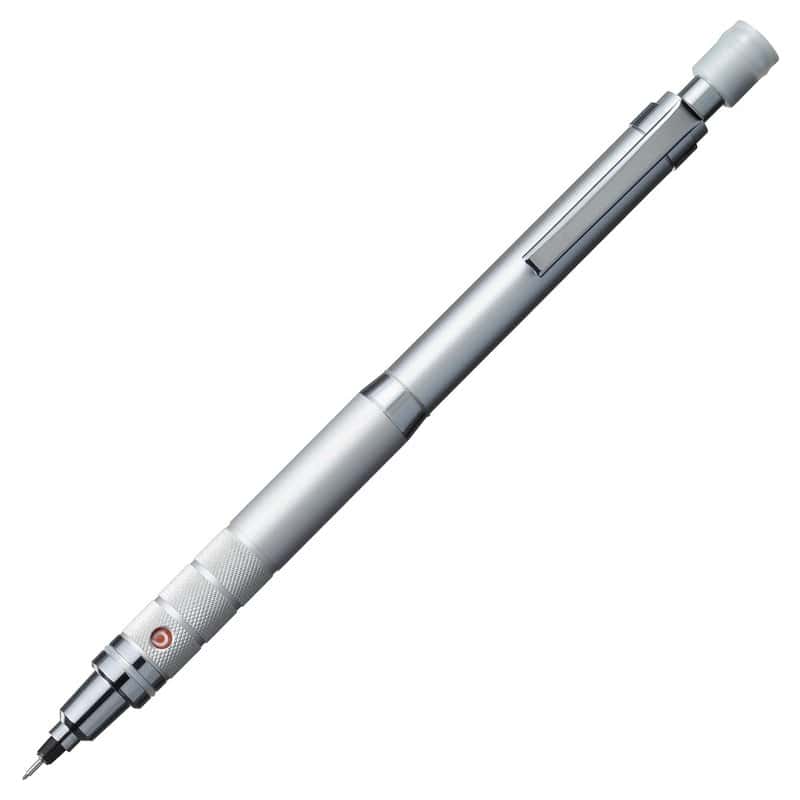
A 0.5 mm pencil whose lead turns as you write, so the line stays even.
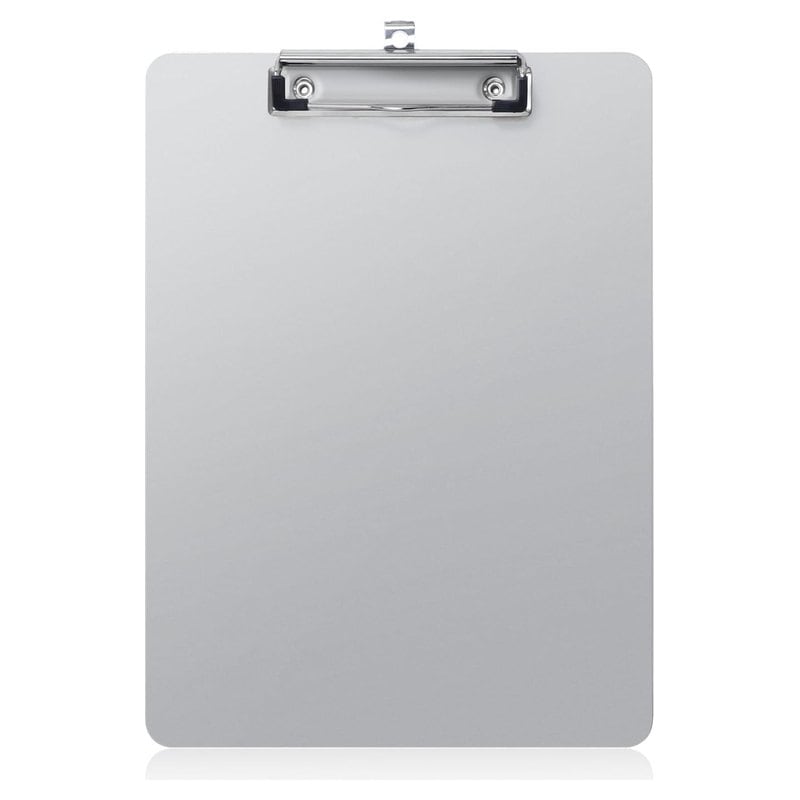
A flat metal board with a clip, to hold a printed page steady anywhere.
Keep the set small and in one place. Paper, a mat, a pen, a pencil and a board are plenty. If the desk is cluttered, the first minute turns into a tidying job. Put each thing where your hand will find it.

A Warm Cup for the Practice Table: Hojicha Milk Tea
A cup of something warm turns practice into a habit. For printing day, we like hojicha milk tea. Hojicha is green tea that has been roasted, so the leaves turn brown and the flavour turns toasty and soft. Mixed with warm milk, it makes a gentle drink that goes with a pencil and a page.

Hojicha Milk Tea — roasted green tea with warm milk
Heat half a cup of water until steaming, then add two teaspoons of hojicha leaves and steep for three minutes. Warm half a cup of milk in a small saucepan until it just begins to steam. Strain the tea into a mug, pour in the warm milk and stir. Add a little honey if you like, and drink it while you write.
Hojicha is mild, so it will not compete with the page. The roasted taste suits a cold morning, and the milk softens it. Set the mug beside the mat, away from the paper. Either way, the cup marks the start of the session.
A Hundred Days, One Page at a Time
A hundred characters sound like a lot. Divided by days, japanese writing practice sheets make the number small. One character a day, five or ten minutes each, and a page saved at the end. That is the whole shape of the routine. It fits before work, after dinner or on a train with a tablet.

Keep your saved pages in one folder, and name them by day. After a month, open the folder and look at the first page and the latest. Lines become steadier, corners cleaner and the shapes more balanced. That change is the reward, and it needs no test or score to prove it. You can also print an early page again later, to see how far you have come.
Recommended
Taking the pages on a trip
When a trip comes, the pages become a pocket guide. Take a few printed favourites in a folder, and look for the same shapes on station signs and shop fronts. Seeing a character you wrote that morning on a real street is a small thrill. It also fixes the shape in a way no desk ever could. Practice at home and a street in Japan then meet in the middle.

The characters do not ask for much. They ask to be met, again and again, in short and steady sessions. Keep the page simple, keep the desk ready and let the days add up. A hundred days from now, you will not remember the effort. You will remember that you stayed, and your folder of pages will show it.
Days Worth Planning a Trip Around
A writing habit travels well. In Japan, the days have their own character: a stationery shop opening on a side street, a station filling with commuters, a tea shop lifting its shutters. A morning spent reading signs you once found strange is a pleasure of its own. It turns a place you visit into a place you understand a little.
We build days around moments like that: a private lesson with a calligraphy teacher, a slow breakfast in a ryokan or an hour in a stationery shop in Tokyo. Every itinerary follows your pace and your interests, with the practical details handled for you. The characters you learn at home become places, meals and conversations.
A Journey Planned Around Your Pen
We can plan days around the details that matter to you: a private calligraphy lesson in Kyoto, a morning in a Tokyo stationery shop, a calm table for your own practice. Every itinerary is built around your pace and your interests.
Plan Your Custom Japan ItineraryQuestions Worth Asking
Which characters are on the practice sheets?
The tool holds 100 characters: 15 hiragana, 15 katakana, 15 kanji from the MJ workbooks, five from each of Volumes 1 to 3, and 55 name kanji. Samples include あ, ア, 花 and 椿. Each character has its own day in the tool.
Do the sheets cost anything?
You make each practice sheet yourself in the tool, and it needs no account and no fee. Saving a page as an image costs nothing, and you print it on your own printer. Only the paper and pens you choose for your desk cost money.
Can I print the pages at home?
Yes. The Save button gives you an image file, and any home printer can print an image. Use letter or A4 paper, and a heavier matte sheet if you plan to write on the page. Printing is optional, because you can also view the images on screen.
Are the pages for a brush or a pencil?
Both work. Each page is a square with a pale guide, so a pencil, a pen or a brush pen all suit it. Beginners often start with a pencil or brush pen, because both forgive a shaky hand. A full brush suits learners once the stroke order feels automatic.
Why are there name kanji in the set?
Names are the most personal reason to write kanji. The 55 name kanji come from real Japanese given names, so writing them leads to a name you can sign. The tool’s name mode offers names that use each character, and our name generator suggests more.
How do the pages work with the online tool?
You work in the tool first. Pick a character, watch the stroke order, trace the guide and write it alone. Then press Save, print the image and write beside it on paper. Return to the tool to write the same character again, and compare the two pages.