Few films sold Tokyo to the world the way The Fast and the Furious: Tokyo Drift did. Neon-soaked streets, rain on the asphalt, and engines threading through traffic became the city’s calling card for a generation of car fans. Yet Tokyo drift in real life looks different from the screen, and that gap is where the most interesting photography lives.
This guide separates the myth from the city you can actually shoot. You will also learn where Tokyo Drift was really filmed, because the answer surprises most fans. First come the facts behind the film and its locations. Then a practical, lawful way to build a Tokyo drift photoshoot that captures the mood without breaking a single rule. Because the look is real even when the racing is not.
Where was Tokyo Drift filmed? Partly in Tokyo, and partly in Los Angeles. The neon backdrops of Shibuya and Shinjuku are real. Yet many drifting scenes were shot in an LA car park, because Tokyo permits proved hard to secure. So Tokyo drift in real life is genuine in look and invented in its chases. Street racing on public roads remains illegal and firmly policed.
The facts come first, then the craft of shooting the city.
What “Tokyo drift in real life” actually means
The phrase carries two meanings, and both matter for a photographer. There is the film fantasy, and there is the living car culture beneath it. Understanding the difference keeps your work honest and keeps you out of trouble.
The numbers tell part of the story. Tokyo Drift arrived in June 2006 on a budget of roughly $85 million and grossed about $159 million worldwide, which made it the lowest-grossing film in the franchise at the time. Critics were cool, and it holds a middling reception on review aggregators. Still, the film aged into a cult favourite, largely because of how it framed the city after dark.
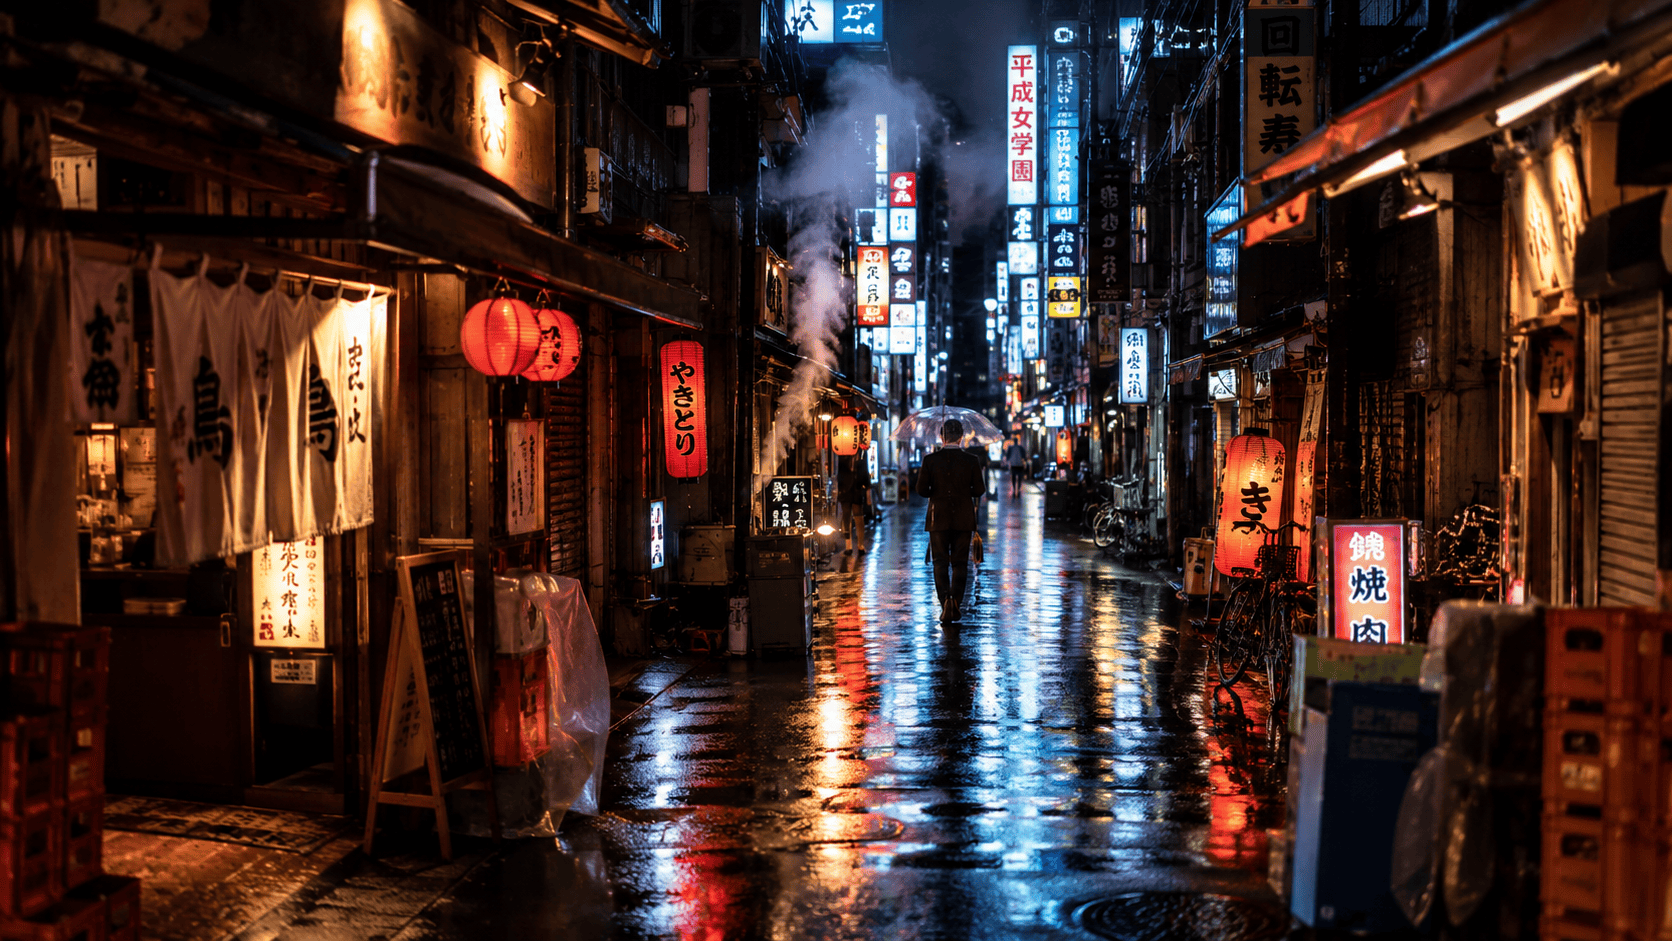
Here is the honest part. The cinematic version compresses years of subculture into stylised chases, and it bends geography for effect. Therefore the city you photograph will feel like the film in mood, not in motion. Your job is to chase the atmosphere rather than the action.
That distinction also shapes your ethics. Tokyo drift in real life is not an invitation to recreate street racing. Instead, it is a licence to use light, reflection, and the rhythm of the streets. As a result, the best images lean on neon and stillness rather than speed and risk.
The real Tokyo drift filming locations, fact versus fiction
People search for Tokyo drift filming locations expecting a map of garages and mountain passes. The reality is more layered, and it makes a great story for your captions.
Production ran from August to November 2005, and the shoot split between Japan and California. Crucially, some of the most famous drifting sequences were filmed at the Hawthorne Mall parking lot in Los Angeles, because permits in Tokyo proved difficult to obtain. So the cars you remember weaving through the city were often nowhere near it.
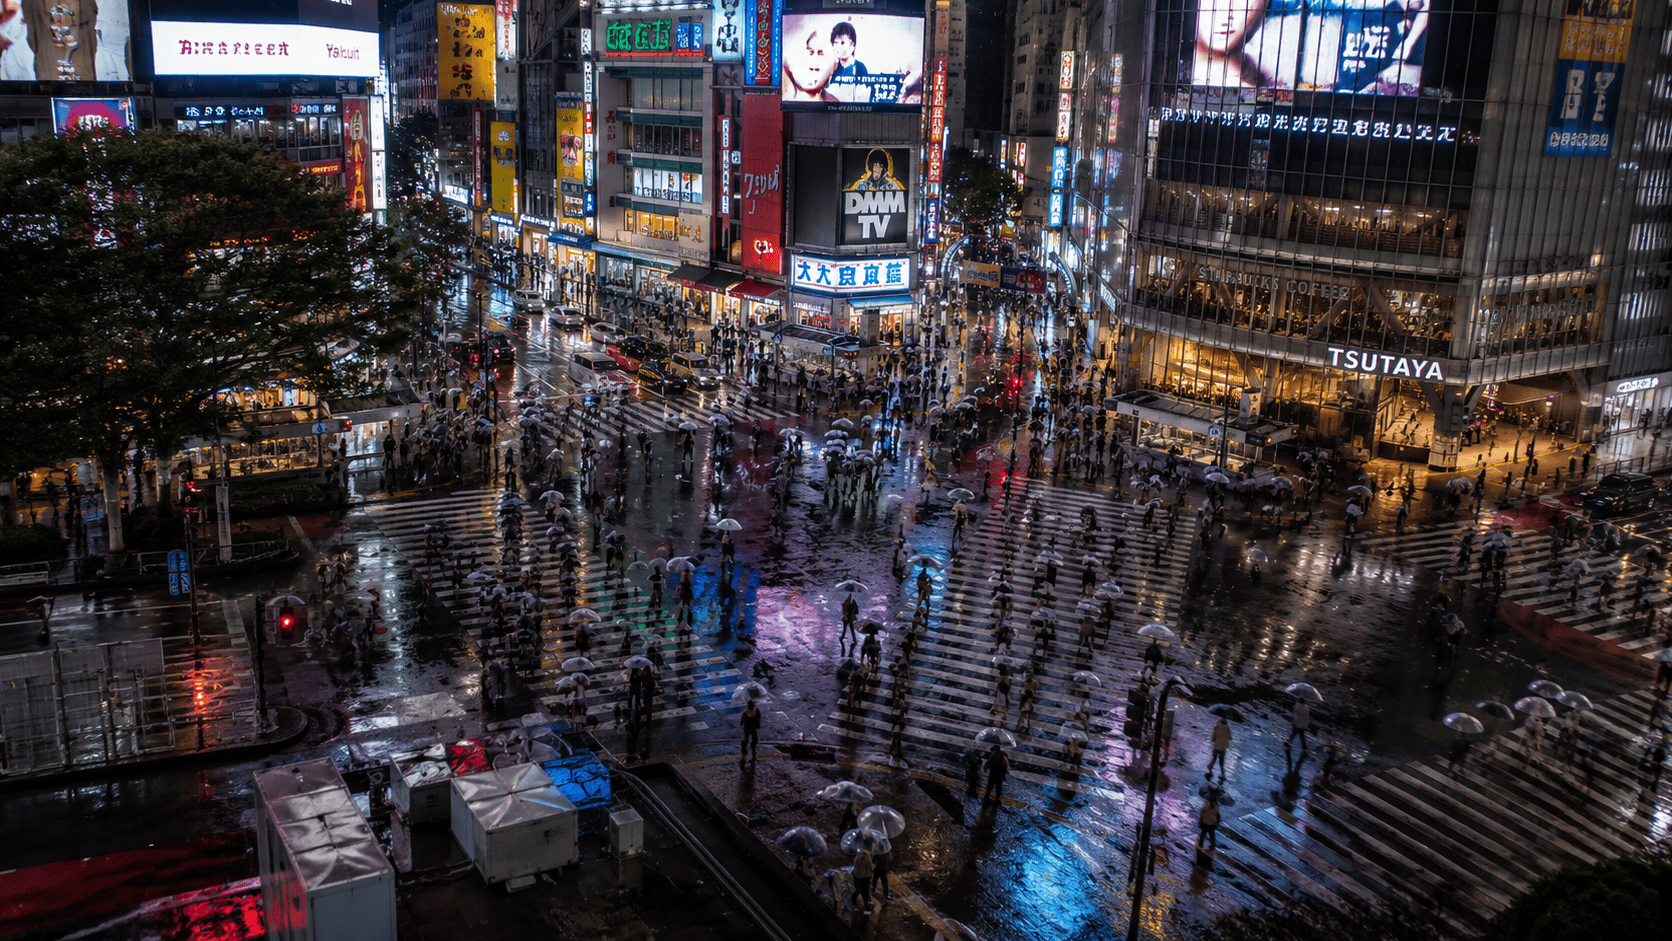
Tokyo does appear, however, and the landmark you know best is Shibuya Crossing. The film used the scramble as a backdrop, and it remains the single most recognisable frame of the city. When you stand there at night, you are standing in a real Tokyo drift filming location, even if the chases were stitched together elsewhere.
This fact-versus-fiction angle is gold for a photographer. You can shoot the genuine backdrops, then tell the true story behind them. Consequently your images carry weight that a simple neon snap never will.
Where Tokyo’s car culture really lives at night
If the film is fiction, the subculture is real, and it gathers after dark. The most famous meeting point is Daikoku Parking Area, usually shortened to Daikoku PA, near Yokohama.
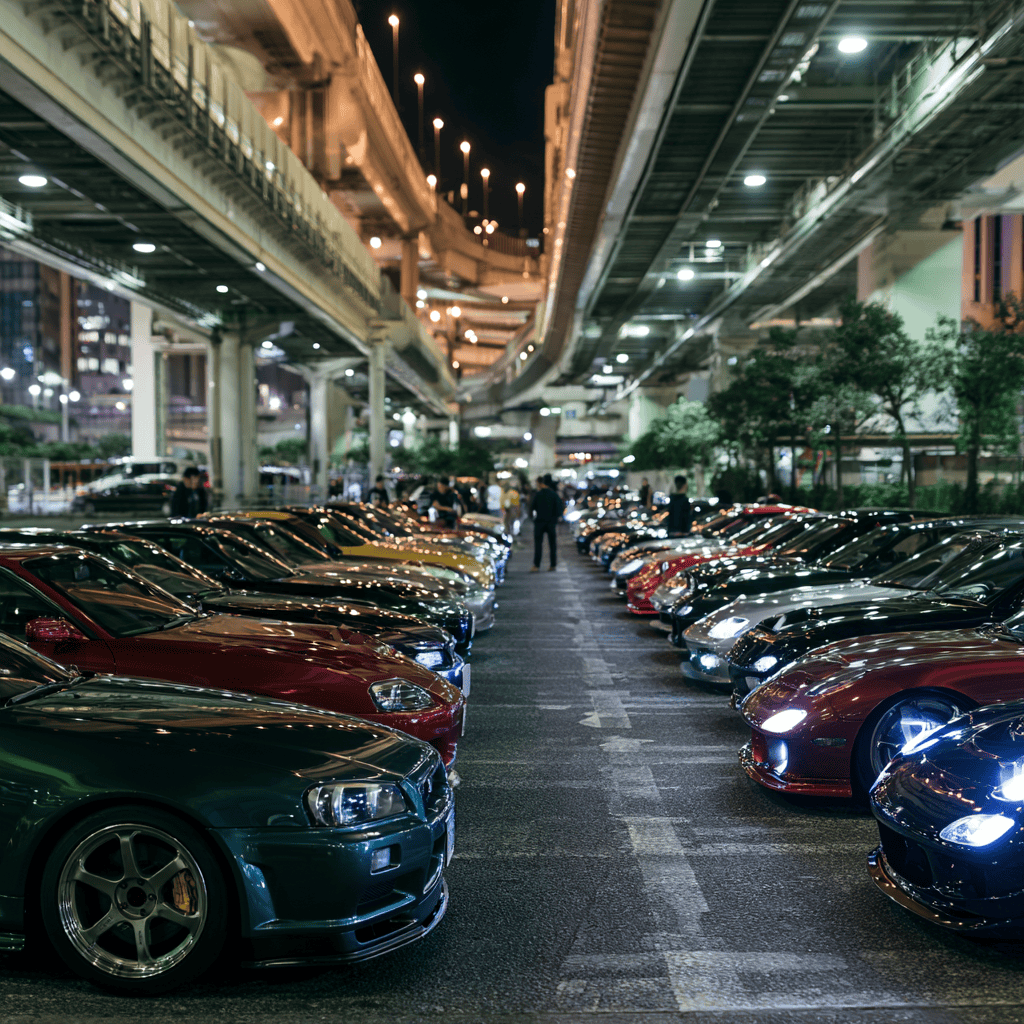
First, understand what Daikoku PA is. It sits on the Shuto Expressway as a highway rest area, so it is reachable only by vehicle, with no pedestrian access. There is no official schedule either. Instead, cars drift in and out, with the liveliest crowds on Friday and Saturday evenings.
Next, respect the rules of the place. Daikoku PA is a rest stop, not a track, so no revving, no burnouts, and no reckless moves are tolerated. Police presence has grown, and lots can close at short notice when crowds swell. Therefore patience and good manners matter more than any lens you bring.
The cars themselves are the reason people gather. Tuned imports, kei cars, and classic coupes share the same rows. The Nissan Skyline GT-R remains the icon everyone photographs first. Move slowly between the bays, ask before you shoot a car, and owners will often wave you closer.
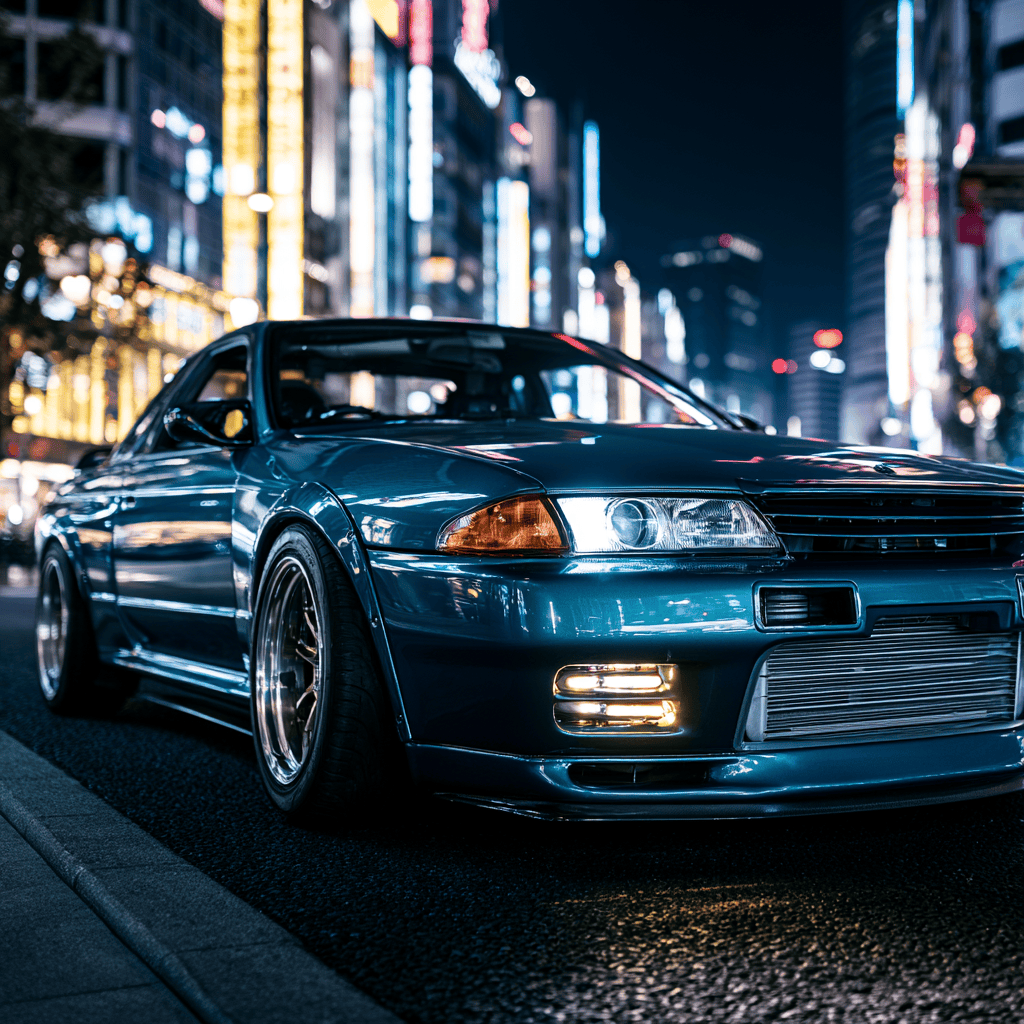
Finally, accept that the era of lawless street racing has largely passed. Enforcement is firm, and the high-speed drifts through traffic that the movie sold simply do not happen the way the screen suggests. The scene has matured, and it now lives at controlled meets and sanctioned circuits such as Ebisu and Fuji Speedway. As a result, the safest and richest photography happens where the community welcomes a camera.
Planning a Tokyo drift photoshoot the lawful way
A Tokyo drift photoshoot rewards planning more than spontaneity. The light is unpredictable, the crowds shift, and the best frames come to people who arrive ready.
Start by deciding on a mood rather than a single shot. Do you want rain and reflection, or dry neon and crisp signage? Then scout two or three backups, because a location can be busy, closed, or simply wrong on the night.
Next, build a loose shot list around scenes rather than poses. Arrival, tension, motion, and a calm wind-down give a set narrative shape. Therefore your gallery reads like a short film instead of a pile of selfies.
You can also book a guided car experience for legal access to the scene. Several operators run English-language Daikoku PA tours by car, which solves the access problem and removes the risk of getting stranded. When you reach roughly the midpoint of your trip planning, it helps to map an evening itinerary so your shoot slots between dinner and the last train.
Staying close to the action helps too. Many of the finest hotels in Japan sit near the neon districts, close to where you will shoot. A short walk home also means you can shoot until the crowds thin without watching the clock.
Occasional planning notes for photographing Tokyo at night, from the calmest hours at famous crossings to the etiquette that keeps a camera welcome. One letter at a time, written for travellers who want depth over checklists.
Thank you. Watch your inbox for the first letter.
One email. No spam. Unsubscribe anytime.
What to wear for neon night photography
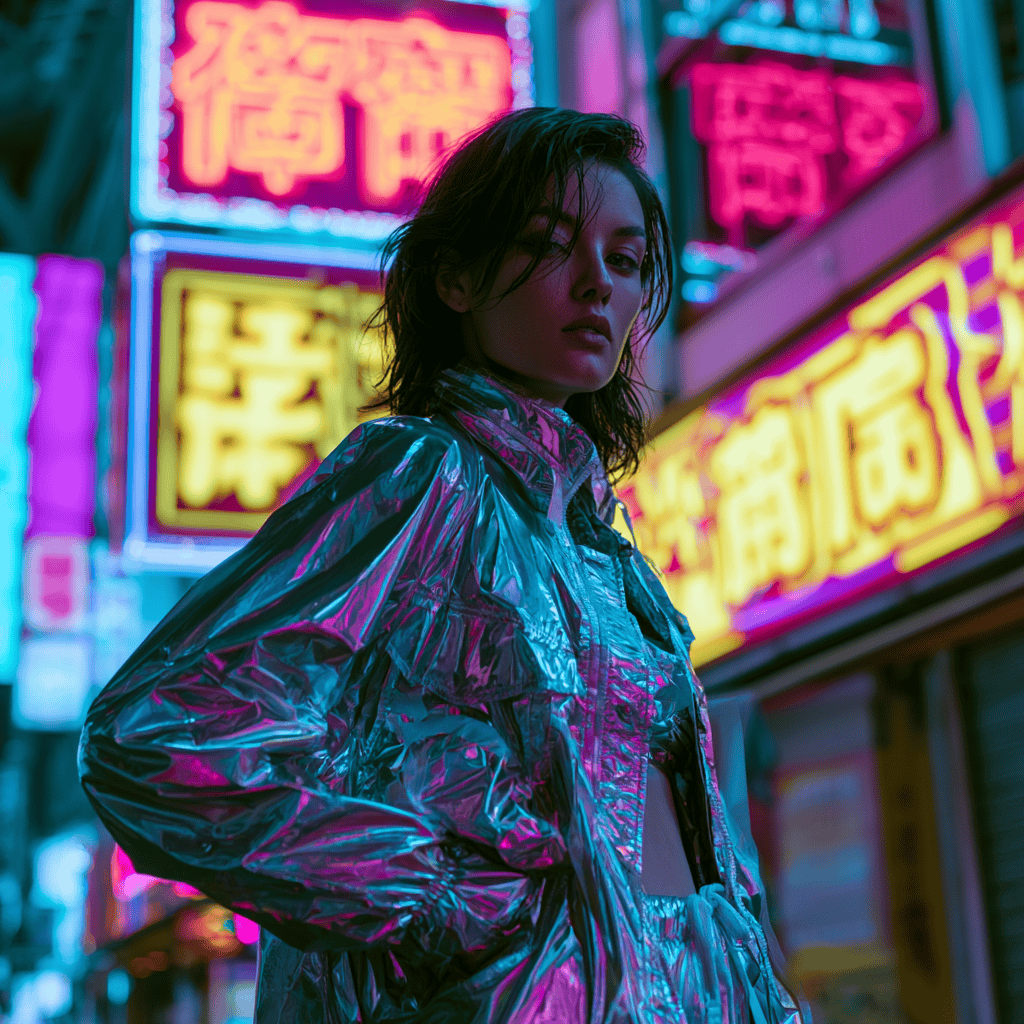
Think of your outfit as part of the lighting. Neon, signage, and headlamps bounce off fabric, so choose pieces that catch light rather than absorb it.
Three outfit formulas that photograph well
A dark base with one reflective layer reads cleanly under signage. Slim trousers and grippy sneakers keep you mobile, since Tokyo nights involve stairs and station transfers. White soles also streak a little during a panning shot, which adds motion.
For a softer look, an oversized top in an electric colour pops against blue light. Meanwhile an all-dark silhouette with a single reflective stripe works when you want the neon to be the hero. Either way, keep the palette tight so the background stays the star.
Accessories that catch the light
Small details earn their place here. Tinted glasses catch reflections, metallic jewellery sparks in close-ups, and a clear umbrella turns light rain into atmosphere. Japanese technical brands such as Goldwin and Descente make reflective outerwear if you want pieces built for the look. Avoid anything that rattles or restricts movement, because comfort outlasts style across a long night.
Camera gear for a Tokyo drift photoshoot
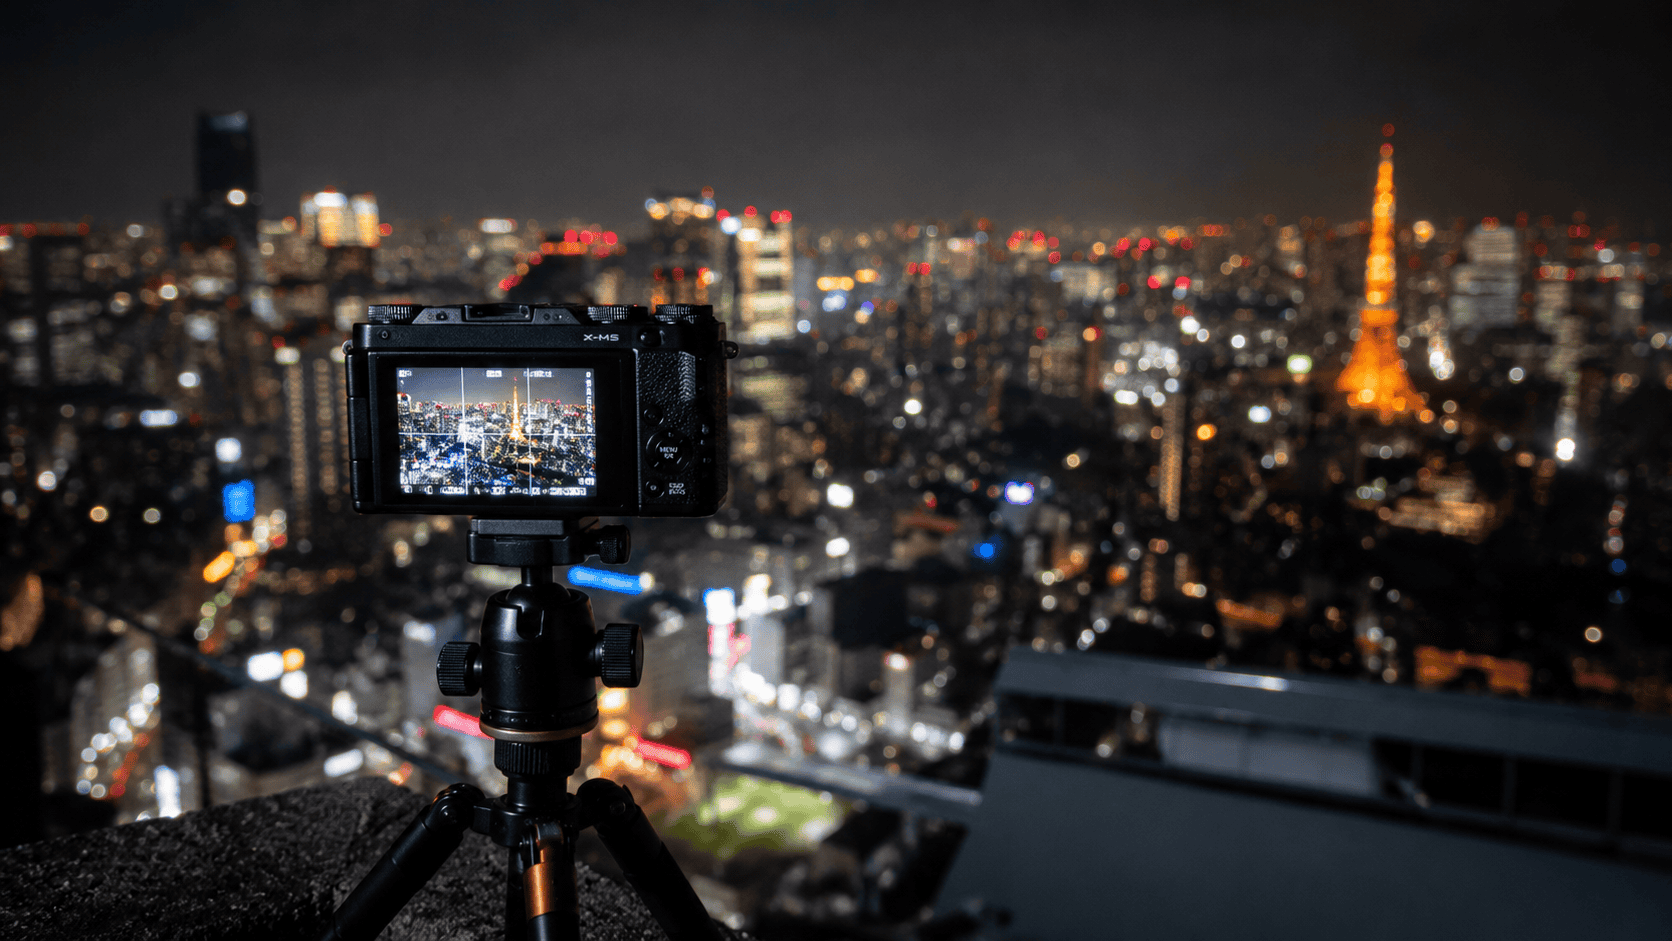
Night work asks a lot of your kit, yet you do not need a cinema rig. Strong high-ISO performance and a fast lens carry most of the load. Japan happens to make the finest tools for the job, so the gear list stays close to home.
Two compacts built for the street
If you want one camera that disappears into your hand, start with these. Both are pocketable, both are loved by street photographers, and both handle neon beautifully.
Not sure which body fits your budget or skill level? This guide to cameras for beginner photographers walks through the trade-offs in plain language before you spend.
Lenses, tripods, and the small stuff
For interchangeable-lens bodies, a fast prime does the heavy lifting. A 35mm or 50mm at f/1.4 to f/1.8 gives dreamy neon bokeh, and Japanese makers such as Sigma and Tamron offer sharp, affordable options. Pack a compact travel tripod from SLIK or Velbon for long exposures, plus a fast SD card from Sony or Kioxia so the buffer never stalls.
One honest note on lighting. A small colour LED can fake neon in a dark alley, yet the best wands are not Japanese, so treat that as an optional extra rather than a core buy. Spare batteries matter more, because long exposures drain a charge quickly. A power bank and a microfibre cloth round out the bag for damp nights.
Best camera settings for neon and motion
These are starting points, not rules. Tweak them on location, because every block of Tokyo lights differently.
Shutter speed for people, panning, and trails
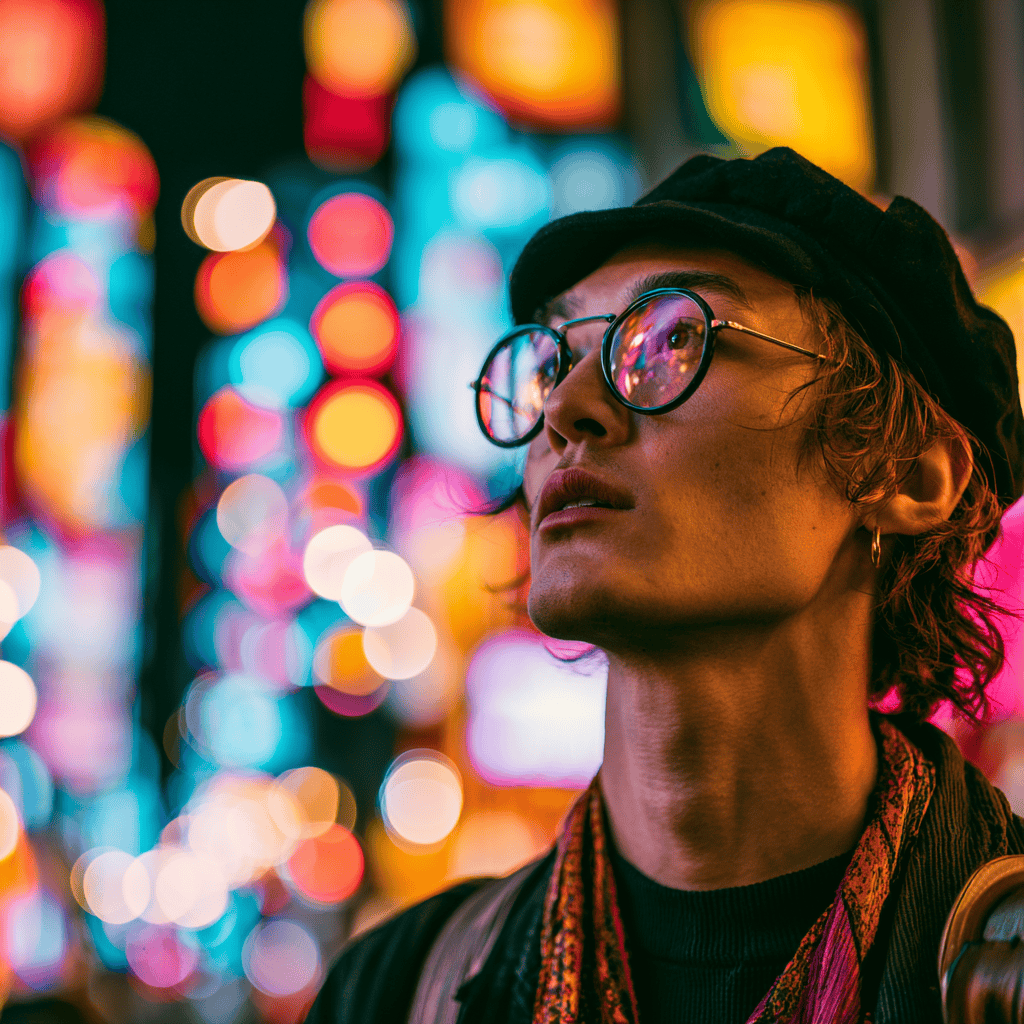
Sharp portraits sit between 1/125 and 1/250 second. For panning a passing car or scooter, drop to 1/20 to 1/40 second and follow the subject smoothly. Light trails on a bridge need a tripod and a run of two to ten seconds.
Aperture, ISO, and white balance
Open wide at f/1.4 to f/2 for shallow depth and big neon bokeh. Stop down to f/4 to f/8 when you want a whole cityscape in focus. Start ISO around 800 to 1600, then push higher when needed, since a little noise beats a blurred frame. For colour, try 4000 to 4500K for a cooler mood, or 5000 to 5500K for natural skin. Above all, shoot RAW so you can fine-tune later.
Tokyo locations that deliver the look
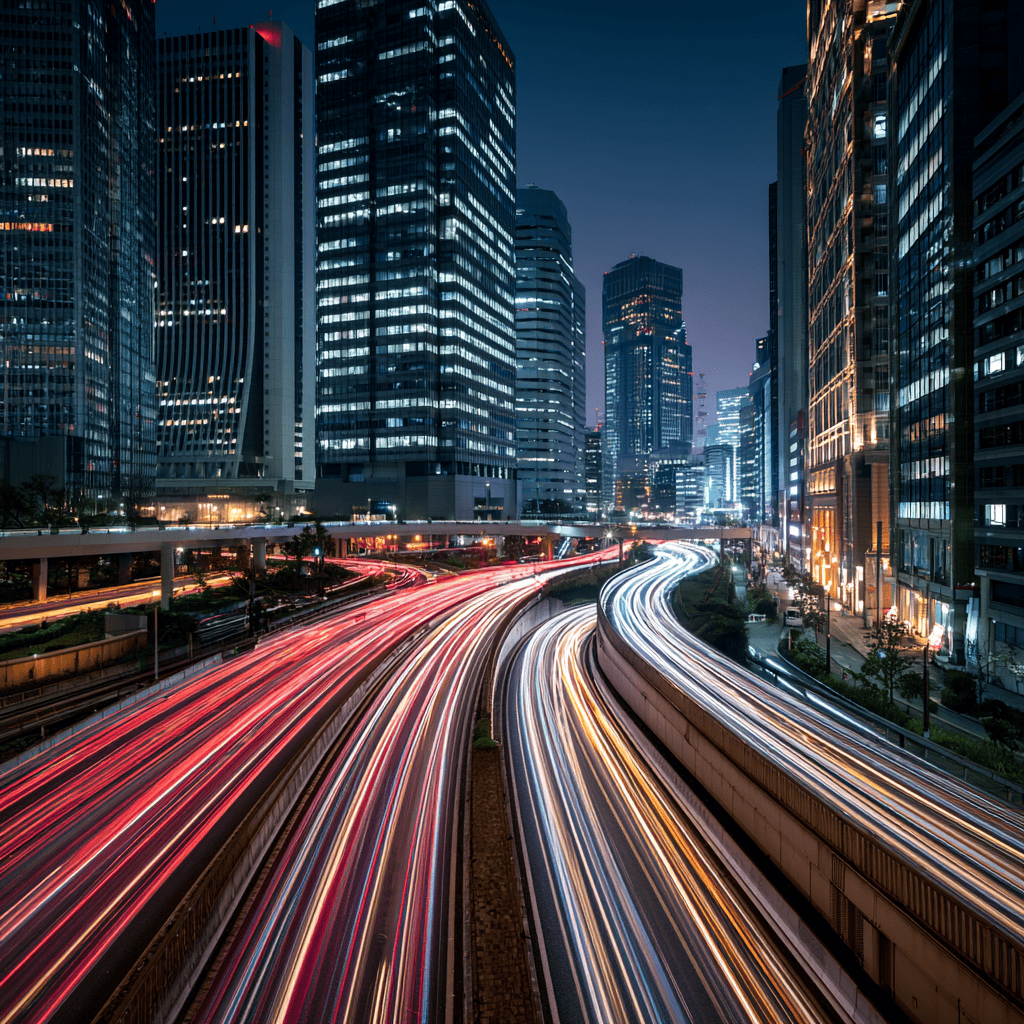
You can build the whole mood without leaving the central wards. These districts give you neon, reflection, and structure in equal measure.
Shibuya: the crossing and its alleys
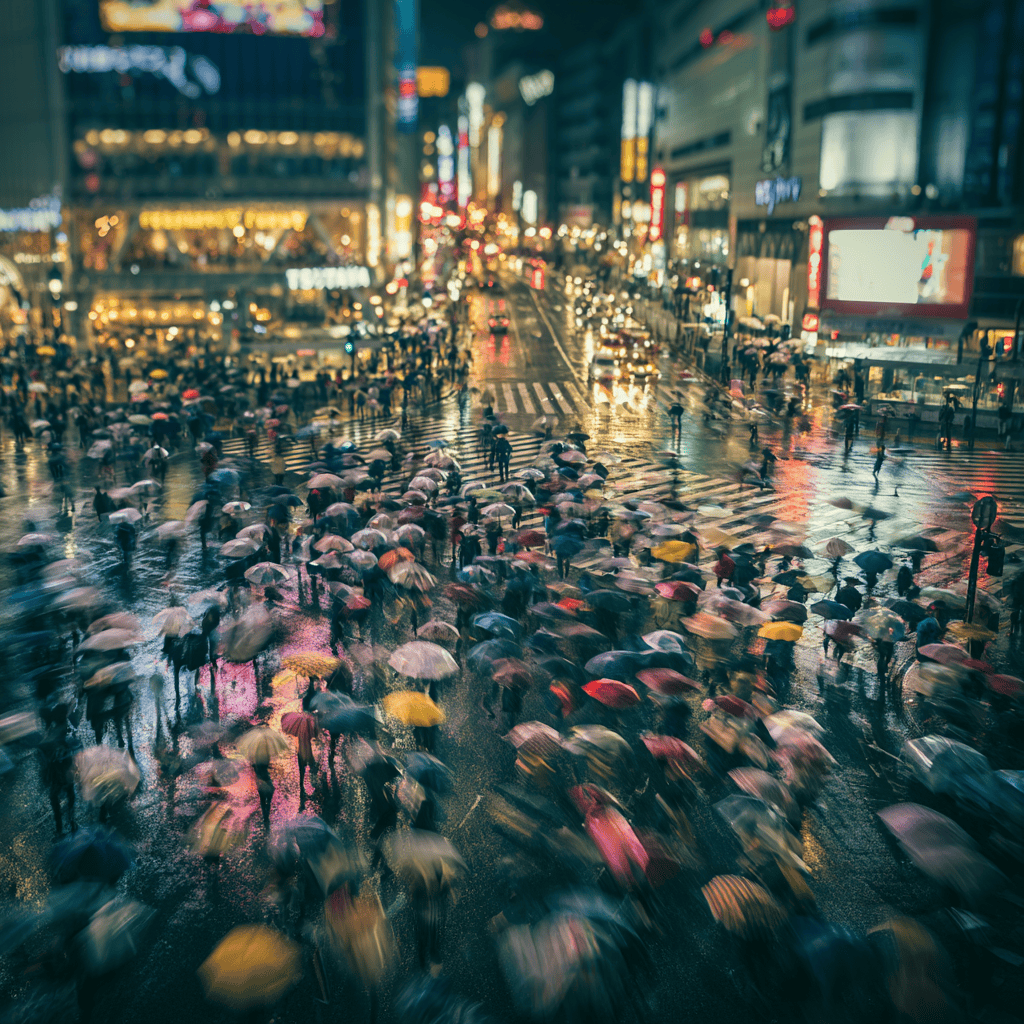
Shibuya Crossing is the obvious anchor, and the scale is staggering. As many as 3,000 people cross during a single green light, roughly every two minutes, and a 2014 survey counted hundreds of thousands of pedestrians a day. Shoot from a side street or an elevated walkway to capture the streaks of umbrellas and headlamps below.
The narrow lanes of Center Gai and Dogenzaka add intimacy. There the signage crowds in, which gives you backlit portraits and tight, cinematic frames. For an aerial angle, the Shibuya Sky deck looks straight down on the scramble.
Shinjuku: skyscrapers and backstreets
Kabukicho is the neon jungle of the city, and it suits silhouettes and puddle reflections. Nearby, the tiny lantern-lit lanes of Omoide Yokocho and Golden Gai reward a respectful, slow approach. Keep your distance from small bars and their patrons, because these are working spaces, not film sets.
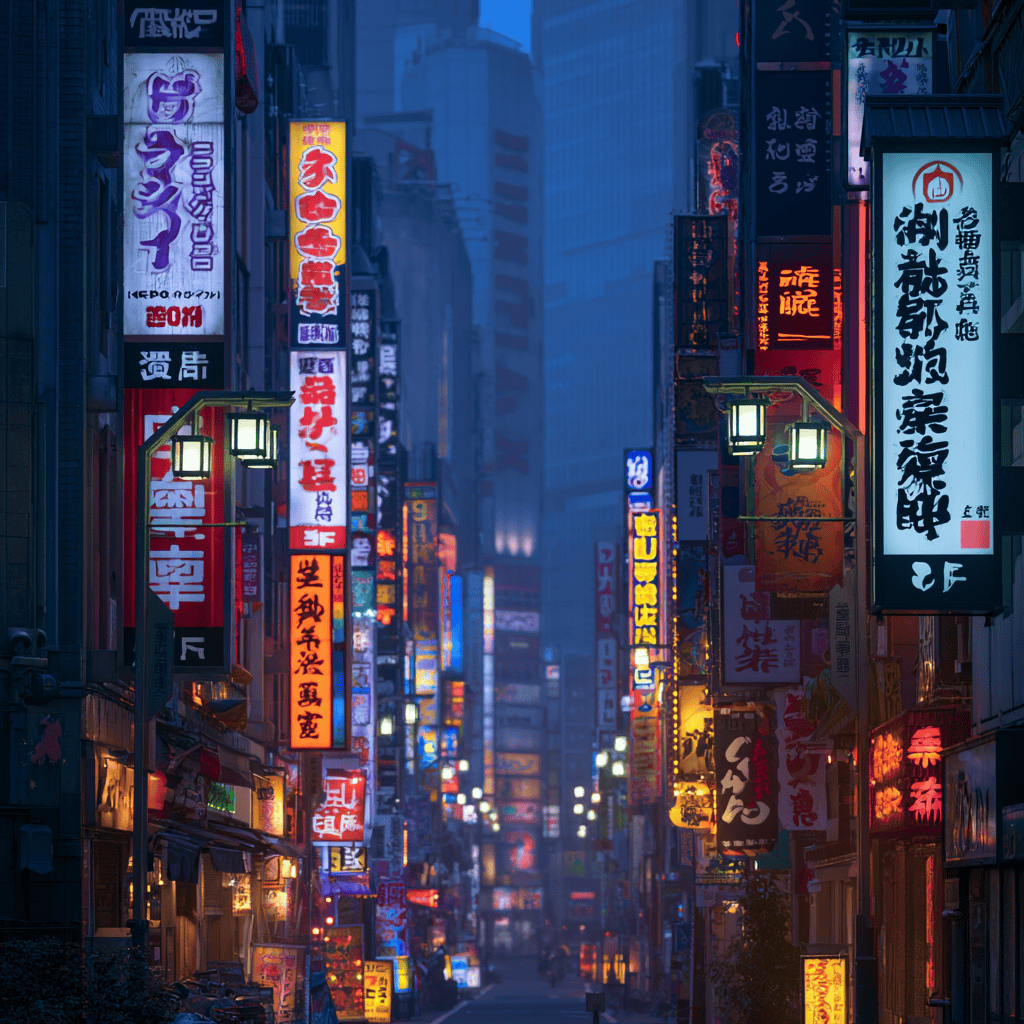
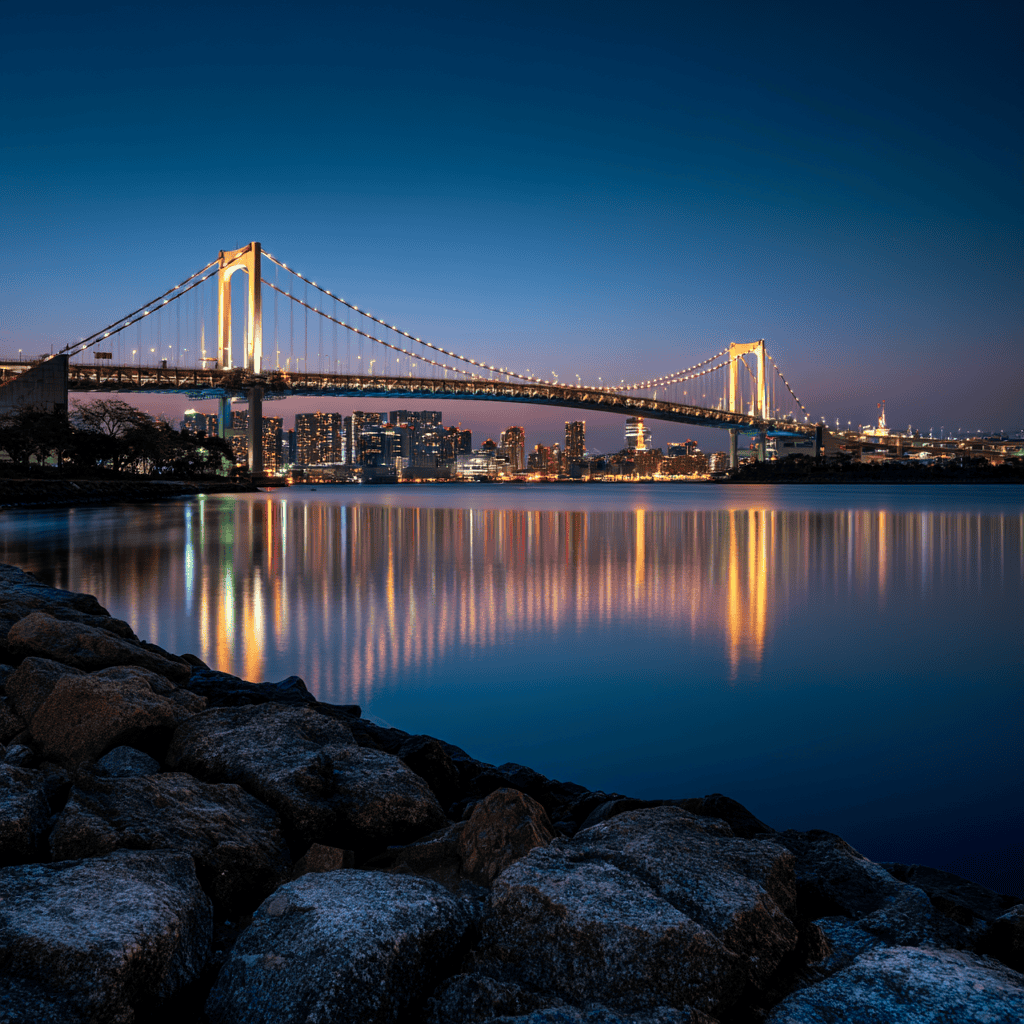
Odaiba and the Rainbow Bridge
For long-exposure work, the Odaiba waterfront is hard to beat. From here you can frame the Rainbow Bridge and the light trails of boats on Tokyo Bay. A tripod is essential, and the open space gives you room to compose without crowds pressing in.
For trip context and transit details, the official tourism sites are reliable. Both Tokyo’s tourism board and the Japan National Tourism Organization publish current access notes for these districts.
Parking structures and garages
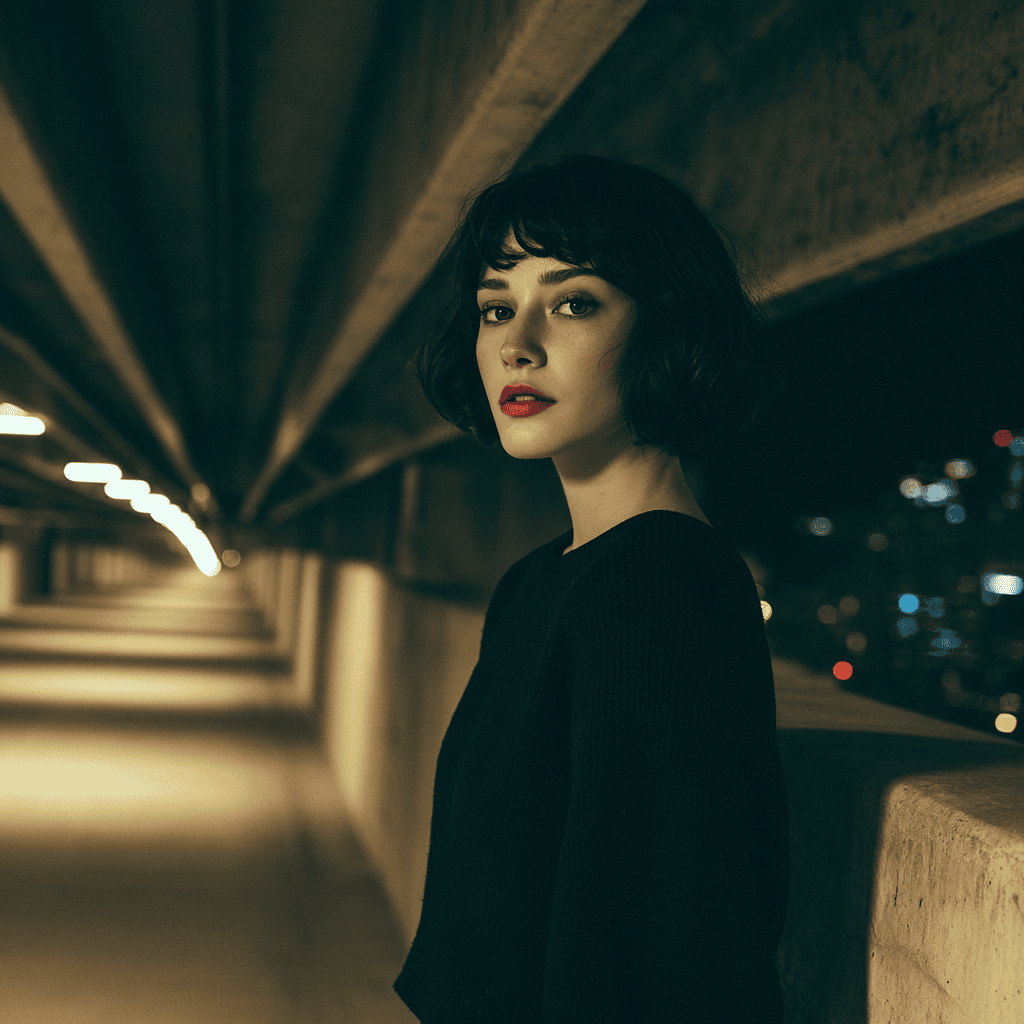
Multi-storey car parks are the safest cinematic set in the city. Concrete ramps, sodium lighting, and long sightlines echo the film’s garage scenes. Most are legal to enter on foot. Choose a quieter level, keep clear of moving cars, and leave the moment an attendant asks.
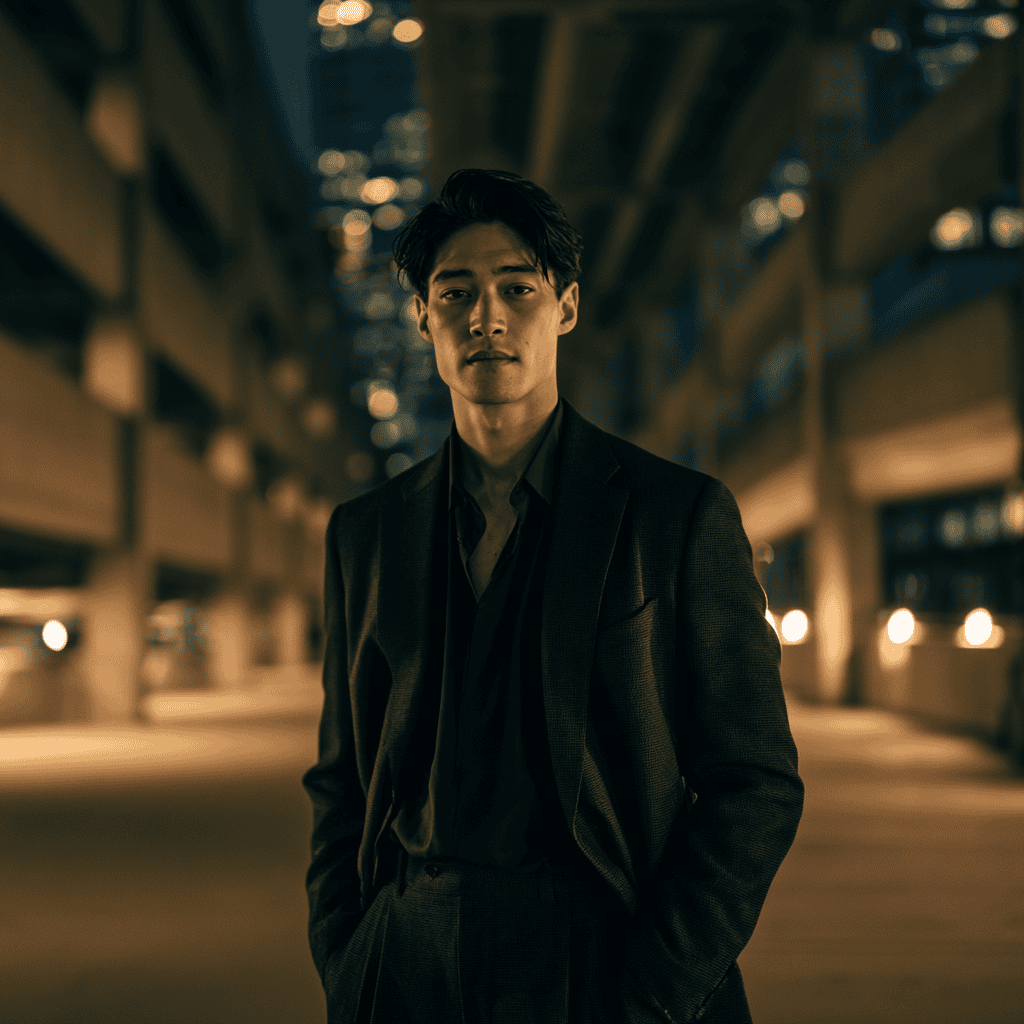
The light does the work here. Overhead tubes throw hard shadows, and painted floor lines lead the eye. A single figure against bare concrete carries real weight. Shoot from a low angle to stretch the ramp, then step back for the full structure.
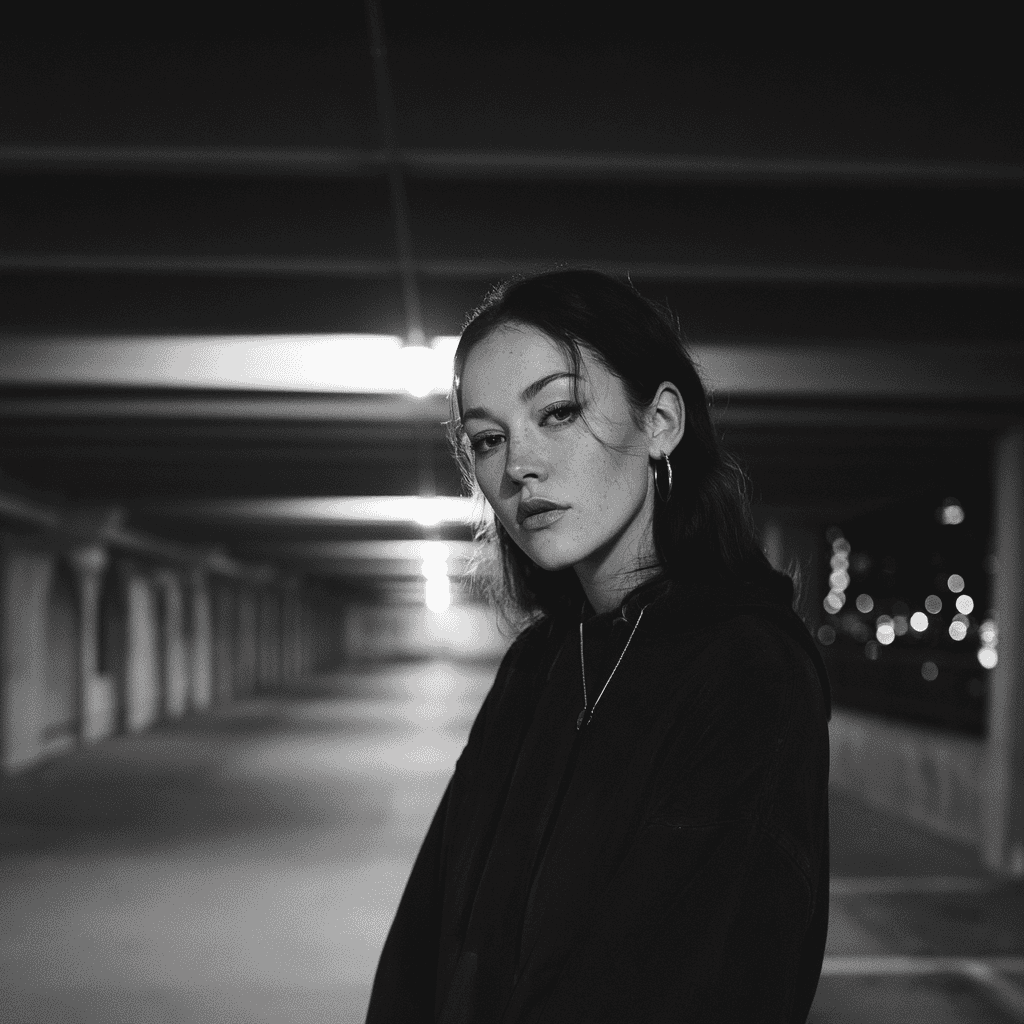
These spaces reward patience over spectacle, and they stay open long after the street crowds thin. Bring a wide lens for the architecture, then switch to a fast prime for the portrait.
Posing and shooting in scenes
The film feel comes from story, not stiff poses. So think in scenes, and let movement do the talking.
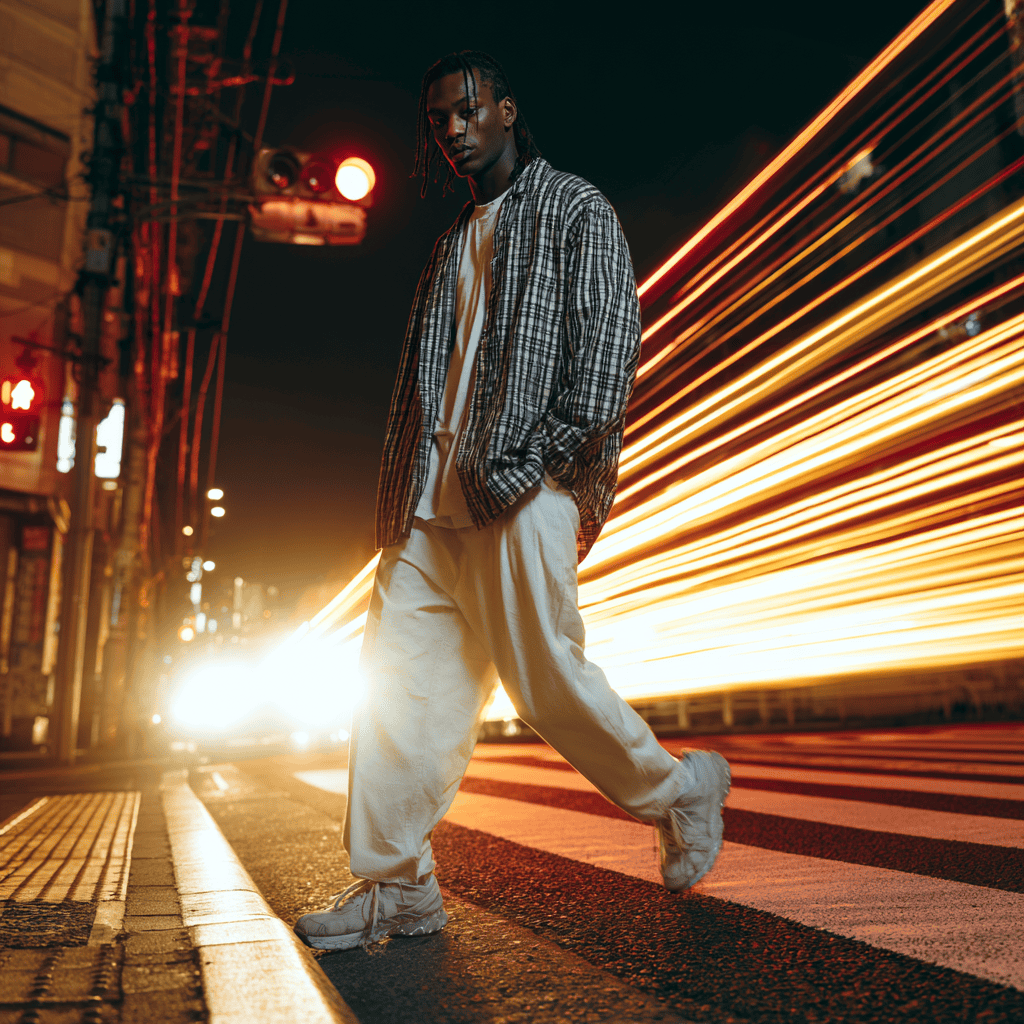
Build mini-stories across the night. An arrival sequence shows someone zipping a jacket in a neon lane. A tension beat leans on a guard rail or waits at a crossing. An action frame catches a confident stride as a taxi slides past. Finally a wind-down at a ramen counter or beside a glowing vending machine closes the set.
Timing turns a pose into a scene. Wait for the signal to change, then catch your subject mid-stride as the crowd moves around them. The blur of other pedestrians reads as motion, while your subject stays sharp and deliberate.
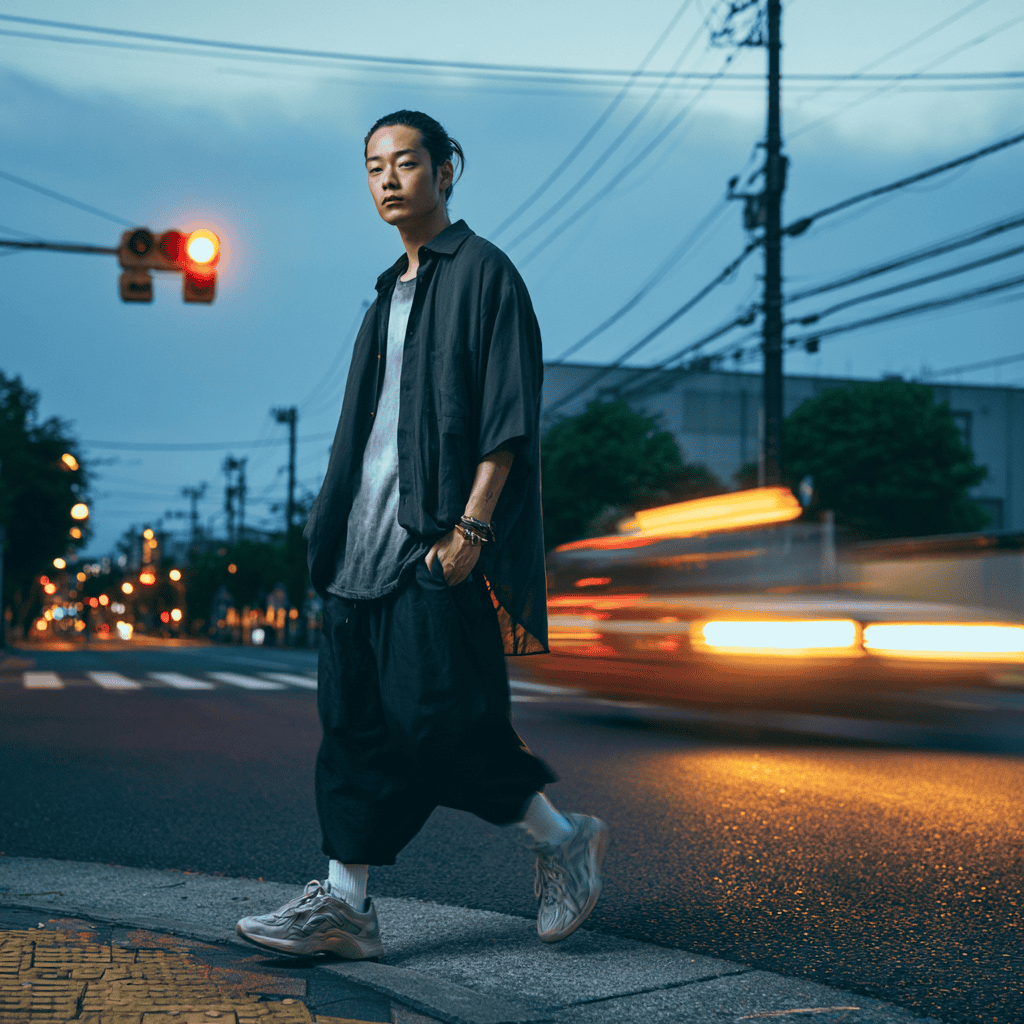
For motion, ask your subject to walk slowly toward the camera while you shoot in continuous mode. For passing vehicles, plant your feet and twist your torso to pan smoothly. Props help too, since headphones, a clear umbrella, or a lit phone screen all add story without clutter.
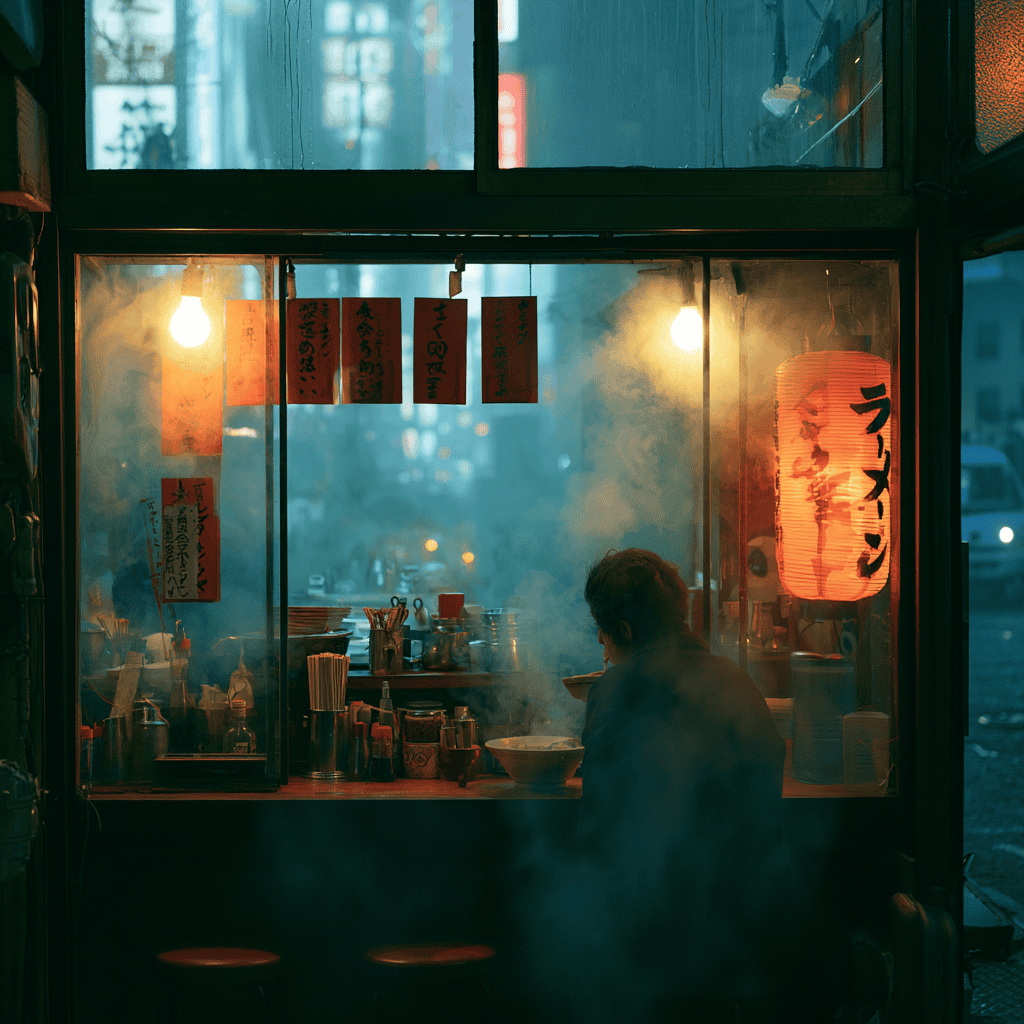
Want to sharpen your eye before the trip? A few coffee-table photography books are a quiet way to study framing, light, and pose while you plan.
Safety, etiquette, and the law
A Tokyo drift photoshoot is about aesthetics, never illegal racing. Keep these guardrails in mind, and the city stays open to you.
Never shoot in live traffic lanes, and never block pedestrians. Follow staff instructions near stations and inside shopping streets, since some areas limit tripods or staged shoots. Avoid photographing people inside bars without asking, and leave private lots the moment security requests it.
If you are photographing the city alone, the same caution applies twice over. Our guide to solo travel in Japan covers moving safely through the city after dark. A charged phone, a rough route home, and a known last-train time are worth more than any extra lens.
When a more set-up shoot is your goal, a licensed local guide or fixer removes the guesswork. They know which spots welcome a camera, and they keep you on the right side of the rules. As a result, you spend the night making images instead of negotiating with security.
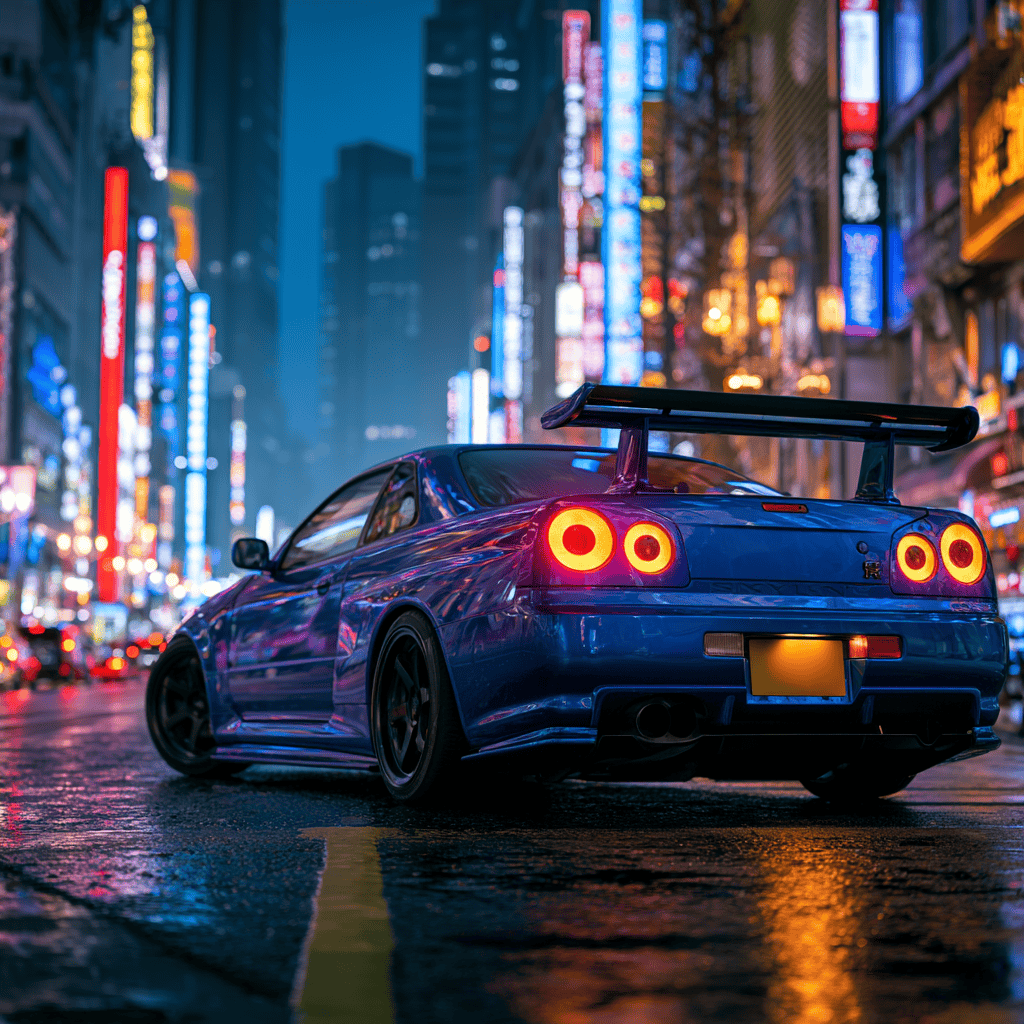
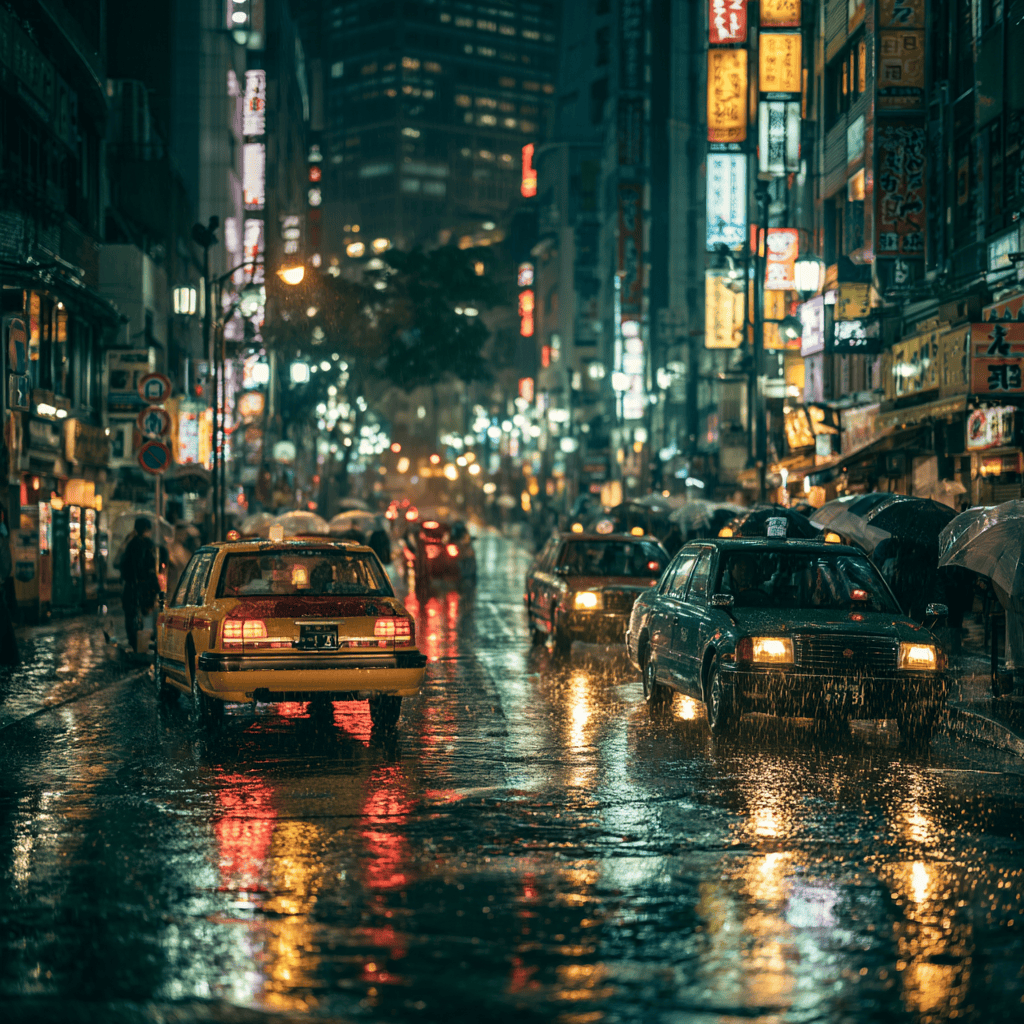
Rain changes everything after dark. A wet road doubles every sign and headlight, so linger after a shower and let reflections fill the frame. Puddles become mirrors, and the empty street turns cinematic without a single car in shot.
The images will keep. A few finds worth a look before you pack are gathered below.
Questions Worth Asking
The film is set in Tokyo, yet much of the drifting was shot in Los Angeles because Tokyo permits were hard to secure. The neon city backdrops are real; the high-speed street racing through traffic is largely a Hollywood invention.
Yes, but Daikoku PA is an expressway parking area reachable only by vehicle, with no pedestrian access. Visitors arrive by rental car, taxi, or guided tour, and the meet is informal and can be closed at short notice.
No. Street racing and drifting on public roads are illegal and policed firmly. Legal drifting happens at circuits such as Ebisu and Fuji Speedway, and at sanctioned events where drivers and spectators are protected.
A camera with strong high-ISO performance and a fast lens. Compact Japanese options such as the Fujifilm X100VI and Ricoh GR IIIx suit neon street work, while any mirrorless body with a 35mm f/1.8 prime handles low light well.
Shoot after dark when the screens glow brightest, and aim for weeknights to thin the crowd. Elevated walkways and the Shibuya Sky deck give the cleanest angles on the scramble below.
Casual handheld photos on public streets are generally fine. Tripods, lighting, and staged shoots may need permission near stations and inside shopping streets, so follow staff instructions and move on if asked.
The shoot ends, the edit begins, and the memory fades faster than the files. A well-made travel journal holds the notes a camera cannot, from the address of that one alley to the colour of the light at midnight.
View The Journals →One last frame
Tokyo drift in real life is calmer than the screen, and richer for it. The chases were always part fiction, yet the neon, the reflection, and the rhythm of the streets were real the whole time. Chase those, treat the city with respect, and your gallery will feel cinematic without a single broken rule.
Back up your files the moment you finish, edit toward one consistent grade, and credit any guides or drivers who helped. Then start planning the next night, because Tokyo never lights the same way twice.
Planning a trip built around Tokyo’s nights? Our team designs bespoke itineraries that slot a photographer’s hours between dinner, the last train, and the quiet edges of the city.
Begin a Custom Itinerary →