A Japan photography tour promises the same three things in every brochure: access, timing and cultural context. All three are real, and all three can be arranged. Yet traditional Japan rewards the traveler who understands the subjects, the etiquette and the light. That means temples at dawn and craftspeople by appointment. It also means festivals from the right corner and old streets in the first hour of the day.
This guide covers exactly that, subject by subject. It explains what a tour actually buys and which rules matter in Gion and on temple grounds. It also shows how the seasons change the work and which gear earns its place. Finally, it compares a group tour, a solo trip and a route built around your shot list. Our landscape photography guide covers mountains and coastlines, so this page stays with living heritage.
Access, timing and context: dawn entry before the crowds, booked atelier and portrait sessions, and festival vantage points. A group tour sells them as a package. A private route arranges them around your own subjects and season.
What a Japan Photography Tour Actually Buys
Strip away the brochure, and a Japan photography tour sells three scarce things. First comes access: the atelier that opens by appointment, or the festival rooftop a local guide knows. Next comes timing, because traditional subjects live in narrow windows of light and season. Context is the last of the three. It is the explanation that turns a pretty gate into a photograph with meaning, and it is the hardest to find alone.
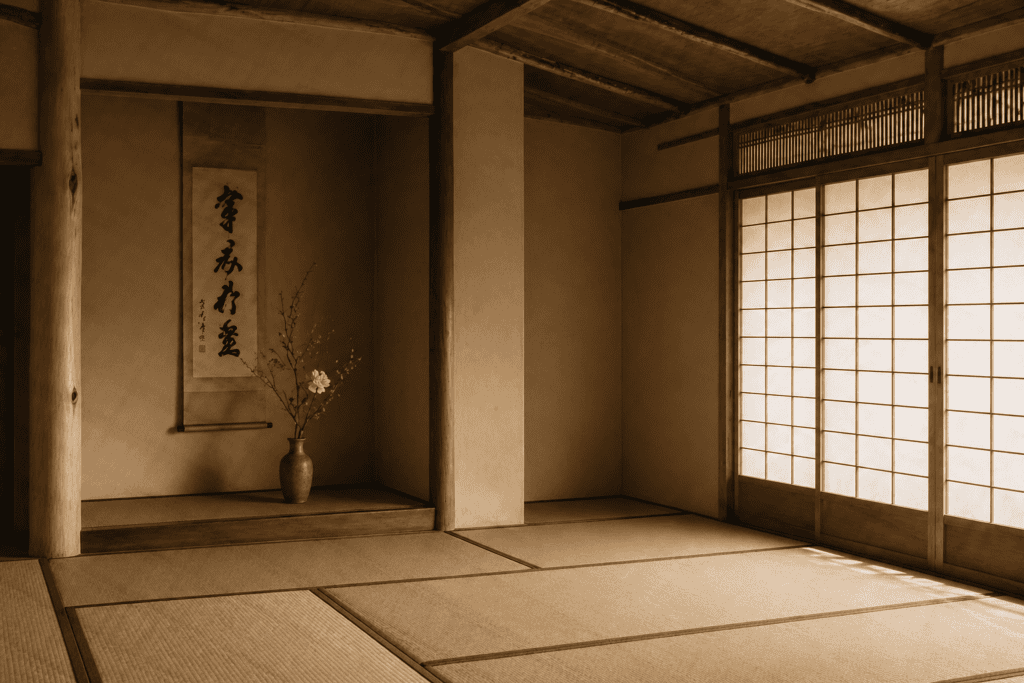
Tours come in four broad formats. Scheduled group tours run fixed dates with a leader and a shared plan. Private photographer-guides work by the hour or the day, often in Kyoto and Tokyo. Portrait sessions in kimono, or with a maiko, are booked separately. Finally, a privately designed route stitches all of these into one trip. Rates vary widely, so always ask what an hour includes, from editing to entry fees.
Each format trades something. A group gives you company and a plan, yet you shoot its golden hours rather than your own. A photographer-guide gives you local fluency for a morning, though not the logistics of a whole trip. So the question is simple. Which of the three scarce things do you lack, and for which subjects? The five subjects below make that clear, since each has its own access pattern and best hour.
The Five Subjects, and How Each One Works
Temples and shrines
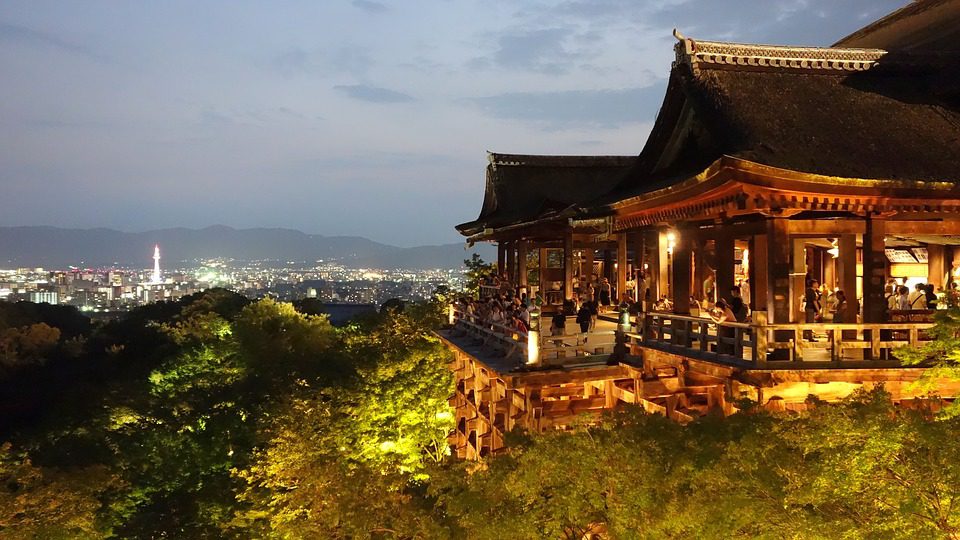
Historic architecture is the anchor subject of traditional Japan. It rewards the same discipline everywhere. Arrive at opening and work the grounds before the crowds. Treat the buildings as a stage for light rather than a checklist. Incense smoke in a morning sunbeam, roof lines against cloud and the geometry of a gate all reward patience. The classic frames exist because they work, so learn them first and then look for your own.
The practical layer matters as much as the aesthetic one. Tripods are commonly restricted on temple grounds during open hours, which is one more argument for dawn. Interior photography is often prohibited, and the rule is always posted. The mountain complexes, such as Koyasan and Nikko, earn an overnight stay. Our temple lodging guide covers sleeping inside the subject. That puts you on the grounds before day visitors arrive.

Craftspeople and ateliers
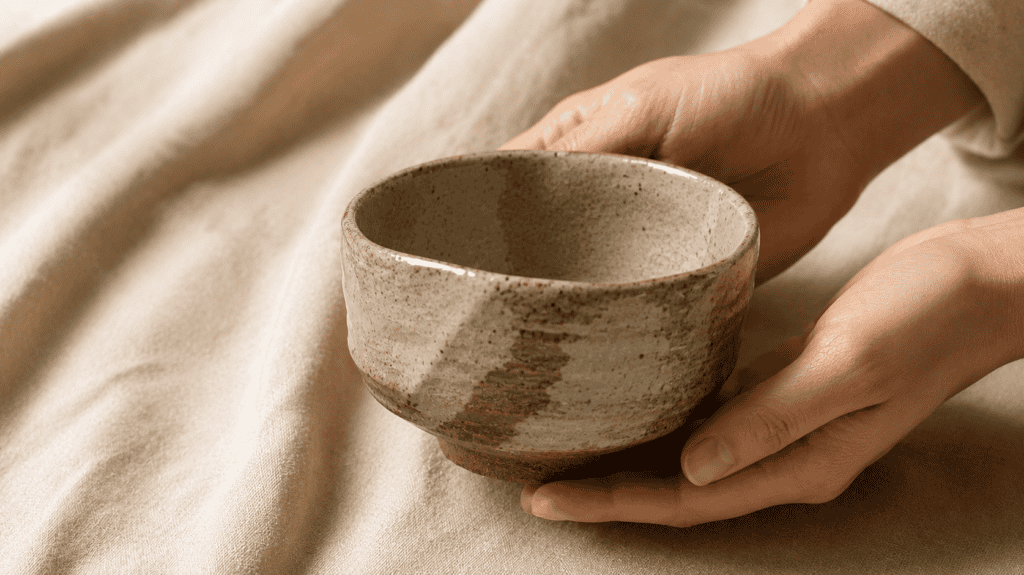
The most underrated subject in Japan is a pair of working hands. Weavers in Nishijin, potters, knife smiths, indigo dyers and washi makers all work in rooms few visitors see. Many studios welcome arranged visits. A photographer who asks first usually receives better access than any group. The images are intimate in a way architecture cannot be: concentration, repetition and decades of practice in a single gesture.
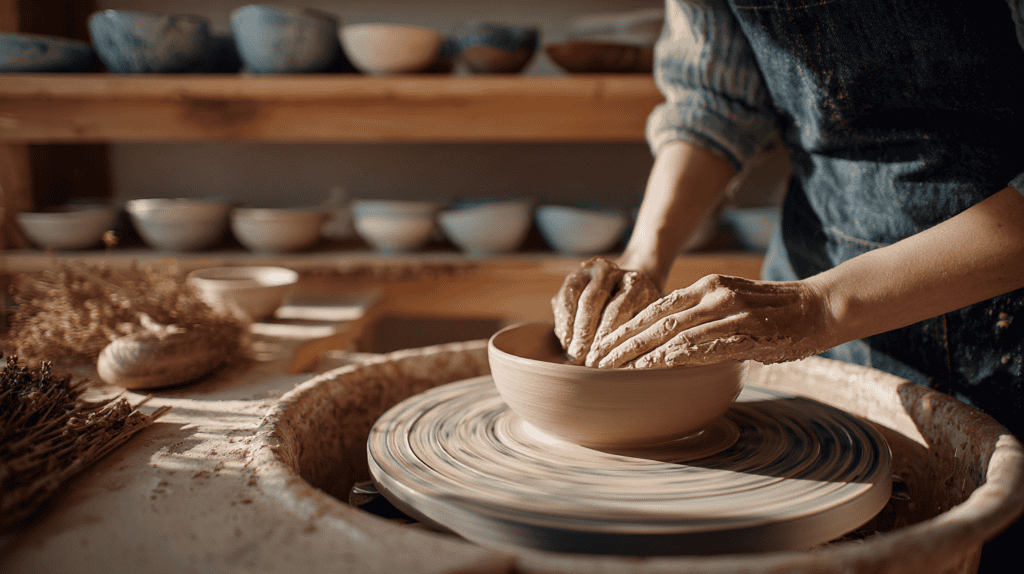
Arrange visits ahead rather than arriving with a lens first. Buy something small on the way out, because the purchase keeps the door open for the next photographer. Our gift guide has ideas that travel well. Flash is almost never appropriate in a workshop. Fast glass is what dim workshops require, so a bright fixed lens often beats a long zoom here.
Festivals and matsuri
Matsuri are traditional Japan at full volume: portable shrines, taiko drums, lantern light and crowds that belong in the frame. The method is positional rather than athletic. Study the published procession route and choose two or three fixed points with clean backgrounds. Then let the festival come to you. Chasing floats through a crowd produces only the backs of heads. A well-chosen corner, by contrast, gives you the whole procession twice.
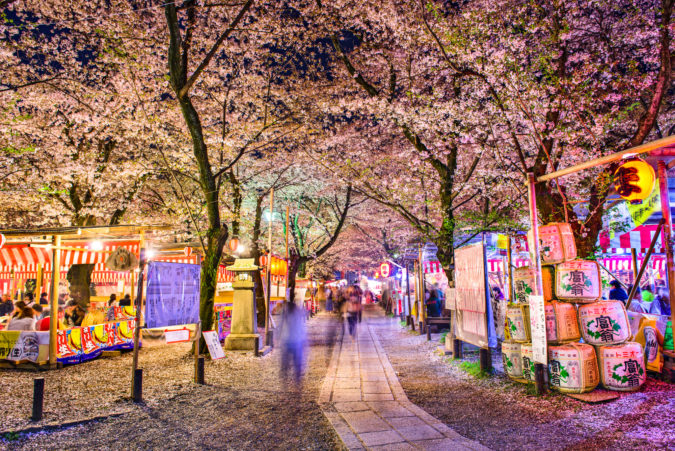
The great festivals publish routes and timings weeks ahead, and the timing is the itinerary decision. Gion Matsuri fills Kyoto through July, with float processions on July 17 and July 24. Takayama holds its spring festival on April 14 and 15 and its autumn festival on October 9 and 10. Aomori’s Nebuta runs from August 2 to 7. Here the calendar leads the trip, and the national tourism calendar lists the rest.
Preserved districts
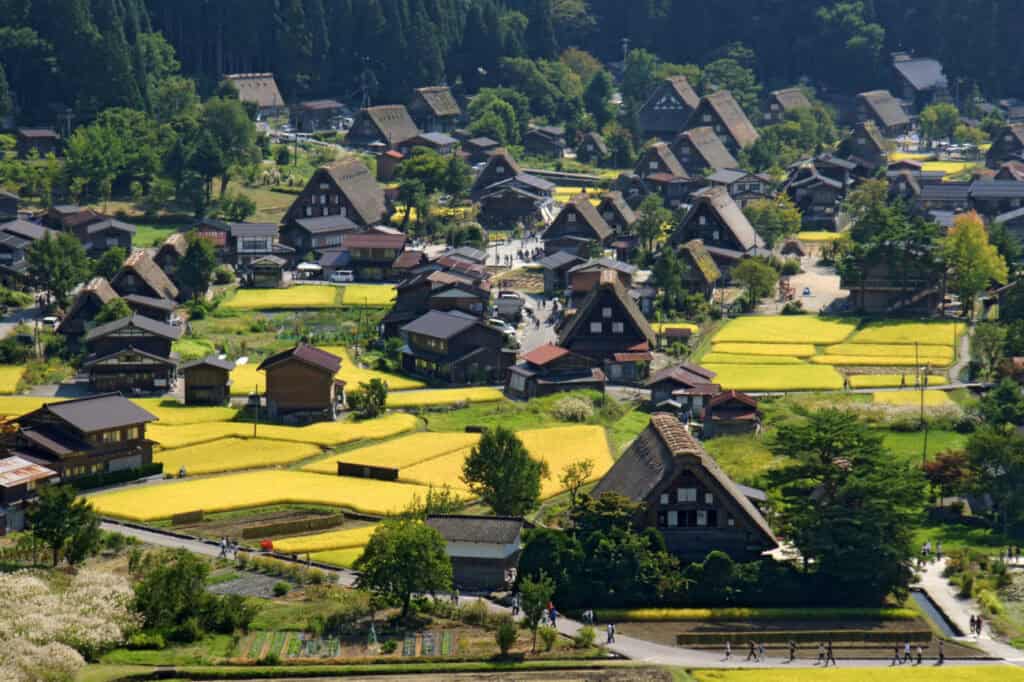
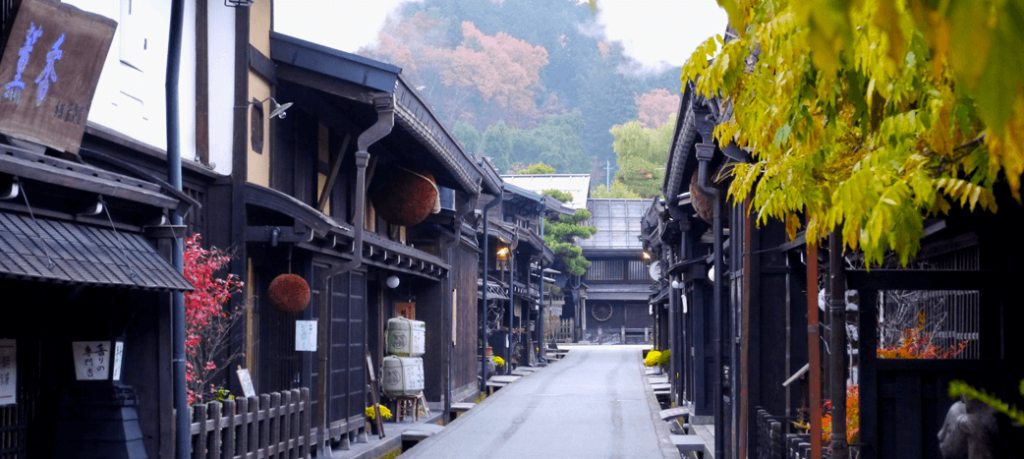
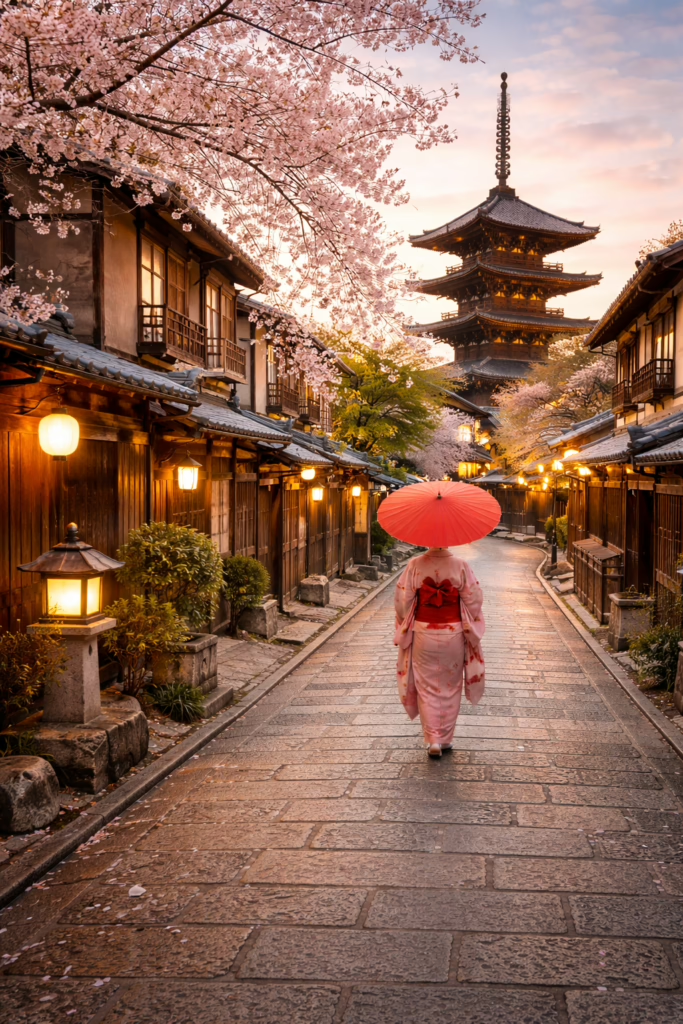
The preserved districts are where traditional Japan is still an address rather than an exhibit. Think of Takayama’s merchant streets and the thatched farmhouses of Shirakawa-go. Add the samurai lanes of Kanazawa and Kyoto’s eastern slopes. Photograph them as you would any neighborhood where people live. Go early, keep doorways clear, and leave residents out of the frame unless they agree to be in it.
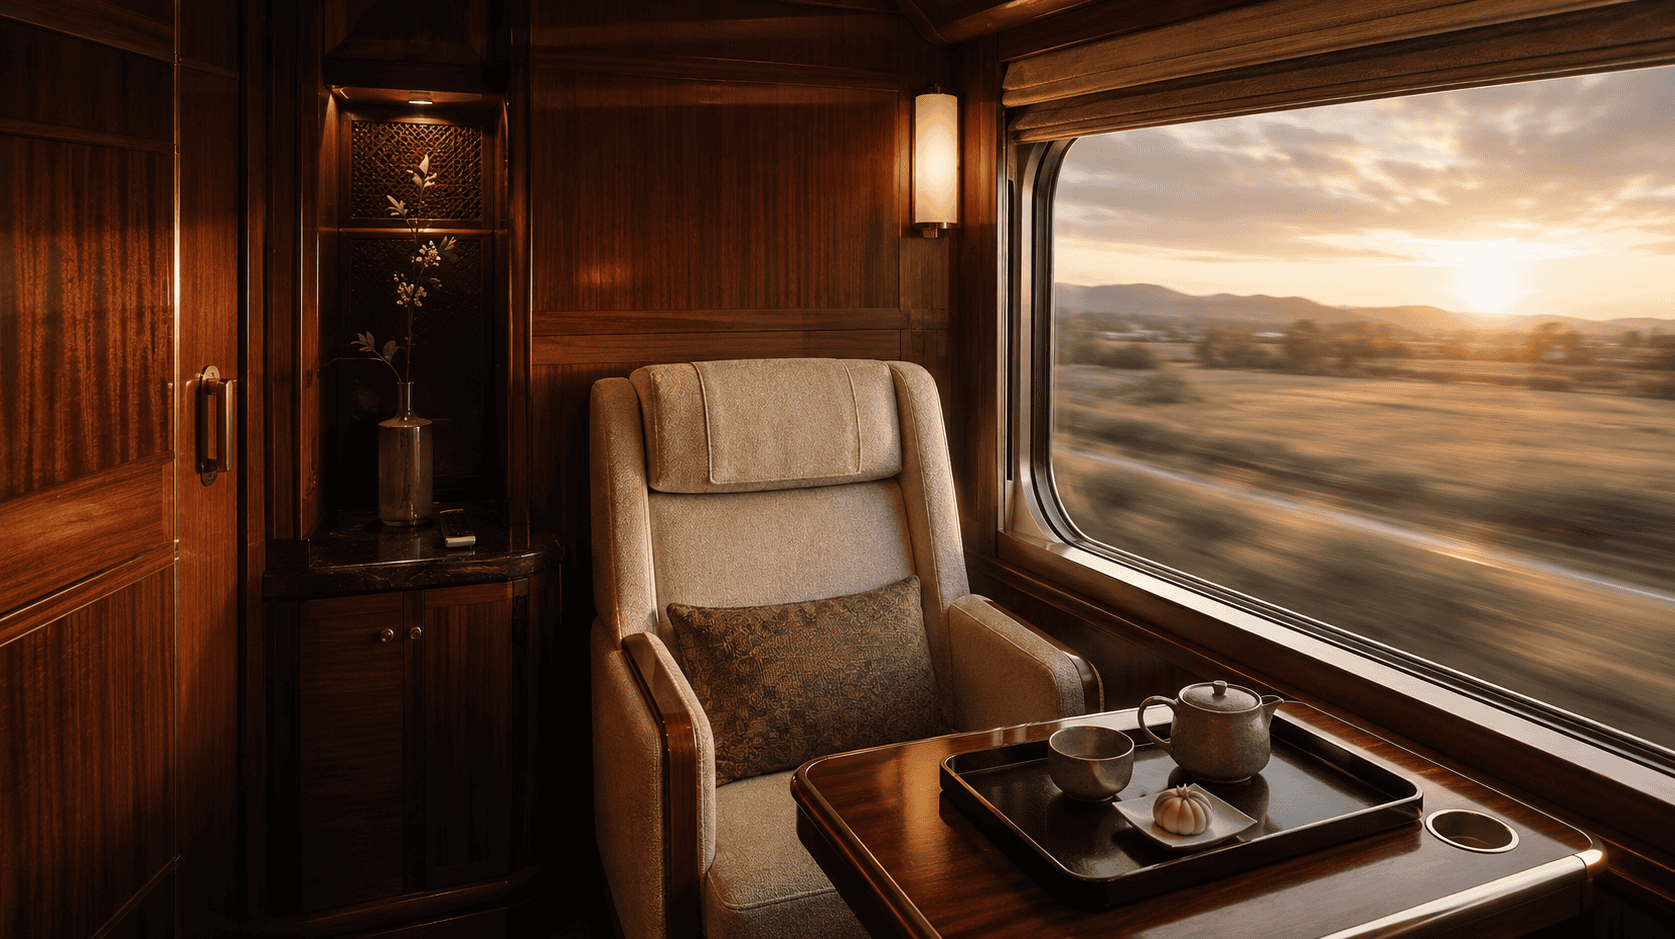
Between Takayama and Shirakawa-go runs the Hida road, which photographers have worked for a century. A window seat shows you why. Shirakawa-go rewards winter above every other season, when the steep thatched roofs carry snow as they were built to. Its winter light-up evenings need an advance reservation, so plan them first. Spring and autumn are calmer and still beautiful, especially in the hour after sunrise.
The geisha districts
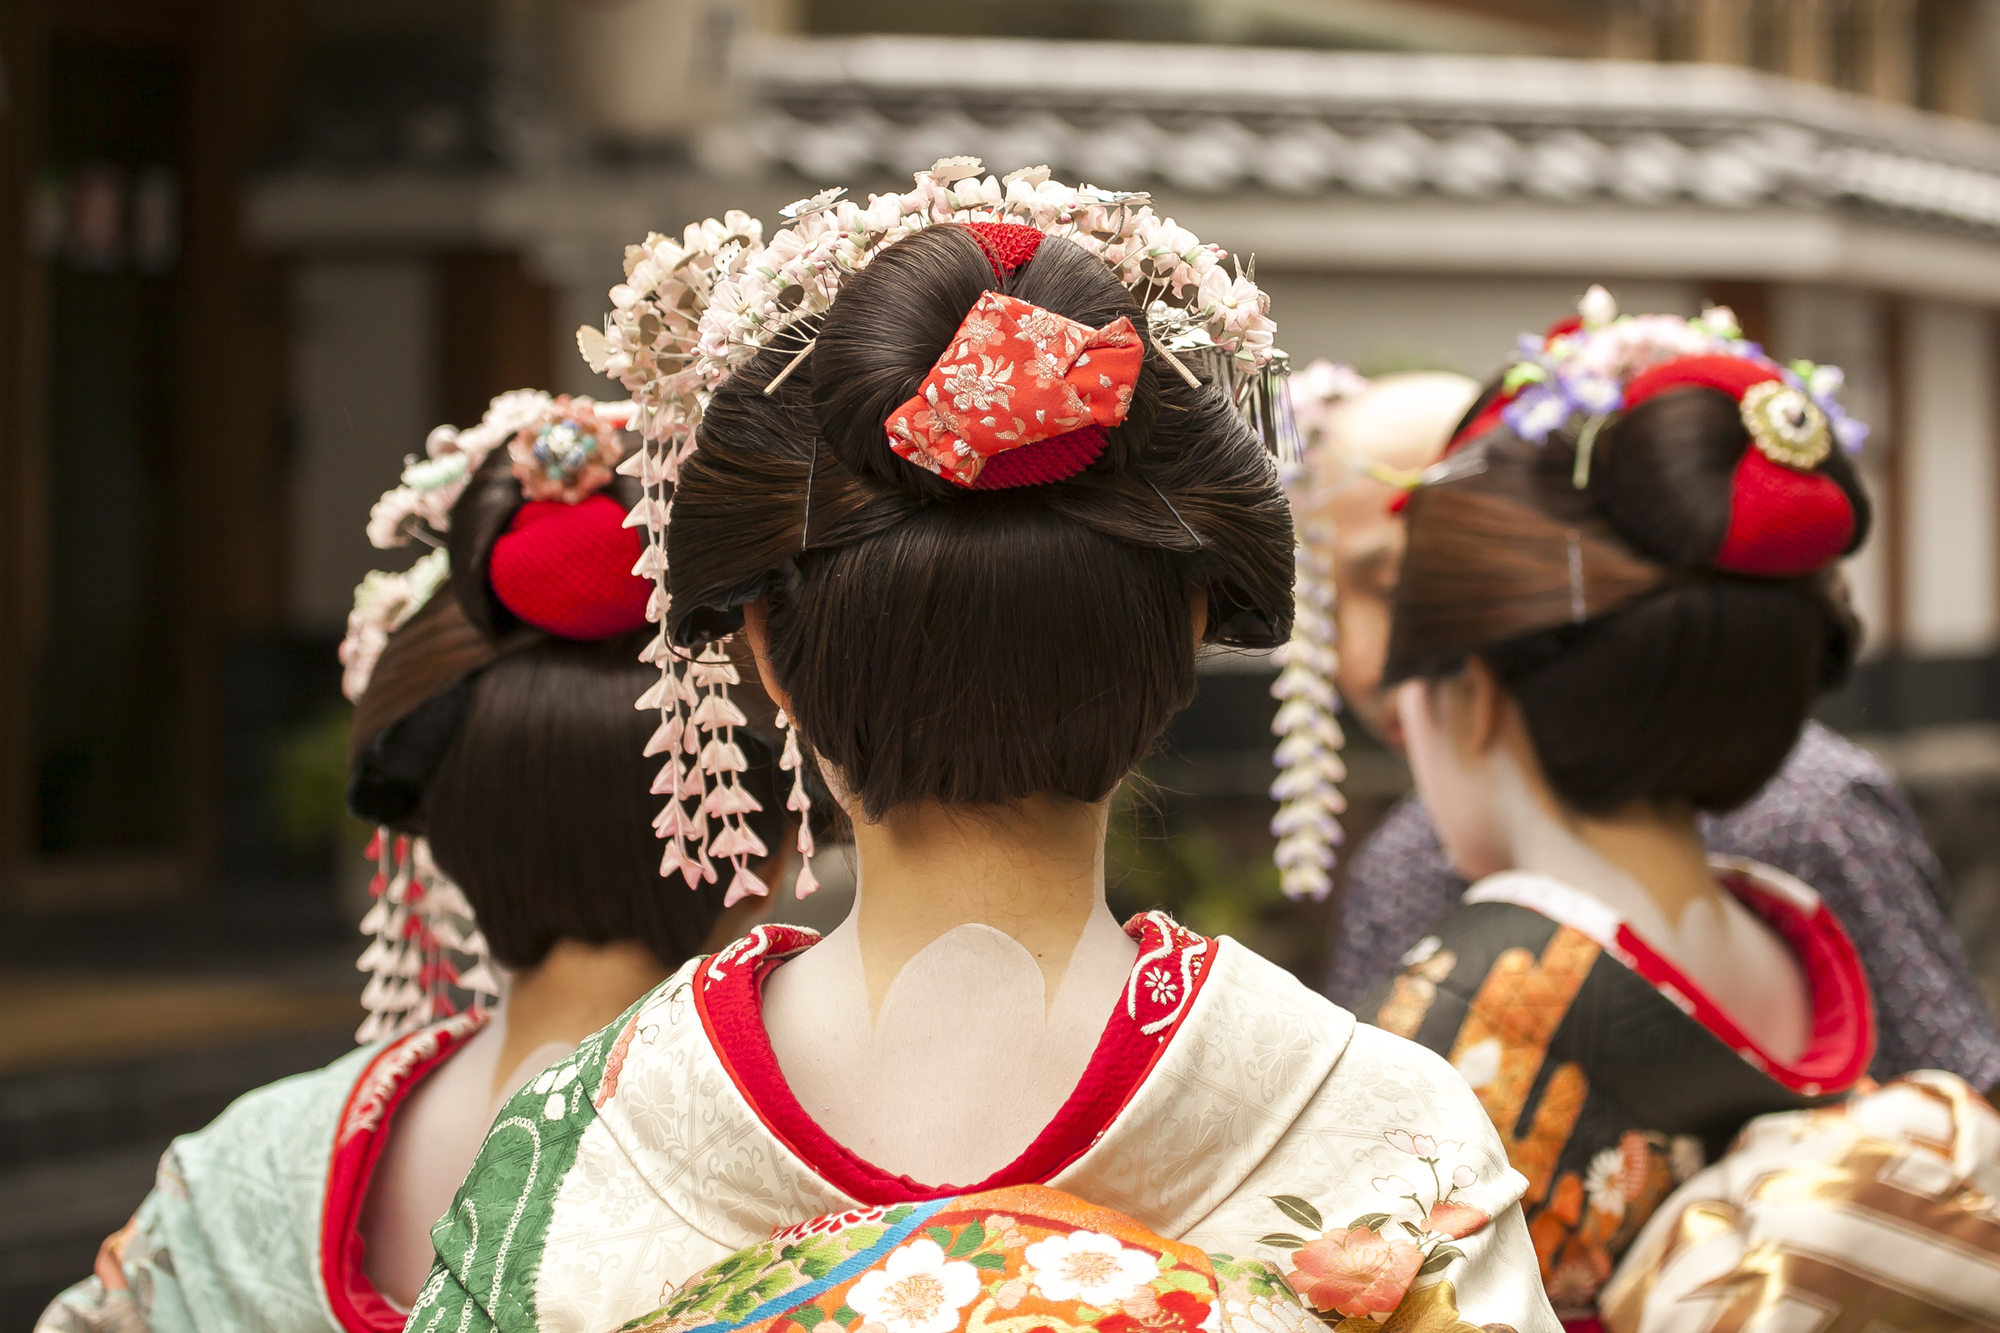
Gion is the most photographed and least understood subject on this list. The working geiko and maiko of Kyoto are professionals on their way to work. Since April 2024, signs on Gion’s private lanes have warned of a fine of up to $65 (¥10,000) for entering. Hanamikoji, the main street, stays open. The frames worth having are made with permission, such as a booked performance or a portrait session.

Photographed properly, the districts give you what a long lens never will: expression, detail and the inner world of the arts. Our Kyoto in 2 days itinerary routes the district at the right hours. Each of the five subjects has its own access pattern. Dawn suits architecture, appointments suit hands and routes suit festivals. Restraint suits the districts. Master those, and a portfolio assembles itself around the trip.
You may also like

Etiquette: The Three Rules That Matter
Traditional photography in Japan runs on a short, absolute rulebook. Knowing it separates a guest from a problem. Rule one: signage is law, so a posted no-photography mark ends the question. Rule two: people before pictures. Anyone at a ceremony, craftspeople at work and everyone in the geisha districts are photographed with permission or not at all. Rule three: when unsure, ask, and accept a no with a small bow.

The rules lean cautious by design, because the costs are uneven. A shot you skip costs one frame. A shot you should have skipped costs access for every photographer after you. Japan’s traditional spaces stay open to cameras precisely because most cameras behave. None of this requires fluent Japanese. It requires attention, a little advance reading and the willingness to lower the camera when the moment asks for it.
Ten Proverbs to Carry With You
A printable folio of ten Japanese proverbs, each set in kanji with its reading and a line on where you will hear it.
A useful habit is to run three questions before every frame. Is there a sign? Is there a person who has not agreed? Would the picture change the moment for anyone else in it? If the answers are no, no and no, shoot freely. If any answer is yes, wait, ask or move on. That habit takes a second and becomes automatic within a day. It is also why good photographers are welcomed back to the same places year after year.
Golden Hours and the Seasonal Calendar
Traditional subjects are built from wood, paper, stone and smoke, and all four change in low light. The working day of this genre is therefore short and specific. The hour after sunrise and the hour before sunset do most of the best work. After dark, the blue hour carries festivals and districts into the evening. Midday is for ateliers, permitted interiors and travel between subjects, which suits Japan’s punctual trains.
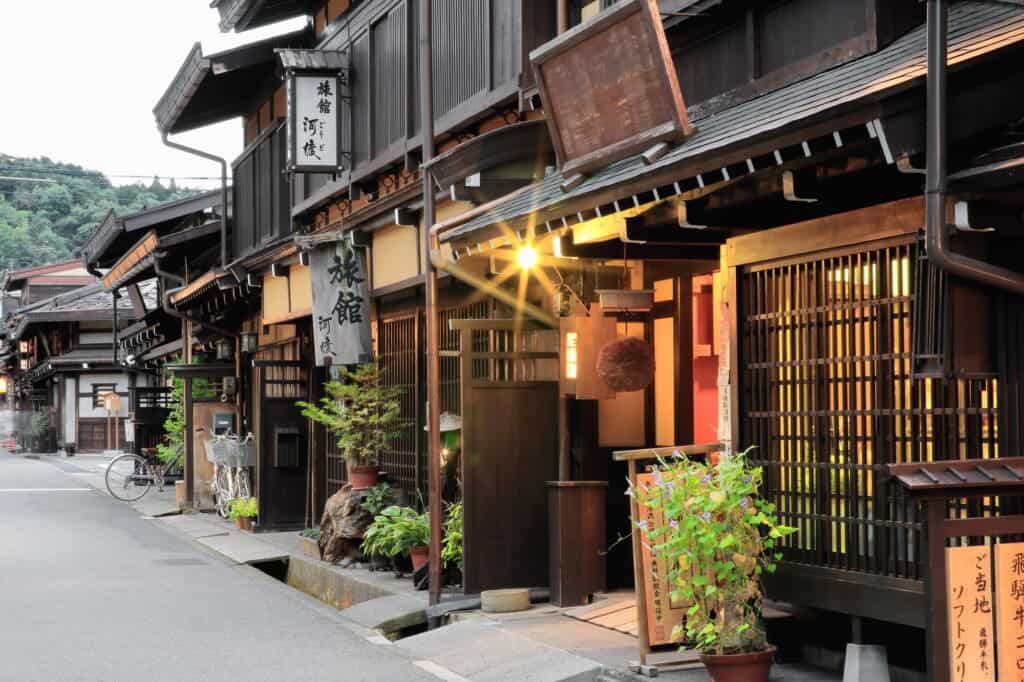
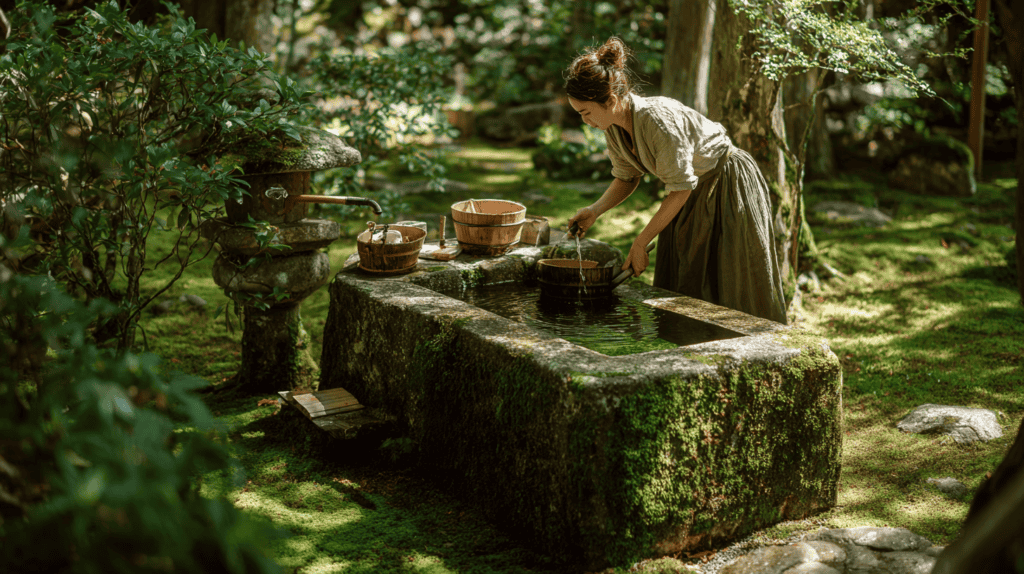
Season is the second axis. Spring stacks blossom over old wood and opens the festival calendar. Summer belongs to matsuri and the deep green of temple gardens, shot early before the haze. Autumn is the famous season, with foliage against dark timber, and it books out early. Winter is the connoisseur’s choice: empty grounds, low clean light and snow on thatch. No season is wrong for a Japan photography tour, only an unplanned one.
One logistical note decides more dawn shoots than any alarm clock. Japan’s first trains run around five in the morning, and they are punctual to the minute. They are the difference between photographing a famous temple alone and photographing it across a crowd. Learn the transport system once, properly, and every golden hour in this guide becomes reachable. Better still, stay within walking distance of your first subject.
The Gear, Kept Honest
Gear questions dominate photography forums, and the honest answer is short. One capable body and a fast standard lens cover nearly every traditional subject. Add spare batteries and a polarizer for gardens, water and lacquer. A light tripod helps at dawn, but many grounds restrict tripods once they open, so plan to shoot handheld. Weight is the hidden cost of every extra item. A shooting day often means stone steps at dawn, an atelier at noon and a festival at night. Almost everything can be replaced in Tokyo if luggage goes astray, so there is no need to pack spares of spares. The pieces below suit a traveler who walks all day.
Ricoh GR IV Monochrome — a pocket camera for black-and-white tradition
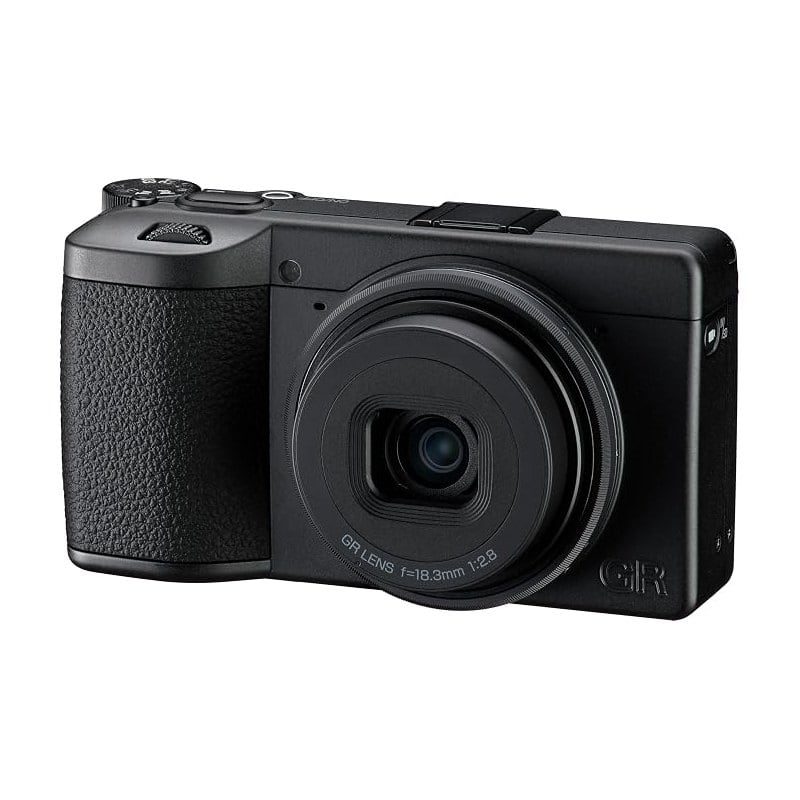
The Ricoh GR IV Monochrome is the smallest GR to date. It is built around a 25.74-megapixel APS-C sensor made only for black and white. Its fixed 28mm-equivalent f/2.8 lens suits streets, gates and workshops, where you stand close. Because it is so small, it rarely changes how people react to you. That matters in an atelier or a lantern-lit lane. A built-in red filter darkens skies and lifts timber, a classic look for old wood and paper. It will not replace a full kit. As a second camera, though, it captures the texture of traditional Japan with very little weight.
A pocket camera solves one problem, while carrying a larger body all day creates another. Strap fatigue is real on a twelve-hour day that starts before dawn. Most working photographers settle on a clip that holds the camera at the hip or on a backpack strap. It keeps both hands available on temple steps and in festival crowds. Yet the camera is ready in a second. That small change often decides whether the camera comes out for the fleeting frame. It also keeps the body steadier than a swinging strap on long walks between subjects. On a crowded festival night, that steadiness protects the lens as well as your shoulders.
Peak Design Capture Clip — the camera at hand, both hands open
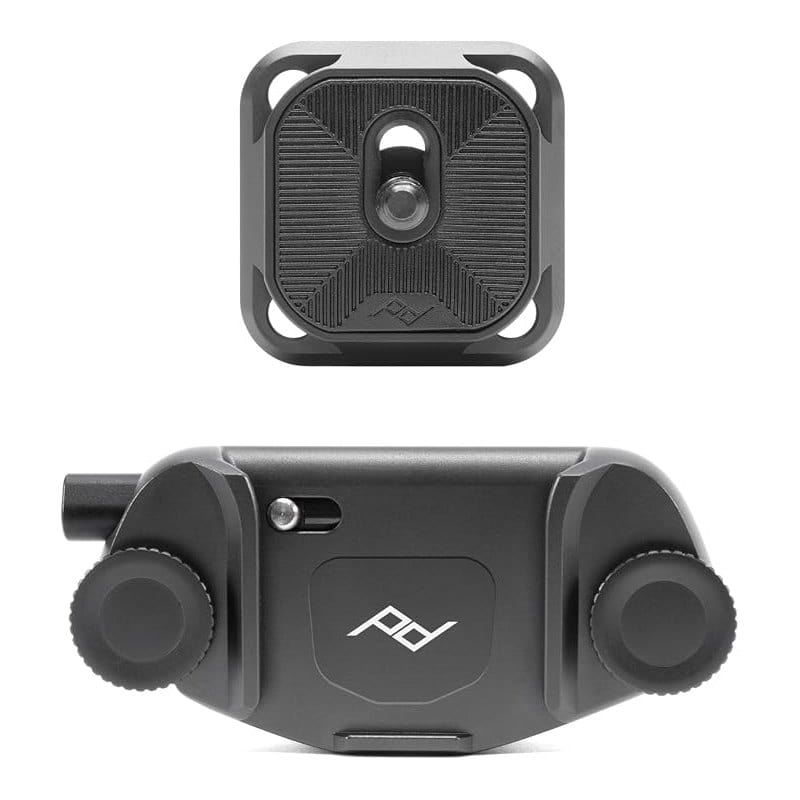
The Peak Design Capture Clip mounts on a backpack strap or belt. A quick-release plate locks the camera in place. It holds a mirrorless body, a compact or a larger camera securely. So you can climb shrine steps or move through a festival with both hands open. Release is one press, which matters when a procession turns a corner sooner than expected. The clip also keeps a camera visible but unthreatening at your side, rather than raised in someone’s face. Pair it with a light strap for long handheld stretches, such as a slow evening walk through the old districts.
Three practical notes complete the kit. Batteries drain quickly in a winter dawn, so carry two spares warmed in an inside pocket. Cards fill fastest on festival evenings, so pack double what the trip could need. Temple incense and festival smoke leave a film on glass, which makes a cleaning tool worth its small weight. Above all, travel light. One body and two lenses walk further and stay longer than a full bag. They also ask better questions, because your attention goes to people rather than equipment. The three small pieces below are the exceptions worth carrying, since each weighs almost nothing and solves a problem every traditional shooting day brings.
Three Pieces That Earn Their Place
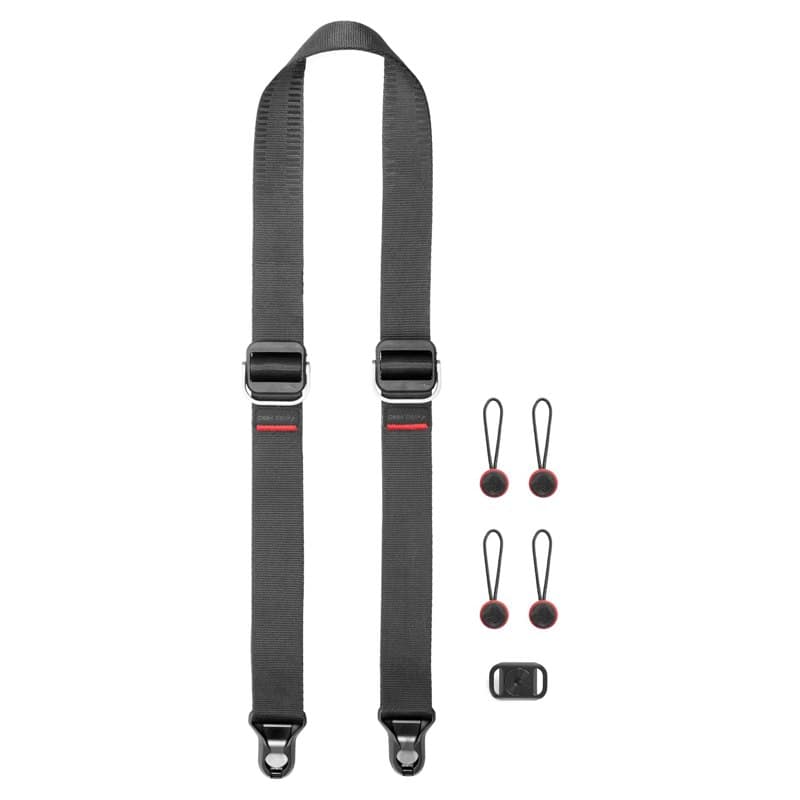
Adjusts in a second from sling to neck strap for long handheld stretches.

Fast card storage for festival evenings that fill a card early.
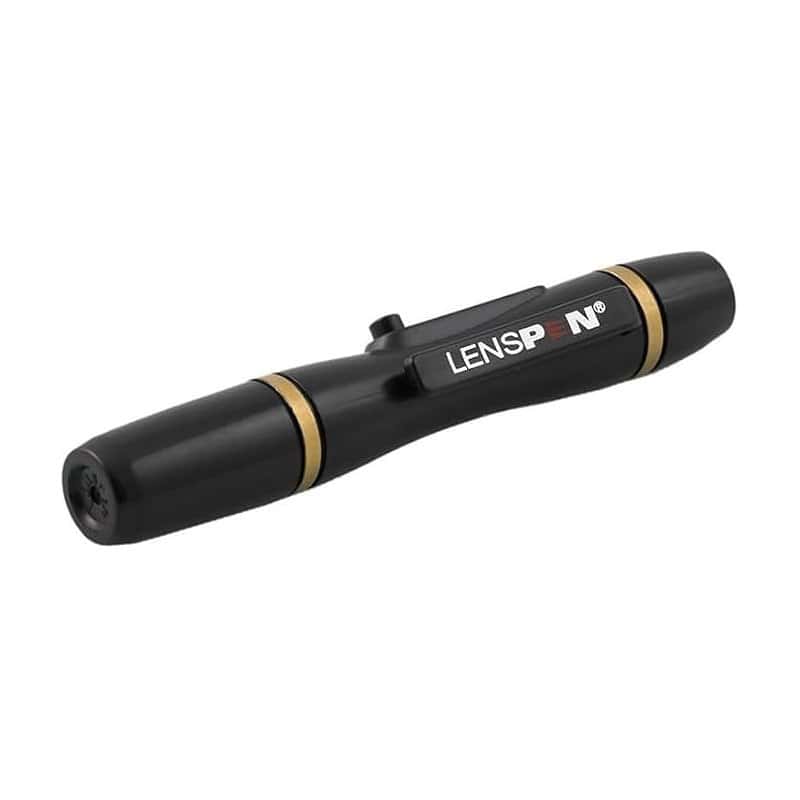
Clears incense film and fingerprints from the front element in seconds.
None of this gear makes the photograph for you. Its job is to stay out of the way, so your attention can go to position, permission and light. Test every piece at home before the trip, especially the strap and clip. A festival crowd is no place to learn a buckle. Pack it the same way every morning, and the kit becomes invisible within a day or two.
Group Tour, Solo Trip or a Designed Route
Here is the honest comparison. A scheduled Japan photography tour delivers access and company at the cost of the clock. You shoot the group’s golden hours, not your own, and its pace is your pace. Going solo delivers total freedom at the cost of access and local fluency. The atelier visit, the festival vantage and the portrait session all take arranging. A first-time visitor rarely manages that from abroad.
The third route sits between the two. A privately designed itinerary books the access of a tour onto the freedom of a solo trip. It is built around your subjects, your season and your shot list. Whichever route you choose, the sequencing rules stay the same. Anchor the fixed dates first: festivals, booked sessions and atelier appointments. Then thread the dawn subjects between them. Leave one morning in three open, so you can follow the light when it surprises you.
Questions to ask any tour operator
Before booking, ask how many photographers share the leader and how many dawn starts the plan includes. Ask which ateliers and portrait sessions are arranged, and whether they are private or shared. Ask about tripods too. A tour that plans tripod shots during opening hours has not done its homework. Finally, ask what happens when weather ruins a key morning. A good operator answers in specifics, while a weak one answers in adjectives.

Those answers also tell you whether a group Japan photography tour suits you at all. If you want two or three dawns per subject, a group rarely allows it. If you want company and a teacher at your elbow, a group may be exactly right. Many photographers combine the two. They spend a few days with a photographer-guide in Kyoto, then take a self-paced loop through Takayama and Shirakawa-go. Either way, read the tea ceremony guide first, because it explains the attention all of this photography documents.
You may also like
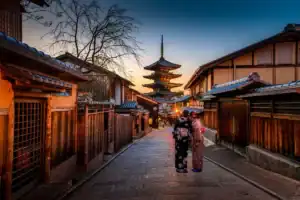
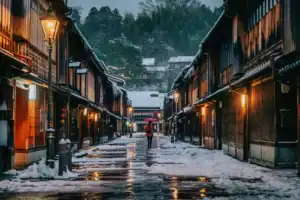
Captions, Names and the Notes That Make a Portfolio
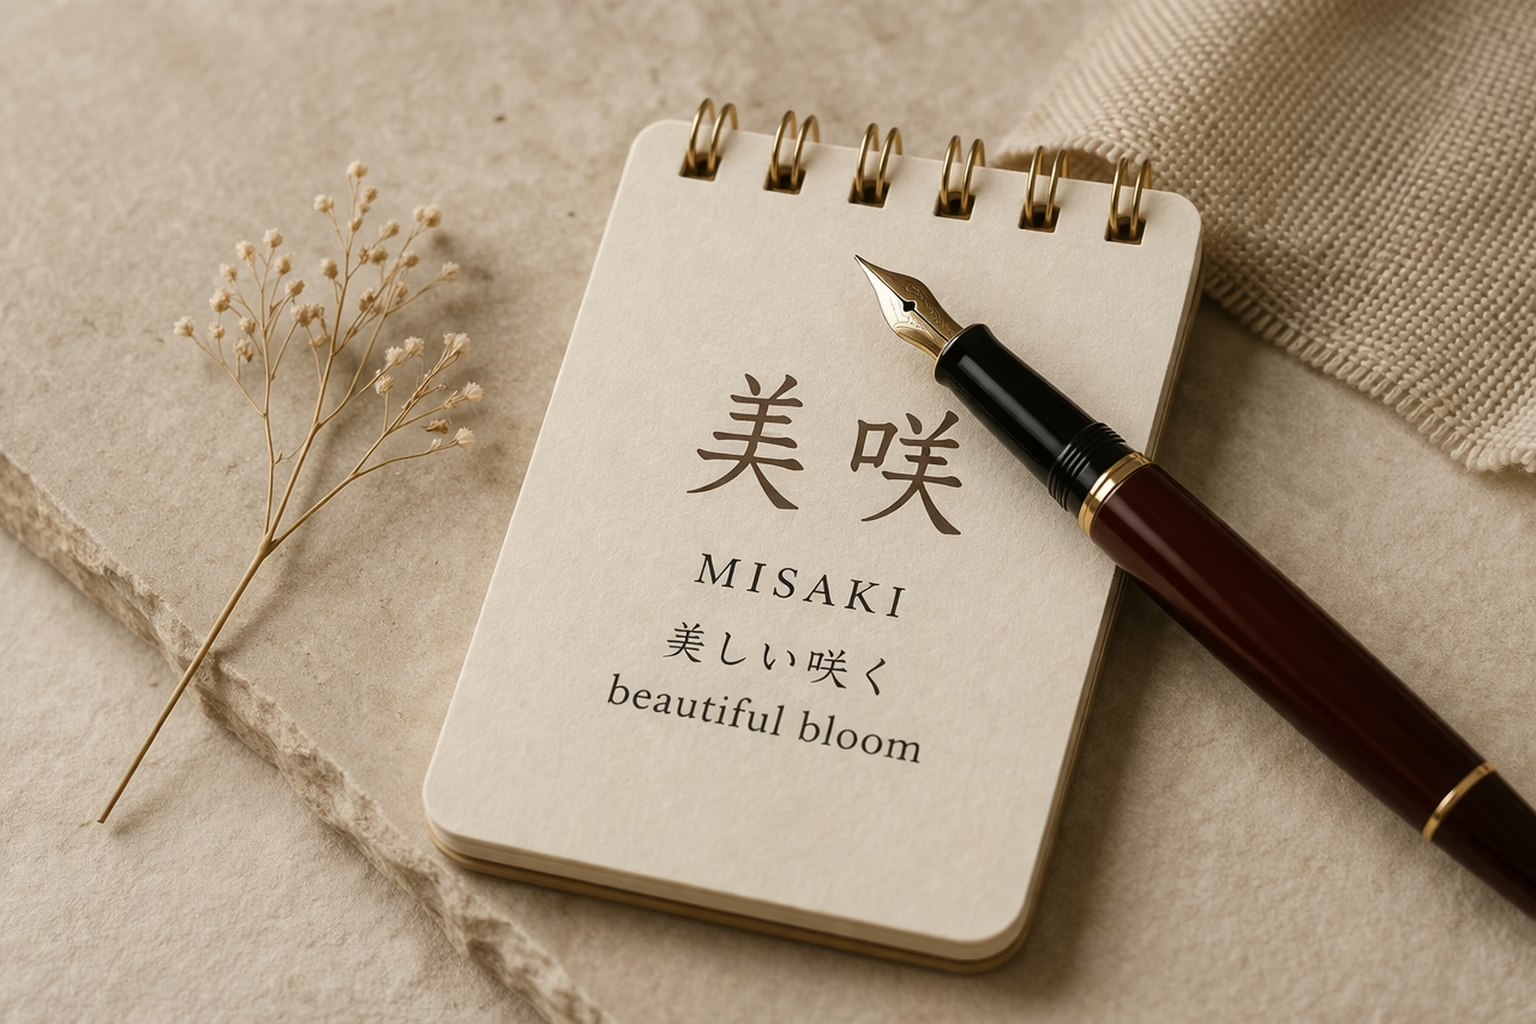
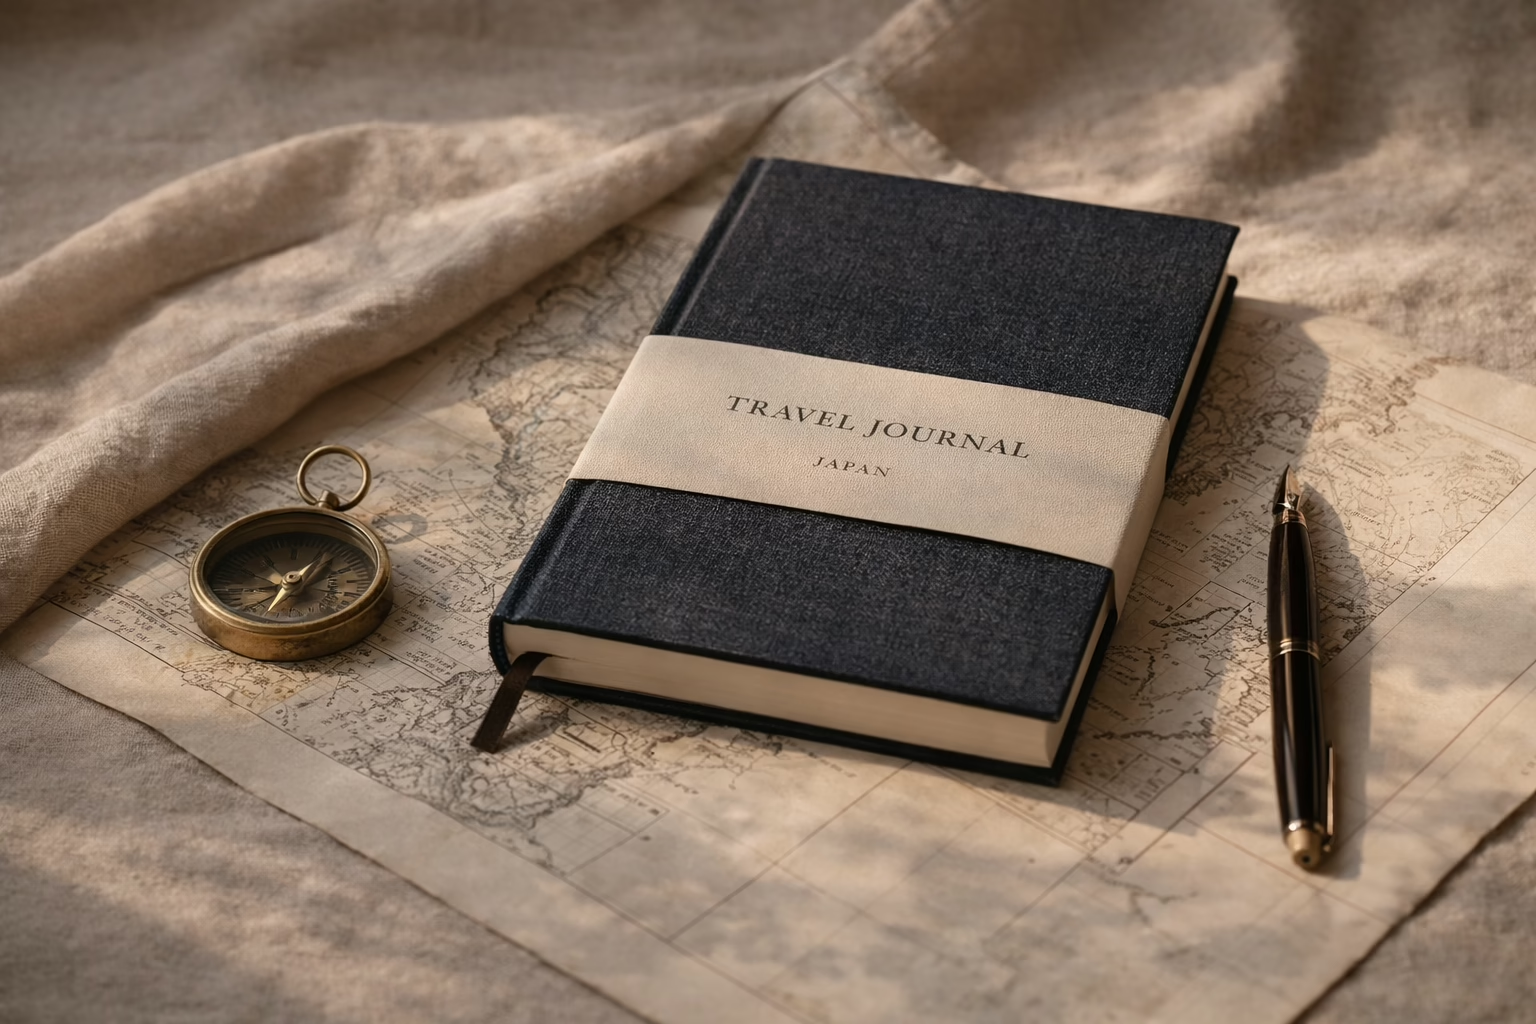
One habit belongs in every camera bag on this beat, and it weighs nothing. The best traditional photographs come with context a memory card cannot hold. Think of the name the potter gave a glaze, the history of a gate or the street the festival turned down. Photographers who write the day down while it is warm come home with captions. Everyone else comes home with files. The difference shows in every print and every post, and it grows with each trip. A notebook in the bag, opened for ten minutes each evening, is all it takes. Write the place, the hour, the light and one detail you would otherwise forget.

Midday is also when a shooting day refuels. Restaurateur Teiichi Yuki of Kitcho made the shokado bento famous in the 1930s. He adapted a square, four-part box into a compact kaiseki lunch. A home version travels well in a camera bag and needs no table. Eat it in a garden between the morning light and an afternoon appointment. Then use the pause to write captions for the morning’s frames.
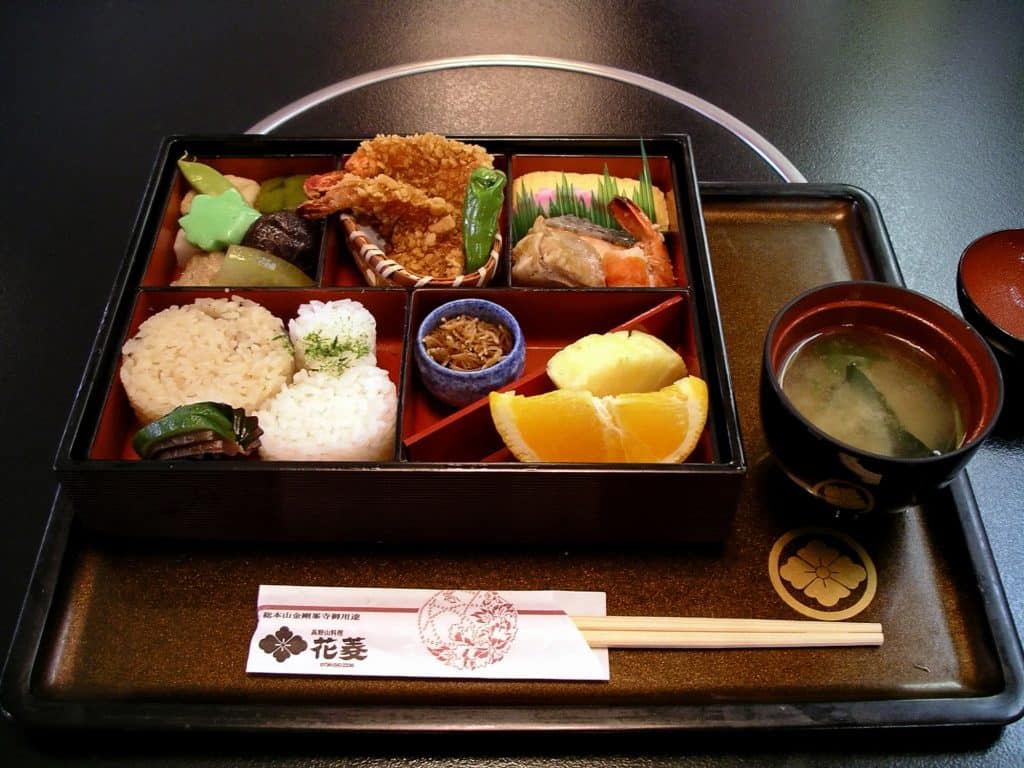
Shokado-style bento — a Kyoto box lunch for a long shooting day
Salt two small salmon fillets and rest them for twenty minutes, then grill them until the edges brown. Meanwhile, simmer four soaked shiitake and a sliced carrot in half a cup of dashi with soy sauce and mirin for about fifteen minutes. Blanch a cup of green beans and toss them with ground sesame, a dash of soy sauce and a little sugar. Fill one compartment with rice and black sesame. Fill the others with the salmon, the glazed vegetables and the beans with pickled daikon, then let the box cool before closing the lid.
The note-taking habit also improves the photographs themselves. Writing forces you to name what you saw. Naming it, in turn, sharpens what you look for the next morning. Within a week, most photographers find their captions growing longer and their frames more specific. That is the hidden engine of a strong portfolio. It takes only ten minutes each evening with a pen and a cup of tea.
Your Shot List, Designed Into a Route
What separates a portfolio from a set of pictures is rarely the camera. It is sequencing: the right subject in the right light with the right permission, repeated for two weeks. That is a design discipline, and it is learnable. This guide covers most of it, and any Japan photography tour worth booking covers the rest. That part is local, like an appointment made in Japanese or a festival vantage a guide has stood at before.

The traditional beat also rewards return visits like no other genre in Japan. A temple becomes a different photograph in every season. An artisan’s workshop deepens with familiarity. A first trip teaches the access patterns, while a second trip uses them. For the modern city after dark, our guide to Tokyo’s car culture at night takes over where this page stops.
Recommended
Whatever route you choose, start with the calendar. Fix the festival dates and the season, and book the sessions that need booking. Then build the dawns around them. Leave room for weather and the unexpected, because the unplanned frame is often the keeper. Carry the etiquette with you too. It opens more doors in traditional Japan than any letter of introduction. Finally, keep a short list of the frames you missed. It shows which subjects, seasons and hours you still need, and it turns one visit into a long practice. Bring that list home, add to it after each trip, and let it shape the next season you choose to travel.
How We Build a Photography-First Route
Bring us the subjects, the season and the ambition, and we will handle the logistics. A photography-first route can include dawn access to the right temples and festival dates with good vantage points. It can add atelier appointments with craftspeople who welcome visitors. Portrait sessions then replace the long lens with an invitation. Hotels are chosen for walking distance to first light rather than for the lobby. As a result, the photographs lead, and trains and dinner reservations follow. You arrive at each subject rested, on time and with the right permissions, so your attention stays on the light. Tell us what you want to photograph, and we will work backward from there.
A Photography-First Route Through Traditional Japan
We design itineraries around your shot list: dawn temple access, festival dates, atelier visits and booked portrait sessions, with hotels chosen for walking distance to the light. Every route is private and built for your pace.
Plan Your Custom Japan ItineraryQuestions Worth Asking
Is a Japan photography tour worth it?
A good tour buys access, timing and cultural fluency. Whether the group format is worth it depends on your subjects. If you want dawn temples and portrait sessions on your own schedule, a private route often suits you better. It arranges the same access without a fixed timetable.
Can I photograph inside temples and shrines in Japan?
The grounds are usually fine, while interiors often are not. The rule is posted at the entrance, and where it is not, ask at the office. Never photograph people during ceremonies. Lower the camera entirely when a service is under way, unless someone invites you to continue.
Can I photograph geiko and maiko in Gion?
Hanamikoji, the main street, stays open. Since April 2024, signs on Gion’s private lanes have warned of a fine of up to $65 (¥10,000). The respectful route is a booked performance or portrait session. It also makes the better photograph, because photography is part of the arrangement.
What camera gear should I bring for traditional subjects?
One capable body, a fast standard zoom or a fixed lens, spare batteries and a polarizer for gardens and water. A tripod helps at dawn, but many temples restrict them during opening hours. Fast glass matters more than reach, because workshops and lantern-lit streets are dim.
When is the best season for a Japan photography tour?
Every season leads with a subject. Spring brings blossom over old wood and summer brings festivals. Autumn sets foliage against dark timber, and winter offers empty grounds and snow on thatch. Autumn books out first. The best season is the one you can travel in, planned around its strengths.
How far ahead should I book photography access?
Book portrait sessions, atelier visits and festival hotels two to three months ahead. Allow longer for autumn in Kyoto or the Takayama festivals. Shirakawa-go’s winter light-up evenings need a reservation. Dawn temple visits need no booking at all, only a hotel within walking distance.